首页 文章 精选 留言 我的

精选列表

搜索[android studio],共10000篇文章
优秀的个人博客,低调大师

自己用到的Android 双服务保活(适配8.0)

最近开发的时候,测试小伙伴经常来找我,“为什么咱家程序放到后台,聊了会qq就得重启了呢?”我脑门一亮,“稍等,一会给你”。然后我就进入了程序流氓(进程保活)之旅。 对于进程保活,其实吧,现在对于MIUI、EMUI等等许多高度定制的系统并没有100%的保活方案,该死还是死掉,但是做了一定的操作,还是可以适当的提高存活的。如下就是我用到的保活方案。 1、启动软件的时候激活本地服务和远程服务 startService (new Intent (this, MainService.class)); startService (new Intent (this, RemoteService.class)); 2、本地服务代码 /** * content:后台运行的服务 * Actor:韩小呆 * Time:2018/5/3 */ public class MainService extends Service { MyBinder binder; MyConn conn; @Override public IBinder onBind(Intent intent) { return binder; } @Override public void onCreate() { super.onCreate(); binder = new MyBinder(); conn = new MyConn(); } class MyBinder extends IMyAidlInterface.Stub { @Override public String getServiceName() throws RemoteException { return MainService.class.getSimpleName(); } } @Override public int onStartCommand(Intent intent, int flags, int startId) { this.bindService(new Intent(MainService.this, RemoteService.class), conn, Context.BIND_IMPORTANT); return START_STICKY; } class MyConn implements ServiceConnection { @Override public void onServiceConnected(ComponentName name, IBinder service) { } @Override public void onServiceDisconnected(ComponentName name) { Intent intent = new Intent(MainService.this, RemoteService.class); if (Build.VERSION.SDK_INT >= 26) { \\适配8.0机制 MainService.this.startForegroundService(intent); } else { MainService.this.startService(intent); } //绑定远程服务 MainService.this.bindService(new Intent(MainService.this, RemoteService.class), conn, Context.BIND_IMPORTANT); } } @Override public void onDestroy() { super.onDestroy(); Intent intent = new Intent(MainService.this, RemoteService.class); \\适配8.0机制 if (Build.VERSION.SDK_INT >= 26) { MainService.this.startForegroundService(intent); } else { MainService.this.startService(intent); } MainService.this.bindService(new Intent(MainService.this, RemoteService.class), conn, Context.BIND_IMPORTANT); } } 3、远程服务代码 /** * content:后台运行的服务 * Actor:韩小呆 * Time:2018/5/3 */ public class RemoteService extends Service { MyConn conn; MyBinder binder; @Override public IBinder onBind(Intent intent) { return binder; } @Override public void onCreate() { super.onCreate(); conn = new MyConn(); binder = new MyBinder(); } @Override public int onStartCommand(Intent intent, int flags, int startId) { this.bindService(new Intent(this, MainService.class), conn, Context.BIND_IMPORTANT); return START_STICKY; } class MyBinder extends IMyAidlInterface.Stub { @Override public String getServiceName() throws RemoteException { return RemoteService.class.getSimpleName(); } } class MyConn implements ServiceConnection { @Override public void onServiceConnected(ComponentName name, IBinder service) { } @Override public void onServiceDisconnected(ComponentName name) { Intent intent = new Intent(RemoteService.this, MainService.class); //开启本地服务 if (Build.VERSION.SDK_INT >= 26) { \\适配8.0机制 RemoteService.this.startForegroundService(intent); } else { RemoteService.this.startService(intent); } //绑定本地服务 RemoteService.this.bindService(new Intent(RemoteService.this, MainService.class), conn, Context.BIND_IMPORTANT); } } @Override public void onDestroy() { super.onDestroy(); Intent intent = new Intent(RemoteService.this, MainService.class); //开启本地服务 if (Build.VERSION.SDK_INT >= 26) { \\适配8.0机制 RemoteService.this.startForegroundService(intent); } else { RemoteService.this.startService(intent); } //绑定本地服务 RemoteService.this.bindService(new Intent(RemoteService.this, MainService.class), conn, Context.BIND_IMPORTANT); } } 4、创建AIDL实现远近程服务通信 // Declare any non-default types here with import statements interface IMyAidlInterface { String getServiceName(); } AIDL文件

优秀的个人博客,低调大师

【Jenkins】Android build failed:build pending,Why did the Gradle Daemon ...

1、问题现象 1.1、Slave went offline during the build 1.2、useNewCruncher has been deprecated. It will be removed in a future version of the gradle plugin. New cruncher is now always enabled. Incremental java compilation is an incubating feature. 2、问题分析&定位 从上诉两个log日志信息来看,有两种可能: 1、gradle 在构建过程中,Jenkins slave agent 的daemon异常,导致slave offline,从而build failed 2、引入了其他的Java编译方式,及一些被deprecated的api 那么我就依据初步分析的这两个可能问题去Google 3、问题解决 3.1、依据Google中各路大神对第二个问题的解析,并根据解决方案进行尝试,均无功而返。 3.2、参考Stack Overflow中对:“Why did the Gradle Daemon die?”的文章中,大神是这样解答的: Gradle build daemon disappeared unexpectedlymost frequently occurs when something else kills the long-running Gradle Daemon process and the client process (the Daemon uses local TCP connections to communicate) tries to send a message and gets no response. For example, runninggradle --stoporkillall javawhile a build is occurring will reproduce this problem. 附文章链接:https://stackoverflow.com/questions/29660238/why-did-the-gradle-daemon-die

优秀的个人博客,低调大师

Android中 ListView,RecyclerView中item显示错位的问题?

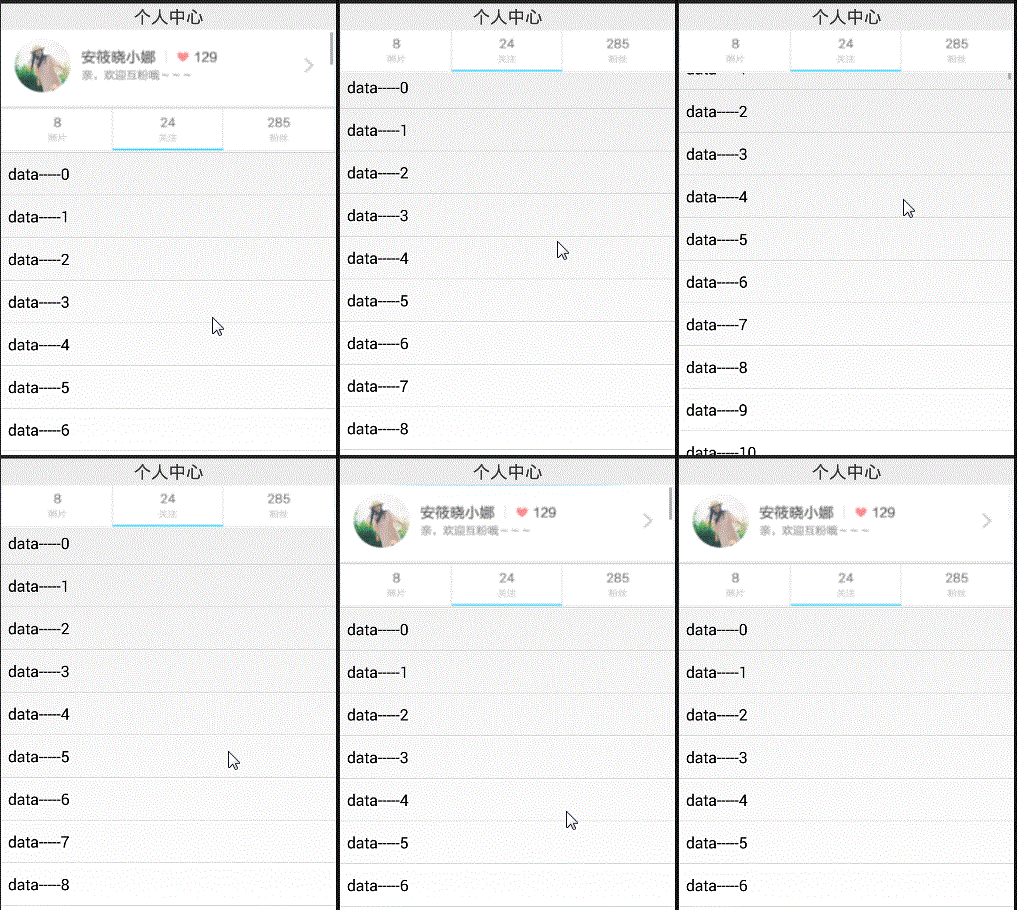
因为在Adapter中,为了性能都会给ViewHolder做缓存,防止ListView,RecyclerView创建过多的itemView,消耗过多的性能 下面就以ListView和BaseAdapter简单地讲一下,代码很简单: @Override public View getView(int position, View convertView, ViewGroup parent) { ViewHolder holder = null; if (convertView == null){ holder = new ViewHolder(); convertView = layoutInflater.inflate(R.layout.item,null); holder.button = convertView.findViewById(R.id.button); convertView.setTag(holder); }else { holder = (ViewHolder) convertView.getTag(); } holder.button.setText(""+position); if (position % 3 == 0){//当position能被3整除时,就改变其背景颜色 holder.button.setBackgroundColor(Color.BLUE); } return convertView; } 正常情况,如下图 当我们多滑动几次后 就会出现如上图的错位情况,解决办法也很简单 if (position % 3 == 0){ holder.button.setBackgroundColor(Color.BLUE); }else { holder.button.setBackgroundColor(Color.GRAY); } 对每个holder的背景都重新设置一次,防止item使用缓存中item的背景

优秀的个人博客,低调大师

Android中gradle文件中implementation和compile的异同

相同之处:都是为Module添加依赖 不同之处:implementation不可以依赖传递,但是compile可以依赖传。这是什么意思呢?有经验的开发人员基本上都了解,举个例子,如果一个App依赖于libA,libA又依赖于libB,那么App可以调用libB中的方法吗? 经过验证,如果App implementation libA (libA implementation libB),那么App是无法调用libB中的方法,如果使用complie的话,App 就可以调用libB中的方法 当然,推荐还是implementation,避免跨依赖调用,导致模块之间耦合性过高,管理起来混乱

优秀的个人博客,低调大师

Xamarin.Android 压缩图片并上传到WebServices

随着手机的拍照像素越来越高,导致图片赞的容量越来越大,如果上传多张图片不进行压缩、质量处理很容易出现OOM内存泄漏问题。 最近做了一个项目,向webservices上传多张照片,但是项目部署出来就会出现闪退现象,后来经行调试发现图片没有进行压缩,一张图片大小为2M,然而webservices没法接搜多个大图片,所以需要改下配置文件,我这里改为40M。 <system.web> <httpRuntime maxRequestLength = "40960" useFullyQualifiedRedirectUrl="true"/> </system.web> 这里改好后发现上传图片还是有问题,后来经过一步步调试发现将本地图片转换成Bitmap后没有清空,然后一直存放在内存中,导致内存泄漏。只要把转换完的Bitmap清空一下就好了。 /// <summary> /// 图片转换成String流 /// </summary> /// <param name="file_path">文件名(不带file://)</param> /// <returns></returns> public static string ImageToString(string file_path) { //待上传图片路径 //string uploadFile = file_path; //转化成文件 //System.IO.FileInfo imgFile = new System.IO.FileInfo(uploadFile); ////文件转化成字节 //byte[] imgByte = new byte[imgFile.Length]; //////读文件 //System.IO.FileStream imgStream = imgFile.OpenRead(); //////文件写入到字节数组 //imgStream.Read(imgByte, 0, Convert.ToInt32(imgFile.Length)); //////字节数组转换成String类型 //string by = Convert.ToBase64String(imgByte); ////上传到服务器 后面是文件名 ////fileUp.UpdateFile(imgByte, Guid.NewGuid() + ".png"); //return imgByte; Bitmap bitmap = BitmapFactory.DecodeFile(file_path); //将图片文件转换成bitmap 格式:/storage/emulated/0/DCIM/Camera/IMG_20180425_105725.jpg string bitstring = BitmapToString(bitmap); bitmap = null; //一定要清空,否则会导致OOM问题 GC.Collect(); return bitstring; } /// <summary> /// 图片缩放处理 /// </summary> /// <param name="bgimage">Bitmap文件</param> /// <param name="newWidth">新图片宽度</param> /// <param name="newHeight">新图片高度</param> /// <returns></returns> public static Bitmap zoomImage(Bitmap bgimage, double newWidth, double newHeight) { // 获取这个图片的宽和高 float width = bgimage.Width; float height = bgimage.Height; // 创建操作图片用的matrix对象 Matrix matrix = new Matrix(); // 计算宽高缩放率 float scaleWidth = ((float)newWidth) / width; float scaleHeight = ((float)newHeight) / height; // 缩放图片动作 matrix.PostScale(scaleWidth, scaleHeight); Bitmap bitmap = Bitmap.CreateBitmap(bgimage, 0, 0, (int)width, (int)height, matrix, true); return bitmap; } static string BitmapToString(Bitmap bitmap) { Bitmap bit = zoomImage(bitmap, 750, 1000);//小图 //质量压缩 //MemoryStream stream = new MemoryStream(); //bit.Compress(Bitmap.CompressFormat.Jpeg, 50, stream); //byte[] bitmapData = stream.ToArray(); //Bitmap map = BitmapFactory.DecodeByteArray(bitmapData, 0, bitmapData.Length); //btn_imagetwo.SetImageBitmap(map); //Bitmap im = zoomImage(bitmap, 800, 900);//大图 MemoryStream big_stream = new MemoryStream(); bit.Compress(Bitmap.CompressFormat.Jpeg, 80, big_stream); byte[] big_bitmapData = big_stream.ToArray(); return Convert.ToBase64String(big_bitmapData); } webservices接受进行保存图片: private String ImagePath = "/HandlerImages/"; /// <summary> /// 上传图片 /// </summary> /// <param name="content">图片字符流</param> /// <param name="pathandname">图片名称</param> /// <returns></returns> [WebMethod] public bool UpdateFile(string content, string pathandname) { //保存图片路径 string FilePath = Server.MapPath(ImagePath); //判断路径是否存在 if (!Directory.Exists(FilePath)) { //创建路径 Directory.CreateDirectory(FilePath); } string SaveFilePath = Path.Combine(FilePath, pathandname); byte[] fileBytes; try { fileBytes = Convert.FromBase64String(content); MemoryStream memoryStream = new MemoryStream(fileBytes); //1.定义并实例化一个内存流,以存放提交上来的字节数组。 FileStream fileUpload = new FileStream(SaveFilePath, FileMode.Create); ///2.定义实际文件对象,保存上载的文件。 memoryStream.WriteTo(fileUpload); ///3.把内存流里的数据写入物理文件 memoryStream.Close(); fileUpload.Close(); fileUpload = null; memoryStream = null; return true; } catch { return false; } } 调用webservices上传图片: MyWebService service = new MyWebService(); service.UpdateFile(ImageToByte("/storage/emulated/0/DCIM/Camera/IMG_20180425_105725.jpg"),Guid.NewGuid().ToString() + ".jpg");

资源下载

更多资源
腾讯云软件源

腾讯云软件源

为解决软件依赖安装时官方源访问速度慢的问题,腾讯云为一些软件搭建了缓存服务。您可以通过使用腾讯云软件源站来提升依赖包的安装速度。为了方便用户自由搭建服务架构,目前腾讯云软件源站支持公网访问和内网访问。

Nacos

Nacos

Nacos /nɑ:kəʊs/ 是 Dynamic Naming and Configuration Service 的首字母简称,一个易于构建 AI Agent 应用的动态服务发现、配置管理和AI智能体管理平台。Nacos 致力于帮助您发现、配置和管理微服务及AI智能体应用。Nacos 提供了一组简单易用的特性集,帮助您快速实现动态服务发现、服务配置、服务元数据、流量管理。Nacos 帮助您更敏捷和容易地构建、交付和管理微服务平台。

Rocky Linux

Rocky Linux

Rocky Linux(中文名:洛基)是由Gregory Kurtzer于2020年12月发起的企业级Linux发行版,作为CentOS稳定版停止维护后与RHEL(Red Hat Enterprise Linux)完全兼容的开源替代方案,由社区拥有并管理,支持x86_64、aarch64等架构。其通过重新编译RHEL源代码提供长期稳定性,采用模块化包装和SELinux安全架构,默认包含GNOME桌面环境及XFS文件系统,支持十年生命周期更新。

Sublime Text

Sublime Text

Sublime Text具有漂亮的用户界面和强大的功能,例如代码缩略图,Python的插件,代码段等。还可自定义键绑定,菜单和工具栏。Sublime Text 的主要功能包括:拼写检查,书签,完整的 Python API , Goto 功能,即时项目切换,多选择,多窗口等等。Sublime Text 是一个跨平台的编辑器,同时支持Windows、Linux、Mac OS X等操作系统。

用户登录
用户注册