GraphQL快速入门教程
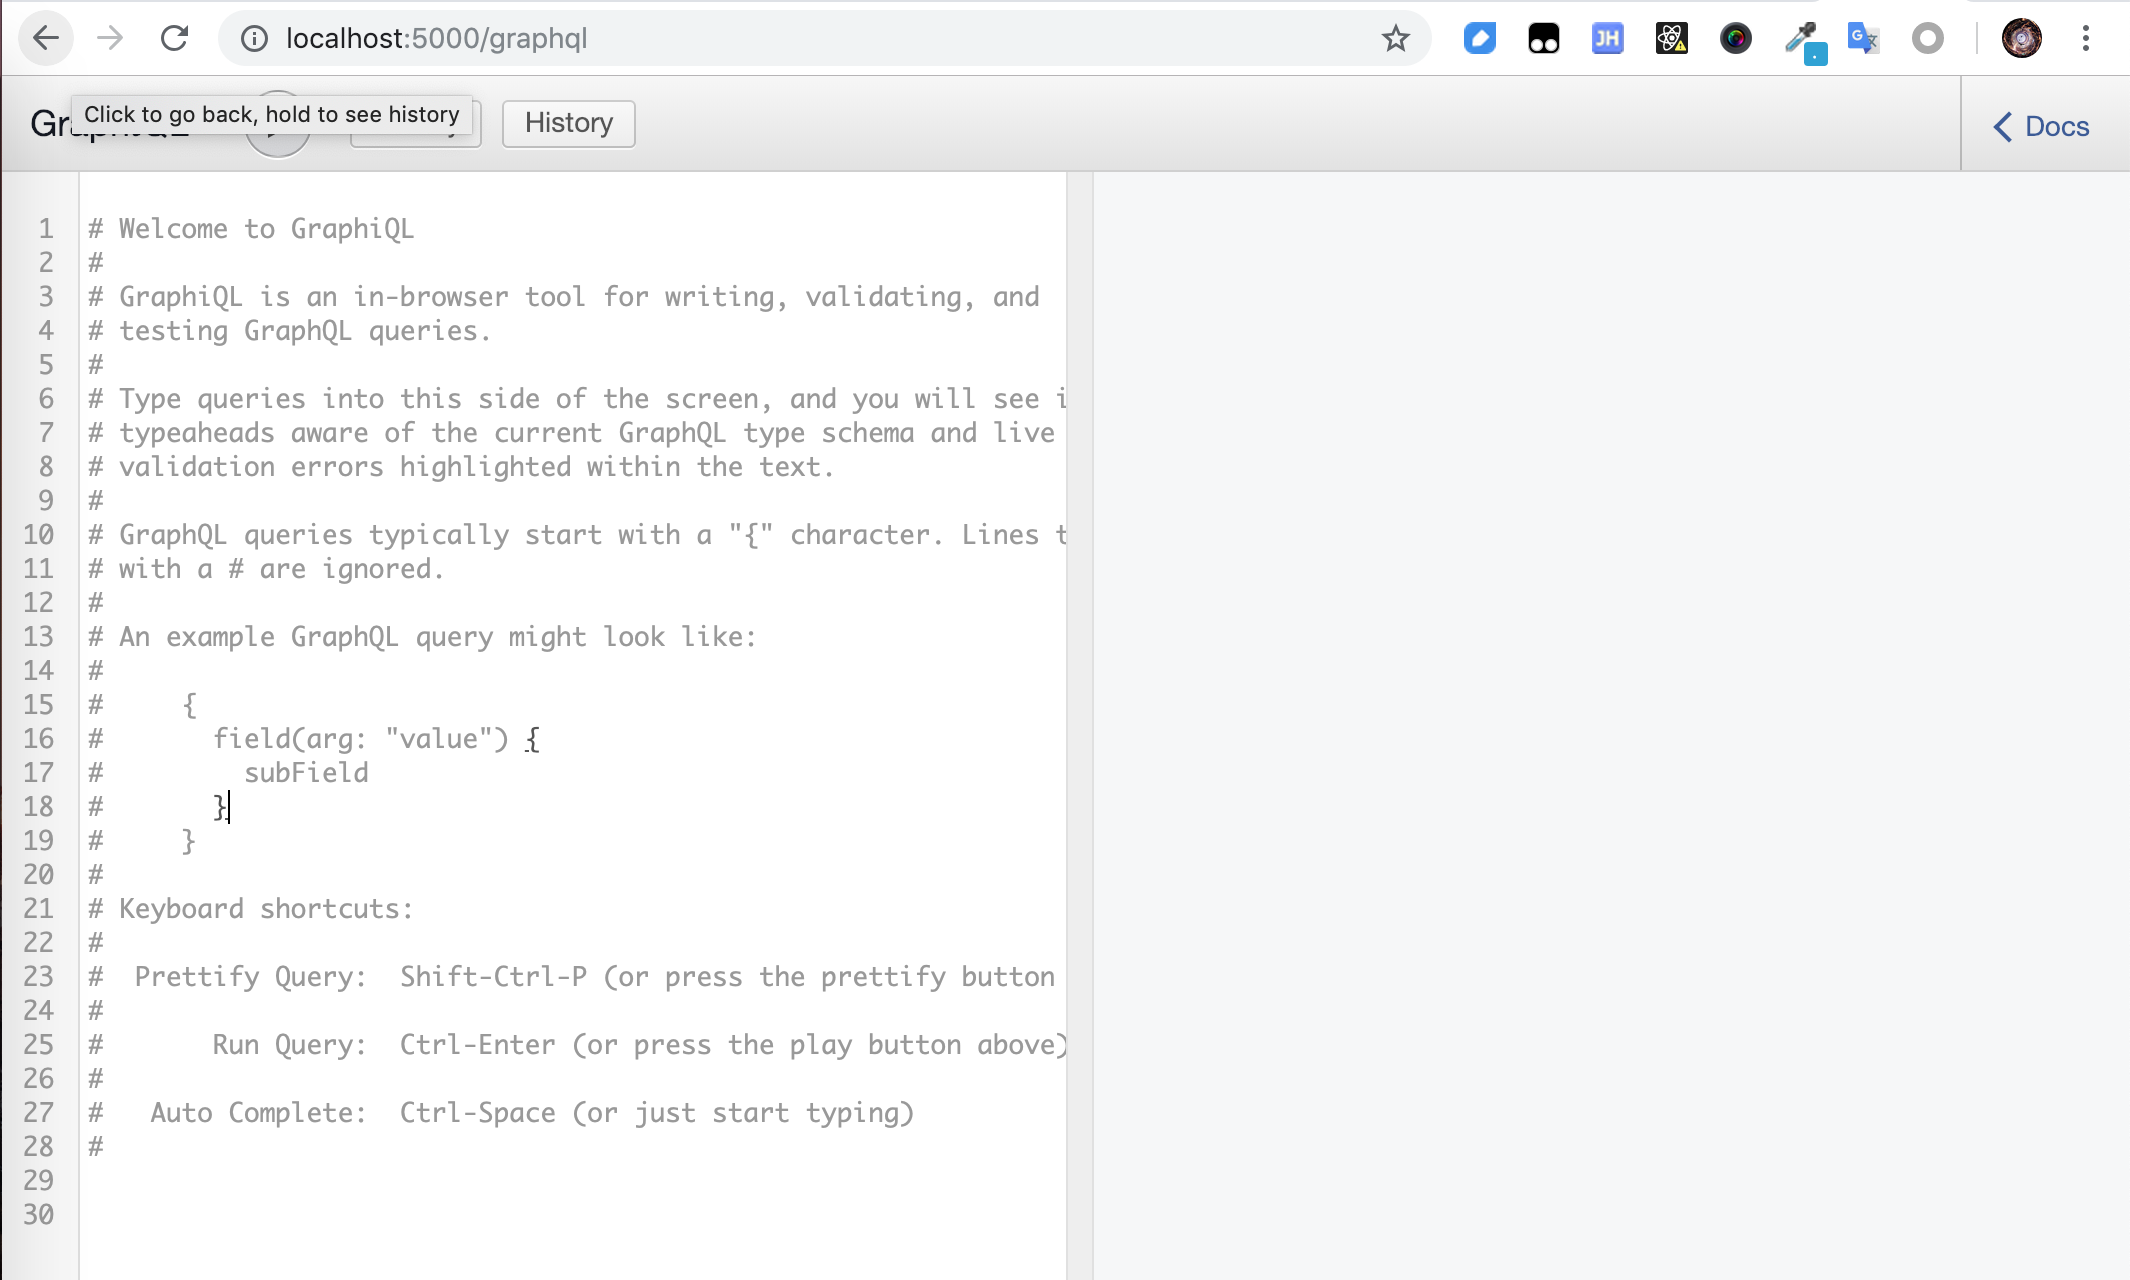
摘要: 体验神奇的GraphQL! 原文:GraphQL 入门详解 作者:MudOnTire Fundebug经授权转载,版权归原作者所有。 GraphQL简介 定义 一种用于API调用的数据查询语言 核心思想 传统的api调用一般获取到的是后端组装好的一个完整对象,而前端可能只需要用其中的某些字段,大部分数据的查询和传输工作都浪费了。graphQL提供一种全新数据查询方式,可以只获取需要的数据,使api调用更灵活、高效和低成本。 特点 需要什么就获取什么数据 支持关系数据的查询 API无需定义各种路由,完全数据驱动 无需管理API版本,一个版本持续演进 支持大部分主流开发语言和平台 强大的配套开发工具 使用方法 下面我们通过搭建一个SpaceX的新闻网站来直观学习graphQL的基本使用方法,所有数据由 官方API 获得。 GraphQL服务端 服务端采用node + express。新建一个node项目,安装如下依赖: $ npm i graphql express-graphql express axios 创建入口文件 server.js,里面创建express服务。使用graphQL我们只需要设置一个路由,所有的请求都由这个graphQL的request handler处理: const express = require("express"); const graphqlHTTP = require("express-graphql"); const schema = require("./schema"); const app = express(); app.use( "/graphql", graphqlHTTP({ schema, graphiql: true }) ); const PORT = process.env.PORT || 5000; app.listen(PORT, () => console.log(`Server started on port ${PORT}`)); graphqlHTTP是grapql的http服务,用于处理graphql的查询请求,它接收一个options参数,其中schema是一个 GraphQLSchema实例,我们接下来定义,graphiql设置为true可以在浏览器中直接对graphQL进行调试。更多express-graphql的用法请参考 Github express-graphql。 schema 接下来我们定义schema,schema意为‘模式’,其中定义了数据模型的结构、字段的类型、模型间的关系,是graphQL的核心。 新建schema.js文件,首先定义两个数据模型:LaunchType(发射)和 RocketType(火箭)。注意字段的数据类型需要使用GraphQL定义的,不能使用js中的基本数据类型。 const { GraphQLObjectType, GraphQLInt, GraphQLString, GraphQLBoolean, GraphQLList, GraphQLSchema } = require("graphql"); const LaunchType = new GraphQLObjectType({ name: "Launch", fields: () => ({ flight_number: { type: GraphQLInt }, mission_name: { type: GraphQLString }, launch_date_local: { type: GraphQLString }, launch_success: { type: GraphQLBoolean }, rocket: { type: RocketType } }) }); const LaunchType = new GraphQLObjectType({ name: "Rocket", fields: () => ({ rocket_id: { type: GraphQLString }, rocket_name: { type: GraphQLString }, rocket_type: { type: GraphQLString } }) }); 有了数据模型之后,我们需要从数据库或者第三方API获取数据,在此我们从spacex的官方API获取。我们需要定义一个root query,root query做为所有查询的入口,处理并返回数据,更多请参考 GraphQL Root fields & resolvers。 在 schema.js中增加代码: const axios = require("axios"); const RootQuery = new GraphQLObjectType({ name: "RootQueryType", fields: { launches: { type: new GraphQLList(LaunchType), resolve(parent, args) { return axios .get("https://api.spacexdata.com/v3/launches") .then(res => res.data); } } } }); module.exports = new GraphQLSchema({ query: RootQuery }); 查询列表 完成这一步,服务端api基本搭建完成!我们看一下效果,在浏览器中输入 http://localhost:5000/graphql 将打开 Graphiql(生产环境建议禁用): 我们可以只查询所有的 flight_number: 或者更多的属性: 是不是很简单很神奇! 单个查询 我们也可以通过传入参数查询单条信息: const RootQuery = new GraphQLObjectType({ name: "RootQueryType", fields: { launch: { type: LaunchType, args: { flight_number: { type: GraphQLInt } }, resolve(parent, args) { return axios .get( `https://api.spacexdata.com/v3/launches/${ args.flight_number }` ) .then(res => res.data); } } } }); 结果: 推荐大家使用Fundebug,一款很好用的BUG监控工具~ GraphQL前端 刚刚我们都是用GraphiQL在浏览器调用接口,接下来我们看一下在前端页面中怎么调用graphql服务。前端我们使用react。 在项目根目录初始化react项目: $ npx create-react-app client 为了便于调试,在package.json中增加scripts: "start": "node server.js", "server": "nodemon server.js", "client": "npm start --prefix client", "dev":"concurrently \"npm run server\" \"npm run client\" " 样式我们使用bootswatch中的一款主题: GraphQL的客户端有多种实现,本次项目使用 Apollo,最流行的GraphQL Client。更多client请参考 GraphQL Clients。 安装依赖 安装如下依赖: $ cd client $ npm i apollo-boost react-apollo graphql 其中 apollo-boost 是apollo client本身,react-apollo 是react视图层的集成,graphql 用于解析graphql的查询语句。 设置client 修改App.js内容如下: import React, { Component } from "react"; import ApolloClient from "apollo-boost"; import { ApolloProvider } from "react-apollo"; import "./theme.css"; import "./App.css"; import logo from "./spacex-logo-light.png"; const client = new ApolloClient({ uri: "http://localhost:5000/graphql" }); class App extends Component { render() { return ( <ApolloProvider client={client}> <div className="container"> <img src={logo} id="logo" /> </div> </ApolloProvider> ); } } export default App; 和redux使用<Provider>传递store类似,react-apollo 通过 <ApolloProvider>将apollo client向下传递。 实现query 接着我们来实现显示launches的component,新增文件 components/Launches.js: import React, { Component, Fragment } from "react"; import gql from "graphql-tag"; import { Query } from "react-apollo"; import LaunchItem from "./LaunchItem"; const LAUNCHES_QUERY = gql` query LaunchesQuery { launches { flight_number mission_name launch_date_local launch_success } } `; export class Launches extends Component { render() { return ( <Fragment> <h1 className="display-4 my-3">Launches</h1> <Query query={LAUNCHES_QUERY}> {({ loading, error, data }) => { if (loading) return <h4>Loading...</h4>; if (error) console.log(error); return ( <Fragment> {data.launches.map(launch => ( <LaunchItem key={launch.flight_number} launch={launch} /> ))} </Fragment> ); }} </Query> </Fragment> ); } } export default Launches; query语句通过 graphql-tag 定义,传入 <Query> 执行获取数据并传入 LaunchItem 显示。 components/LaunchItem.js: import React from "react"; export default function LaunchItem({ launch: { flight_number, mission_name, launch_date_local, launch_success } }) { return ( <div className="card card-body mb-3"> <div className="col-md-9"> <h4>Mission: {mission_name}</h4> <p>Date: {launch_date_local}</p> </div> <div className="col-md-3"> <button className="btn btn-secondary">Launch Details</button> </div> </div> ); } 查询语句通过graphql-tag定义,然后传入<Query>执行。 运行 由于本地调试,client和server分别运行在不同的端口,所以需要先进行跨域处理,使用 cors。 // server.js const cors = require('cors'); app.use(cors()); 效果 好了,大功告成,我们来看一下效果: 结语 今天就主要介绍GraphQL工程的搭建和GraphQL Query的使用,更多关于GraphQL的内容比如 Mutation下次有空会跟大家逐步讲解。 本文灵感来源:Youtube@Traversy Media,感谢 本文Demo Github地址:Github@MudOnTire 本文Demo线上展示:Heroku@graphql-spacex-launches 关于Fundebug Fundebug专注于JavaScript、微信小程序、微信小游戏、支付宝小程序、React Native、Node.js和Java线上应用实时BUG监控。 自从2016年双十一正式上线,Fundebug累计处理了10亿+错误事件,付费客户有阳光保险、核桃编程、荔枝FM、掌门1对1、微脉、青团社等众多品牌企业。欢迎大家免费试用!