ELK平台搭建 ES
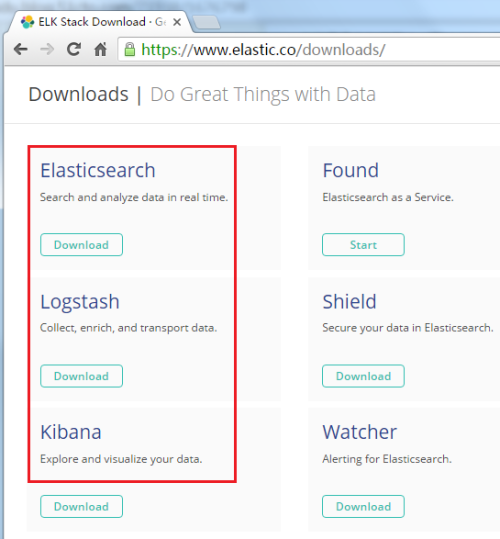
系统环境: System: Centos 6.5 ElasticSearch: 2.3.3 Logstash: 2.3.3 Kibana: 4.5.1 Java: jdk_1.8.0_71 新建用户: ELK不允许root用户启动 1 #useraddelk JDK或JRE下载安装: java也可到这个地址下载https://www.reucon.com/cdn/java/ 1 2 3 #mkdir/usr/java/ #cd/usr/java #tar-zxvfjdk-8u71-linux-x64.tar.gz 1 2 3 4 5 6 7 8 9 10 11 12 #修改文件夹名,防止异常,养成好习惯 #mvjdk1.8.0_71jdk18071 #配置环境变量 #vi/etc/profile export JAVA_HOME= /usr/java/jdk18071 export JAVA_BIN=$JAVA_HOME /bin export JRE_HOME=$JAVA_HOME /jre export JRE_bin=$JRE_HOME /bin export CLASSPATH=.:$JAVA_HOME /lib :$JRE_HOME /lib export PATH=$JAVA_BIN:$PATH #配置生效 #source/etc/profile Redis安装 1 2 #yuminstallepel-release–y #yuminstallredis–y 修改redis配置文件使redis监听所有ip,默认情况下只监听127.0.0.01 1 2 #vi/etc/redis.conf bind0.0.0.0 启动Redis CentOS 6 1 #serviceredisstart CentOS 7 1 #systemctlrestartredis.service 下载: ELK下载:https://www.elastic.co/downloads/ ElasticSearch安装: 建立存放目录: 切记:涉及ElasticSearch的目录和文件,一定要全修改权限,否则启动会报错。 1 2 #mkdir-p/elk/{data,logs,work,plugins,scripts} #chown-Relk:elk/elk 配置ElasticSearch: 1 2 3 #tar-zxvfelasticsearch-2.3.3.tar.gz #chown-Relk:elkelasticsearch-2.3.3 #cdelasticsearch-2.3.3 安装Head插件(Optional): 1 #./bin/plugininstallmobz/elasticsearch-head 然后编辑ES的配置文件: 1 #viconfig/elasticsearch.yml 修改以下配置项: 1 2 3 4 5 6 7 8 9 10 11 cluster.name:cluster(集群名称) node.name: "test-node1" (集群结点名称) path.data: /elk/data (数据) path.logs: /elk/logs (日志路径) node.master: true (是否可被选为主结点,默认 true ) node.data: true (结点是否存储数据,默认 true ) index.number_of_shards:5(索引分片数) index.number_of_replicas:1(索引副本数) transport.tcp.port:9300(数据传输IP) network.host:192.168.1.100(当前 hostname 或IP,我这里是IP) http.port:9200(对外访问监听IP) 启动ES: 使用ctrl+C停止,参数-d 或& 为后台启动 1 $. /bin/elasticsearch -d 1 $. /bin/elasticsearch & 测试: 1 curl-XGEThttp: //IP :9200 返回展示了配置的cluster_name和name,以及安装的ES的版本等信息。 刚刚安装的head插件,它是一个用浏览器跟ES集群交互的插件,可以查看集群状态、集群的doc内容、执行搜索和普通的Rest请求等。 现在也可以使用它打开http://IP:9200/_plugin/head页面来查看ES集群状态。 可以看到,现在,ES集群中没有index,也没有type,因此这两条是空的。 Logstash安装: 配置Logstash: 1 2 tar -zxvflogstash-2.1.1. tar .gz cd logstash-2.1.1 编写配置文件(名字和位置可以随意,这里我放在config目录下,取名为log4j_to_es.conf): 1 2 mkdir config vi config /log4j_to_es .conf 输入以下内容: 1 2 3 4 5 6 7 8 9 10 11 12 13 14 15 16 17 18 19 20 21 22 23 #Fordetailstructureofthisfile #Set:https://www.elastic.co/guide/en/logstash/current/configuration-file-structure.html input{ #Fordetailconfigforlog4jasinput, #See:https://www.elastic.co/guide/en/logstash/current/plugins-inputs-log4j.html log4j{ mode=> "server" host=> "192.168.1.100" #IPorHostName port=>4567 } } filter{ #Onlymatcheddataaresendtooutput. } output{ #Fordetailconfigforelasticsearchasoutput, #See:https://www.elastic.co/guide/en/logstash/current/plugins-outputs-elasticsearch.html elasticsearch{ action=> "index" #TheoperationonES hosts=> "192.168.1.100:9200" #IPorHostName,ElasticSearchhost,canbearray. index=> "applog" #Theindextowritedatato. } } 启动: 使用agent来启动它(使用-f指定配置文件): 1 . /bin/logstash agent-fconfig /log4j_to_es .conf 启动成功 参考文章: http://my.oschina.net/itblog/blog/547250 http://blog.csdn.net/gongzi2311/article/details/51699958 http://blog.csdn.net/laoyang360/article/details/51417097 本文转自 piazini 51CTO博客,原文链接:http://blog.51cto.com/wutou/1792548