Linux高可用集群(Corosync+Pacemaker)
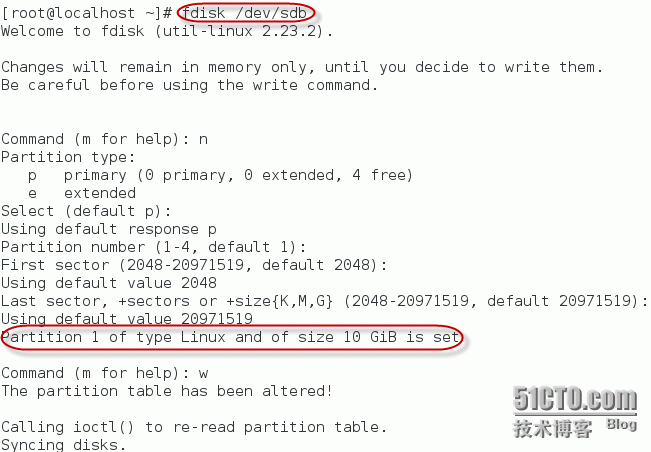
说在前面: 这个编辑器也太霸道了,,两个浏览器,,一个不能粘贴,一个不能上图,只能保存草稿之后切换, 造孽啊! 写博不易,且看且珍惜 [蜡烛] ntp服务器配置 1 2 3 4 5 6 7 8 9 10 11 12 13 14 15 16 # vim /etc/ntf.conf 加入如下配置 . # 国家授时中心 restrict 210.72.145.44 restrict 202.120.2.101 restrict 1.cn.pool.ntp.org # 允许本网络内机器同步 restrict 172.16.43.0 mask 255.255.255.0 nomodify . server 210.72.145.44 server 202.120.2.101 server 1.cn.pool.ntp.org # 配置完毕 service ntpd restart # 注意 时间服务器配置后需要等待10-15分钟 # ntpstat 可查看时间服务器状态 # 客户端使用ntpdate来同步时间 (集群中十分常用) 高可用概念: 采用架构冗余(2台以上机器) 底层节点信息传递(下图 Messaging/Infrashructrue 层) 计算机资源管理与协调(下图 Resource Allocation 层)与一身架构设计 高可用架构一览 来自https://www.suse.com/Document 高可用方案 ML messaging/infrashructrue CRM cluster resource manager RA resource agent(resorce provider) i) Corosync/OpenAIS [ML] + (Pacemaker,crm) [CRM] ii) heartbeat v1 [ML] + haresource [CRM] iii)heartbeat v2 [ML] + (crm,crmsh/hb_gui) [CRM] iv) Cman+Corosync [ML] + Pacemaker [CRM] # 以上方案在功能特点上没有区别,在于易用性 v) PCS + Conga + Pacemaker + Corosync vi) PCS + Pcsd + Pacemaker + Corosync # 以上均为全生命周期集群配置 vii) Cman + RHCS # 重量级解决方案 实验配置 172.16.43.200 master.king.com <- 主控节点,负责配置集群,但不参与 172.16.43.1 slave1.king.com <- 集群节点1 172.16.43.2 slave2.king.com <- 集群节点2 实验过程 i) 主控节点配置 1 2 3 4 5 6 7 8 9 10 11 12 13 14 15 16 17 18 19 20 21 22 23 24 25 26 27 28 29 30 31 32 33 34 35 36 37 38 39 40 41 42 43 44 45 46 47 48 49 50 51 52 53 54 55 # 安装 ansible yum -y install ansible-1.5.4-1.el6.noarch.rpm # 配置复制节点互信 ssh -keygen -t rsa # 此处需要 slave1.king.com 在主控节点上解析 ssh -copy- id -i ~/. ssh /id_rsa .pub root@slave1.king.com 或 scp ~/. ssh /id_rsa .pub root@172.16.43.1: /root/ . ssh /authorized_keys # 安装corosync,pacemaker,pcs,crmsh yum -y install corosync pacemaker yum -y install pssh-2.3.1-2.el6.x86_64.rpm yum -y install crmsh-1.2.6-4.el6.x86_64.rpm # 集群节点项配置 cd /etc/corosync cp corosync.conf.example corosync.conf # 编辑配置文件 vim corosync.conf totem { version: 2 secauth: on # 集群节点需要验证才能加入集群 threads: 0 interface { ringnumber: 0 bindnetaddr: 172.16.43.0 # 在此网段进行广播 mcastaddr: 226.94.43.1 # 多播地址 mcastport: 5405 ttl: 1 } } logging { fileline: off to_stderr: no to_logfile: yes to_syslog: yes logfile: /var/log/cluster/corosync .log debug: off timestamp: on logger_subsys { subsys: AMF debug: off } } amf { mode: disabled } service { ver: 0 name: pacemaker # 启动corosync时启动pacemaker服务 } aisexec { user: root group: root } # 生成corosync节点验证信息 corosync-keygen ii): 集群节点安装corosync + pacemaker + crmsh + pssh 及配置 1 2 3 4 5 6 7 8 9 10 11 12 13 14 15 16 17 18 19 20 21 22 23 24 25 26 27 28 # 配置集群节点互信,分别在集群节点1,2上执行 ssh -keygen -t rsa ssh -copy- id -i ~/. ssh /id_rsa .pub root@slave2.king.com ssh -keygen -t rsa ssh -copy- id -i ~/. ssh /id_rsa .pub root@slave1.king.com . # 配置管理节点将管理的集群节点信息 /etc/ansible/hosts [server] slave1.king.com slave2.king.com . # all 是代表hosts文件中所定义所有集群主机, all 也可换 server当前的意义是等价的 # 安装 corosync pacemaker crmsh pssh 注意crmsh , pssh 没有用yum源 # 本地文件先拷贝在安装的 ansible all -m yum -a 'name=corosync state=present' ansible all -m yum -a 'name=pacemaker state=present' ansible all -m copy -a 'src=./crmsh-1.2.6-4.el6.x86_64.rpm dest=/root' ansible all -m copy -a 'src=./pssh-2.3.1-2.el6.x86_64.rpm dest=/root' # pssh crmsh的本地安装 ansible all -m command -a 'yum -y install /root/pssh-2.3.1-2.el6.x86_64.rpm' ansible all -m command -a 'yum -y install /root/crmsh-1.2.6-4.el6.x86_64.rpm' # 将主控节点配置好的信息同步到集群节点 authkey , corosync 到 slave1,slave2 ansible all -m copy -a 'src=/etc/corosync/authkey dest=/etc/corosync' ansible all -m file -a 'path=/etc/corosync/authkey mode=400' ansible all -m copy -a 'src=/etc/corosync/corosync.conf dest=/etc/corosync' ansible all -m service -a 'name=corosync state=started' # 更多modual及参数请详见 ansible-doc modualname iii): 配置集群资源 1 2 3 4 5 6 7 8 9 10 11 12 13 14 15 16 17 18 19 20 21 22 crm # 在主控节点中进入crm管理器 crm > status # 查看集群状态 . 图1 # 这里是双节点集群 , 一旦失效就可能导致资源无法转移 , 所以这里设置不需要 隔离设备 crm(live)configure > property stonith-enabled= false crm(live)configure > property no-quorum-policy=ignore # 查看设置 . 图2 crm > help # 获得crm菜单帮助 # 使用configure配置主资源 注意 提示符 处的菜单路径 crm(live)configure > primitive webip ocf:heartbeat:IPaddr params ip=172.16.43.88 op monitor interval=30s timeout=20s onfail restart crm(live)configure > primitive webfile ocf:heartbeat:Filesystem params device= '172.16.43.200:/htdocs' directory= '/var/www/html' fstype= 'nfs' op monitor intetval=30s timeout=20s onfail restart crm(live)configure > primitive webhttp ocf:heartbeat:httpd crm > status # 查看集群状态, 此时资源处于均衡负载 . 图3 # 将资源加入组实现资源聚合 crm(live)configure > group webserivce webip crm(live)configure > group webserivce webfile crm(live)configure > group webserivce webhttp # 将资源加入排列顺序实现资源启动先后 order order_webip_webfile_webhttp mandatory: webip webfile webhttp . 图4 图1 图2 图3 图4 iv): 测试 .图 先发出来, 标记 .图 的地方正在编辑上传中.... 本文转自My_King1 51CTO博客,原文链接:http://blog.51cto.com/apprentice/1398628,如需转载请自行联系原作者