华为鸿蒙OS 尝鲜 (二)创建TV(JS)应用
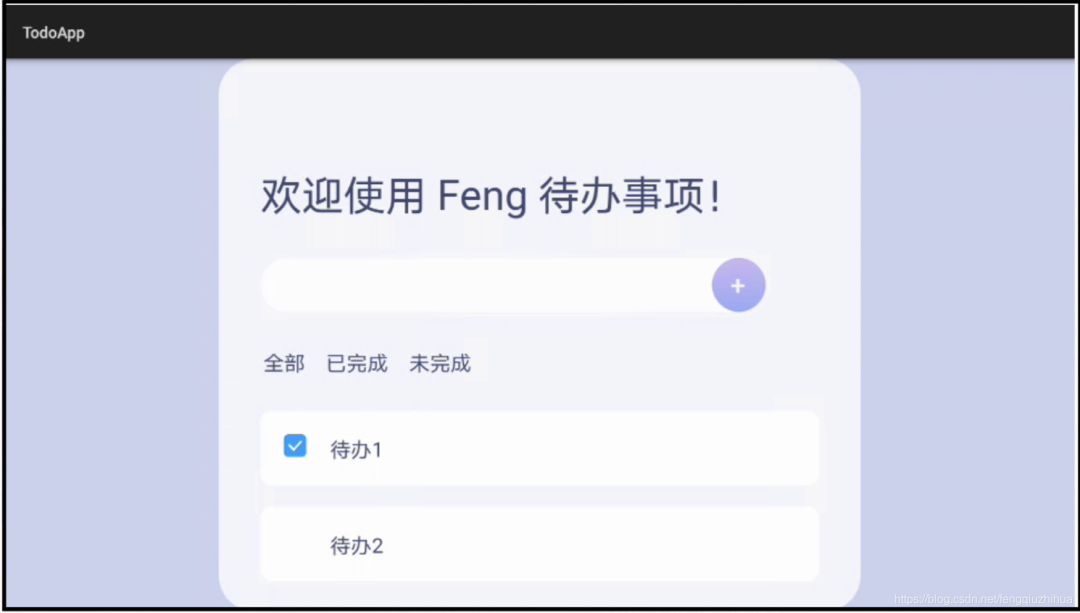
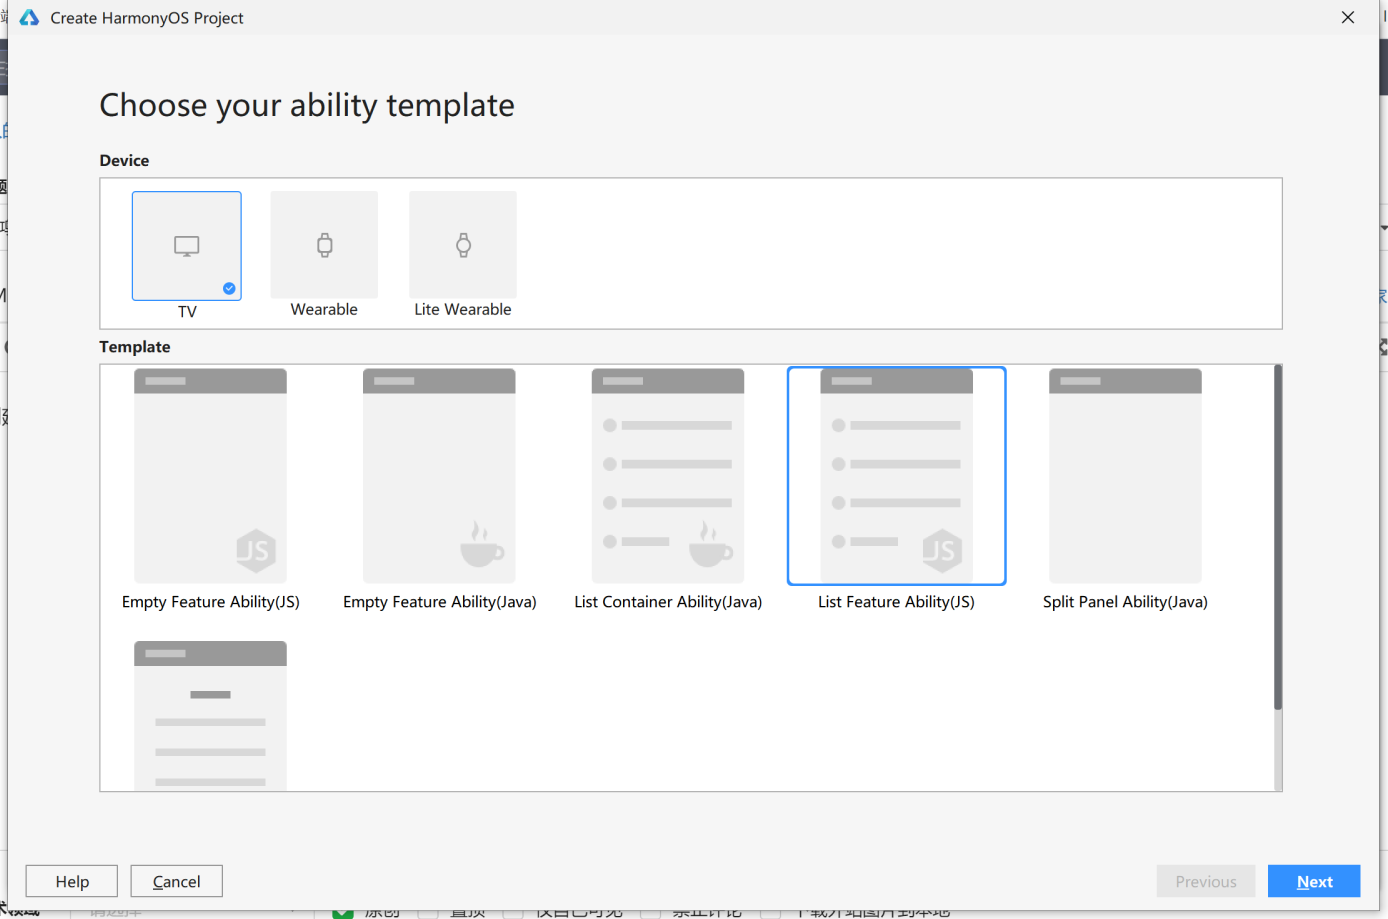
1. 选择TV设备 列表模板(JS版本) ![] 2. 生成后JS版本部分如下: index.css 样式控制和平常css没啥两样 .container { flex-direction: row; justify-content: flex-start; align-items: flex-start; background-color: #000000; } .title { line-height: 60px; font-size: 48px; margin-bottom: 16px; color: #ffffff; margin-left: 48px; } .content_box { flex-direction: column; justify-content: flex-start; align-items: flex-start; width: 516px; margin-top: 24px; } .content-list { width: 516px; flex-direction: column; justify-content: flex-start; align-items: flex-start; flex-grow: 1; } .content-bar { flex-direction: row; justify-content: space-between; align-items: center; width: 420px; height: 48px; margin-left: 48px; margin-right: 48px; background-color: #808080; border-radius: 8px; } .content-bar-focus { flex-direction: row; justify-content: space-between; align-items: center; width: 420px; height: 48px; margin-left: 48px; margin-right: 48px; background-color: #ffffff; border-radius: 8px; } .bar-title { color: #ffffff; font-size: 24px; margin-left: 15px; } .bar-title-focus { color: #000000; font-size: 24px; margin-left: 15px; } .bar-more { flex-direction: row; justify-content: space-between; align-items: center; margin-right: 15px; width: 30px; height: 24px; } .bar-img { object-fit: contain; } .content_img { width: 444px; flex-direction: column; justify-content: flex-start; align-items: flex-end; } .img-box { margin-top: 160px; margin-right: 160px; background-color: #808080; width: 198px; height: 198px; } .img-img { object-fit: contain; width: 198px; height: 198px; } .text_box { width: 272px; justify-content: center; margin-right: 123px; margin-top: 12px; } .img-text { font-size: 24px; color: #ffffff; } index.hml 模板文件 <div class="container"> <div class="content_box"> <text class="title">{{Title}} </text> <list class="content-list"> <list-item type="listItem" class="{{list_item_class1}}" onfocus="focusFunc1" onblur="blurFunc1"> <text class="{{text_class1}}">{{$t('strings.list')}} 1 </text> <div class="bar-more"> <image class="bar-img" src="../../common/arrow.png"></image> </div> </list-item> <list-item type="divider" style="height: 12px"></list-item> <list-item type="listItem" class="{{list_item_class2}}" onfocus="focusFunc2" onblur="blurFunc2"> <text class="{{text_class2}}">{{$t('strings.list')}} 2 </text> <div class="bar-more"> <image class="bar-img" src="../../common/arrow.png"></image> </div> </list-item> <list-item type="divider" style="height: 12px"></list-item> <list-item type="listItem" class="{{list_item_class3}}" onfocus="focusFunc3" onblur="blurFunc3"> <text class="{{text_class3}}">{{$t('strings.list')}} 3 </text> <div class="bar-more"> <image class="bar-img" src="../../common/arrow.png"></image> </div> </list-item> <list-item type="divider" style="height: 12px"></list-item> <list-item type="listItem" class="{{list_item_class4}}" onfocus="focusFunc4" onblur="blurFunc4"> <text class="{{text_class4}}">{{$t('strings.list')}} 4 </text> <div class="bar-more"> <image class="bar-img" src="../../common/arrow.png"></image> </div> </list-item> <list-item type="divider" style="height: 12px"></list-item> <list-item type="listItem" class="{{list_item_class5}}" onfocus="focusFunc5" onblur="blurFunc5"> <text class="{{text_class5}}">{{$t('strings.list')}} 5 </text> <div class="bar-more"> <image class="bar-img" src="../../common/arrow.png"></image> </div> </list-item> <list-item type="divider" style="height: 12px"></list-item> <list-item type="listItem" class="{{list_item_class6}}" onfocus="focusFunc6" onblur="blurFunc6"> <text class="{{text_class6}}">{{$t('strings.list')}} 6 </text> <div class="bar-more"> <image class="bar-img" src="../../common/arrow.png"></image> </div> </list-item> </list> </div> <div class="content_img"> <div class="img-box"> <image class="img-img" src=""></image> </div> <div class="text_box"> <text class="img-text">{{$t('strings.img-text')}} </text> </div> </div> </div> index.js 脚本控制部分 export default { data: { Title: "", list_item_class1: "content-bar", text_class1: "bar-title", list_item_class2: "content-bar", text_class2: "bar-title", list_item_class3: "content-bar", text_class3: "bar-title", list_item_class4: "content-bar", text_class4: "bar-title", list_item_class5: "content-bar", text_class5: "bar-title", list_item_class6: "content-bar", text_class6: "bar-title", }, onInit (){ this.Title = this.$t('strings.title'); }, /* activated when the component has focus */ focusFunc1: function () { this.list_item_class1 = "content-bar-focus"; this.text_class1 = "bar-title-focus"; }, /* activated when the component loses focus */ blurFunc1: function () { this.list_item_class1 = "content-bar"; this.text_class1 = "bar-title"; }, focusFunc2: function () { this.list_item_class2 = "content-bar-focus"; this.text_class2 = "bar-title-focus"; }, blurFunc2: function () { this.list_item_class2 = "content-bar"; this.text_class2 = "bar-title"; }, focusFunc3: function () { this.list_item_class3 = "content-bar-focus"; this.text_class3 = "bar-title-focus"; }, blurFunc3: function () { this.list_item_class3 = "content-bar"; this.text_class3 = "bar-title"; }, focusFunc4: function () { this.list_item_class4 = "content-bar-focus"; this.text_class4 = "bar-title-focus"; }, blurFunc4: function () { this.list_item_class4 = "content-bar"; this.text_class4 = "bar-title"; }, focusFunc5: function () { this.list_item_class5 = "content-bar-focus"; this.text_class5 = "bar-title-focus"; }, blurFunc5: function () { this.list_item_class5 = "content-bar"; this.text_class5 = "bar-title"; }, focusFunc6: function () { this.list_item_class6 = "content-bar-focus"; this.text_class6 = "bar-title-focus"; }, blurFunc6: function () { this.list_item_class6 = "content-bar"; this.text_class6 = "bar-title"; } } 国际化(i18n)的支持: 从观看直播华为应该是对这块很重视帮助开发者“走出去”。 zh-CN.json { "strings":{ "title":"标题", "list": "栏目", "img-text":"显示图片" }, "Files":{ } } en-US.json { "strings":{ "title":"Title", "list": "List", "img-text":"Display Image" }, "Files":{ } } 3. 结尾 运行看效果: 这个和混合APP开发没啥太大区别(可能API,个别语法稍微不太一样)前端开发者应该能很快上手。