#
include
"opencv2/highgui.hpp"
#
include
"opencv2/imgproc.hpp"
#
include
<iostream
>
#
include
<stdio.h
>
using
namespace cv;
using
namespace std;
/** @function main */
int main(
int argc,
char
*
* argv )
{
cv
:
:Mat src
= cv
:
:imread(
"test.jpg",
0);
if (
!src.data)
return
0;
vector
<Point
> not_a_rect_shape;
not_a_rect_shape.push_back(Point(
122,
0));
not_a_rect_shape.push_back(Point(
814,
0));
not_a_rect_shape.push_back(Point(
22,
540));
not_a_rect_shape.push_back(Point(
910,
540));
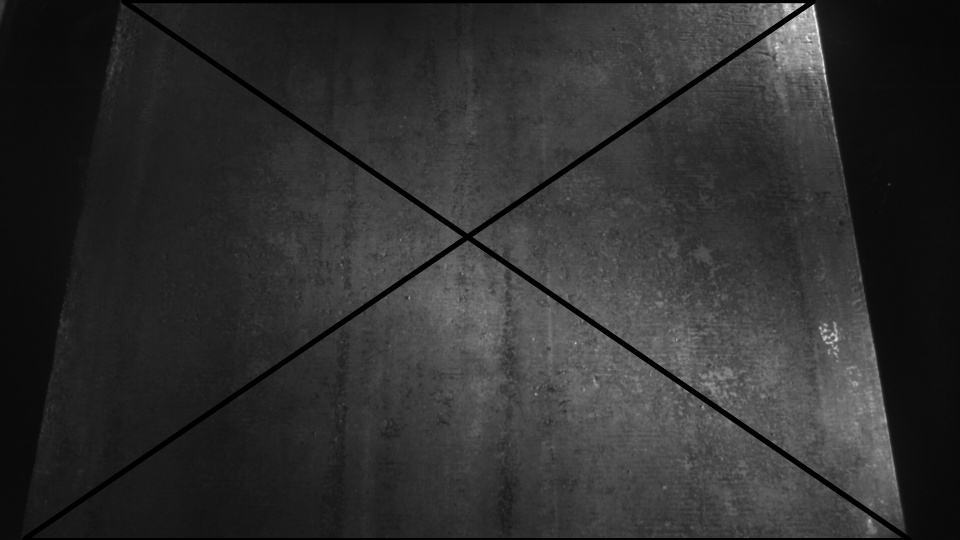
// For debugging purposes, draw green lines connecting those points
// and save it on disk
const Point
* point
=
¬_a_rect_shape[
0];
int n
= (
int )not_a_rect_shape.size();
Mat draw
= src.clone();
polylines(draw,
&point,
&n,
1,
true, Scalar(
0,
255,
0),
3, CV_AA);
imwrite(
"draw.jpg", draw);
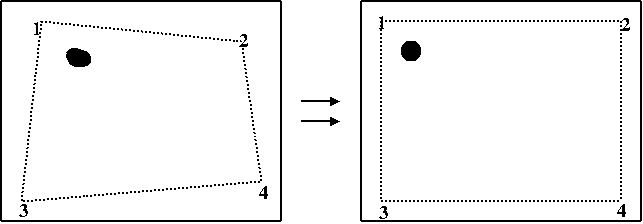
// topLeft, topRight, bottomRight, bottomLeft
cv
:
:Point2f src_vertices[
4];
src_vertices[
0]
= not_a_rect_shape[
0];
src_vertices[
1]
= not_a_rect_shape[
1];
src_vertices[
2]
= not_a_rect_shape[
2];
src_vertices[
3]
= not_a_rect_shape[
3];
Point2f dst_vertices[
4];
dst_vertices[
0]
= Point(
0,
0);
dst_vertices[
1]
= Point(
960,
0);
dst_vertices[
2]
= Point(
0,
540);
dst_vertices[
3]
= Point(
960,
540);
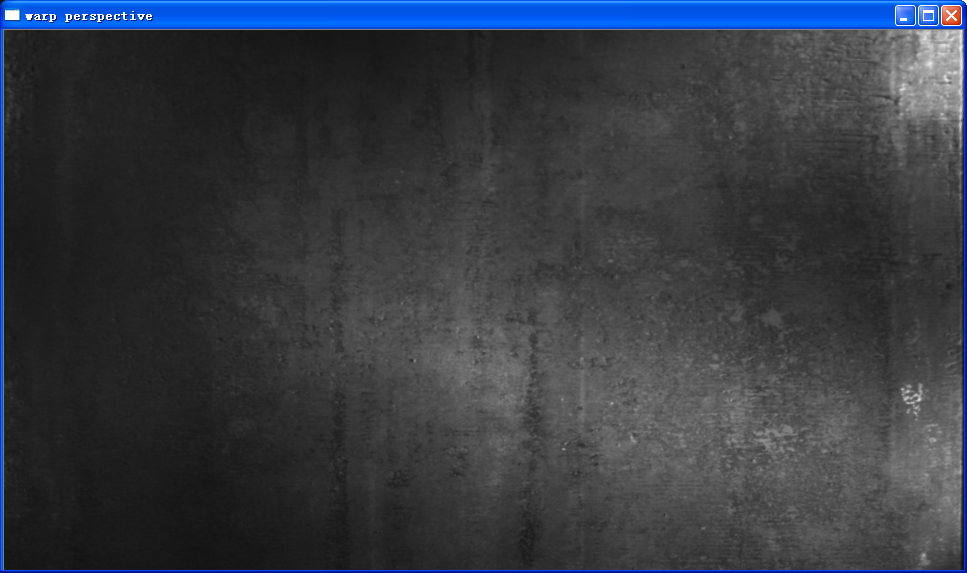
Mat warpMatrix
= getPerspectiveTransform(src_vertices, dst_vertices);
cv
:
:Mat rotated;
warpPerspective(src, rotated, warpMatrix, rotated.size(), INTER_LINEAR, BORDER_CONSTANT);
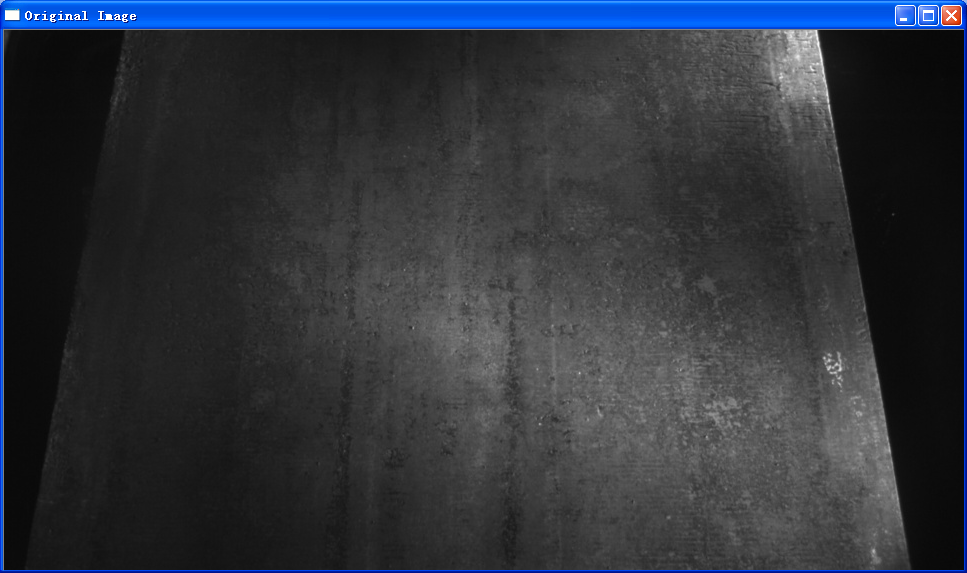
// Display the image
cv
:
:namedWindow(
"Original Image");
cv
:
:imshow(
"Original Image",src);
cv
:
:namedWindow(
"warp perspective");
cv
:
:imshow(
"warp perspective",rotated);
imwrite(
"result.jpg",src);
cv
:
:waitKey();
return
0;
}