前言
在学习 vue-router 的代码之前,先来简单了解一下前端路由。
前端路由主要有两种实现方法:
- Hash 路由
- History 路由
先来看看这两种方法的实现原理。
接着我们将用它们来简单实现一个自己的前端路由。
前端路由
Hash 路由
url 的 hash 是以 # 开头,原本是用来作为锚点,从而定位到页面的特定区域。当 hash 改变时,页面不会因此刷新,浏览器也不会向服务器发送请求。
http://www.xxx.com/#/home
同时,hash 改变时,并会触发相应的 hashchange 事件。所以,hash 很适合被用来做前端路由。当 hash 路由发生了跳转,便会触发 hashchange 回调,回调里可以实现页面更新的操作,从而达到跳转页面的效果。
window.addEventListener('hashchange', function () {
  console.log('render');
});
History 路由
HTML5 规范中提供了 history.pushState 和 history.replaceState 来进行路由控制。通过这两个方法,可以实现改变 url 且不向服务器发送请求。同时不会像 hash 有一个 #,更加的美观。但是 History 路由需要服务器的支持,并且需将所有的路由重定向到根页面。
History 路由的改变不会去触发某个事件,所以我们需要去考虑如何触发路由更新后的回调。
有以下两种方式会改变 url:
- 调用 history.pushState 或 history.replaceState;
- 点击浏览器的前进与后退。
第一个方式可以封装一个方法,在调用 pushState(replaceState)后再调用回调。
function push (url) {
  window.history.pushState({}, null, url);
  handleHref();
}

function handleHref () {
  console.log('render');
}
第二个方式,浏览器的前进与后退会触发
popstate 事件。
window.addEventListener('popstate', handleHref);
路由实现
我们通过 <a> 标签来进行切换路由,通过一个 <div> 标签来装载各路由对应的页面内容。
参考 vue-router 的调用,我们会这么地调用一个 Router,将路由与对应组件作为参数传入:
const router = new Router([
  {
    path: '/',
    component: 'home'
  },
  {
    path: '/book',
    component: 'book'
  },
  {
    path: '/movie',
    component: 'movie'
  }
]);
数组里是各路由对应的要显示的内容,接下来就来开始实现这个
Router。
Hash 路由实现
Hash 路由 <a> 标签都需要带上 #:
<div>
  <a href="#/">home</a>
  <a href="#/book">book</a>
  <a href="#/movie">movie</a>

  <div id="content"></div>
</div>
Router 的代码实现如下:
class Router {
  constructor (options) {
    this.routes = {};

    this.init();

    // 遍历,绑定视图更新
    options.forEach(item => {
      this.route(item.path, () => {
      	document.getElementById('content').innerHTML = item.component;
      });
    });
  }

  // 绑定监听事件
  init () {
    window.addEventListener('load', this.updateView.bind(this), false);
    window.addEventListener('hashchange', this.updateView.bind(this), false);
  }

  // 更新试图
  updateView () {
    const currentUrl = window.location.hash.slice(1) || '/';
    this.routes[currentUrl] && this.routes[currentUrl]();
  }

  // 将路由与回调函数关联
  route (path, cb) {
    this.routes[path] = cb;
  }
}
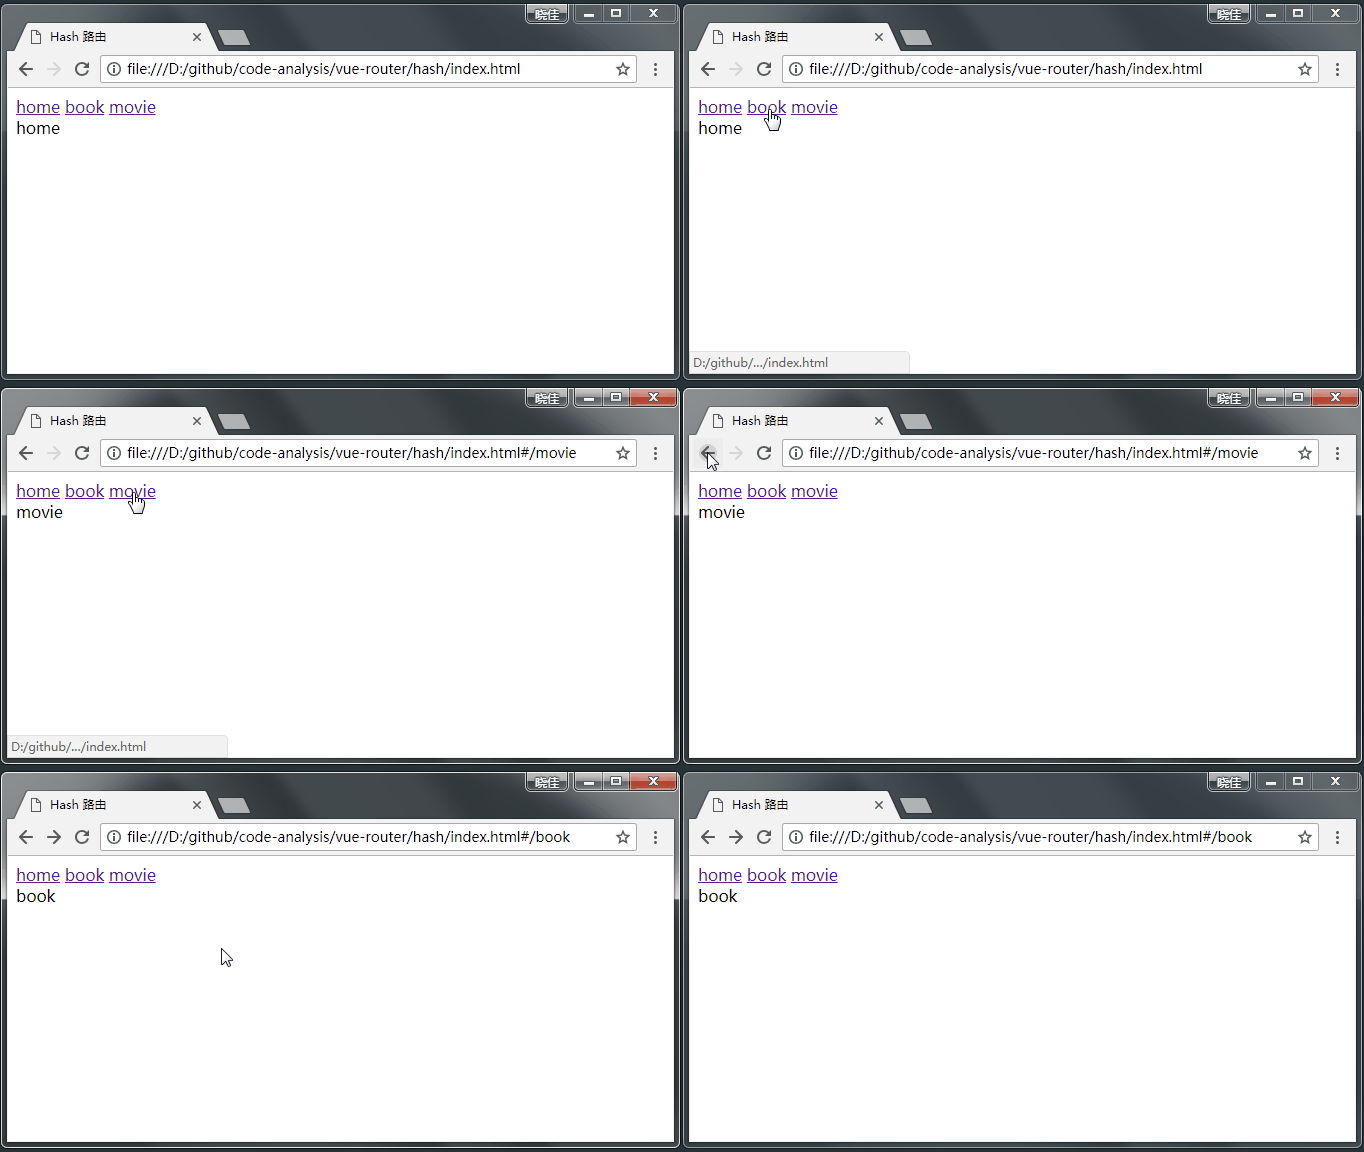
实现效果如下:
![8d1b0668c9d92a32ad0bf3145f1d901b18a78056]()
History 路由实现
History 路由需要服务器的支持,可以点击 这里 的代码参考。
<div>
  <a href="javascript:void(0);" data-href="/">home</a>
  <a href="javascript:void(0);" data-href="/book">book</a>
  <a href="javascript:void(0);" data-href="/movie">movie</a>

  <div id="content"></div>
</div>
Router 的代码实现如下:
class Router {
  constructor (options) {
    this.routes = {};

    this.init();
    this.bindEvent();

    // 遍历,绑定视图更新
    options.forEach(item => {
      this.route(item.path, () => {
        document.getElementById('content').innerHTML = item.component;
      });
    });
  }

  // 绑定点击事件
  bindEvent () {
    const _this = this;
    const links = document.getElementsByTagName('a');

    [].forEach.call(links, link => {
      link.addEventListener('click', function () {
        const url = this.getAttribute('data-href');
        _this.push(url);
      });
    });
  }

  // 绑定监听事件
  init () {
    window.addEventListener('load', this.updateView.bind(this), false);
    window.addEventListener('popstate', this.updateView.bind(this), false);
  }

  push (url) {
    window.history.pushState({}, null, url);
    this.updateView();
  }

  // 更新试图
  updateView () {
    const currentUrl = window.location.pathname || '/';
    this.routes[currentUrl] && this.routes[currentUrl]();
  }

  // 将路由与回调函数关联
  route (path, cb) {
    this.routes[path] = cb;
  }
}
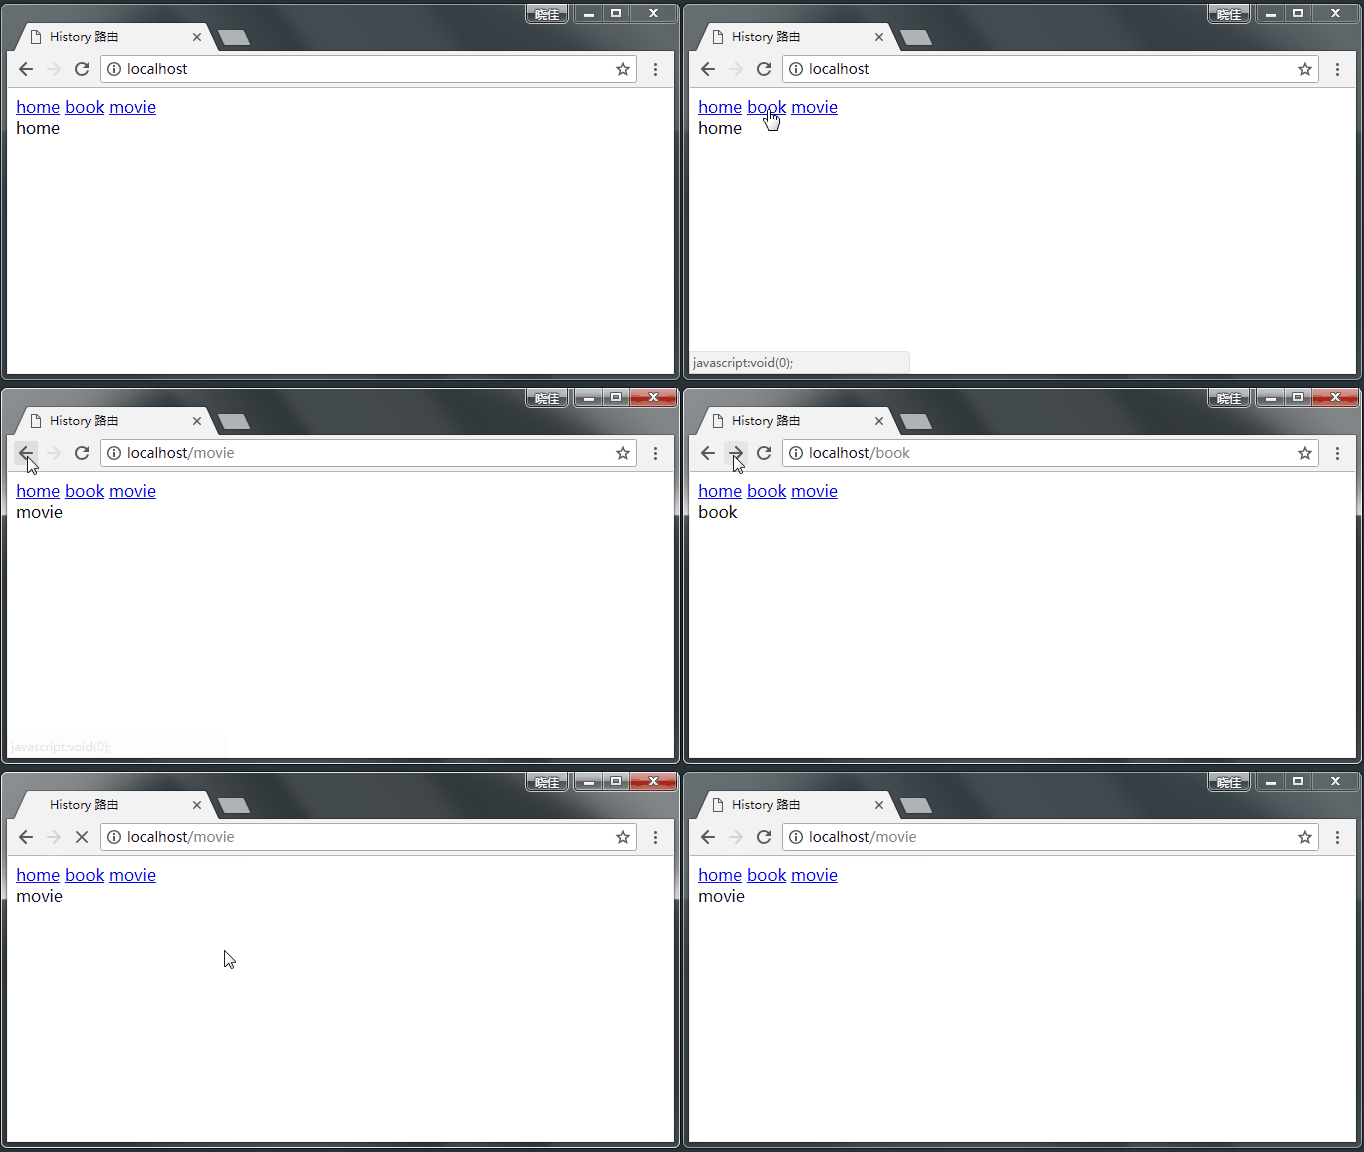
实现效果如下:
![877d6dd161a437105697507de01704a1ecd78fa2]()
最后
前端路由实现方式有两种,分别是:
- Hash 路由
- History 路由
原理都是修改 url 的同时不刷新页面,不向服务器发送请求,通过监听特殊的事件来更新页面。
以上实现全部源码参考 这里。
原文发布时间为:2018年06月27日
原文作者:
cobish
本文来源:
掘金 如需转载请联系原作者


