说明
本文以及接下来有关spring security 的文章, 基于Spring Boot 2.1.0 RELEASE , Spring Security 5.1.2RELEASE
简单介绍Spring Security
Spring Security是当今非常流行的,基于Spring提供了一套Web安全性的完整框架。用于对用户进行认证(Authentication)和授权(Authorization)。在用户认证方面,Spring Security 支持主流的验证方式,包括,HttpBasic认证,Http表单认证,Http摘要认证,OpenId以及LDAP(轻量目录访问协议:Lightweight Directory Access Protocol)等。在用户授权方面,Spring Security 提供了基于角色的访问控制和访问控制列表(Access Control List,ACL),可以对应用中的领域对象进行细粒度的控制。 本文将通过介绍如何在Spring Boot项目中使用Spring Security保护应用,我们先讨论如何自定义用户的认证逻辑,通过Spring Security 提供的UserDetailService,User对象,密码加密PasswordEncoder来初步认识Spring Security。
初探:用httpBasic认证
Spring Security 5.X 和Spring Security 4.X 在Http Basic认证有些不同,在Spring Security4.X中,我们想要使用Http Basic认证只需要如下代码:
/**
 * @author developlee
 * @since 2018/11/17 22:43
 */
@Configuration
@EnableWebSecurity
public class SecurityConfig extends WebSecurityConfigurerAdapter {

    @Override
    protected void configure(HttpSecurity http) throws Exception {
        http.authorizeRequests()
                .antMatchers("/index").permitAll()
                .anyRequest().authenticated()
                .and().httpBasic();
        super.configure(http);
    }
}
Spring Security 是默认开启了 Http Basic认证的,如果想要关闭可以设置 security.basic.enabled: false (Spring Security5.X中已弃用) 而Spring Security 5.X的实现则有些不同,如果按照以上代码,则访问链接时,会跳转至Spring Security 提供的默认登陆页。接下来看看Spring Security5.X的实现,文档是这样描述的: ![]() 也就是说,要将BasicAuthenticationFilter添加到Spring Security的filterChain中。let's do it! 我们先继承BasicAuthenticationEntryPoint,重写commence方法。
也就是说,要将BasicAuthenticationFilter添加到Spring Security的filterChain中。let's do it! 我们先继承BasicAuthenticationEntryPoint,重写commence方法。
/**
 * @author developlee
 * @since 2018/11/25 11:36
 */
@Component
public class MyBasicAuthenticationEntryPoint extends BasicAuthenticationEntryPoint {

    @Override
    public void commence(HttpServletRequest request, HttpServletResponse response, AuthenticationException authException) throws IOException, ServletException {
        response.addHeader("WWW-Authenticate", "Basic realm=" + getRealmName());
        response.setStatus(HttpServletResponse.SC_UNAUTHORIZED);
        PrintWriter printWriter = new PrintWriter(response.getOutputStream());
        printWriter.write("Http Status 401: " + authException.getLocalizedMessage());
    }

    @Override
    public void afterPropertiesSet() throws Exception {
        setRealmName("developlee");
        super.afterPropertiesSet();
    }
}
接下来看看如何配置
/**
 * @author developlee
 * @since 2018/11/17 22:43
 */
@Configuration
@EnableWebSecurity
public class SecurityConfig extends WebSecurityConfigurerAdapter {

    @Autowired
    private MyBasicAuthenticationEntryPoint authenticationEntryPoint;

    @Override
    protected void configure(HttpSecurity http) throws Exception {
        http.authorizeRequests()
                .antMatchers("/login").permitAll()
                .anyRequest().authenticated()
                .and().httpBasic()
                .authenticationEntryPoint(authenticationEntryPoint);
    }

    @Override
    protected void configure(AuthenticationManagerBuilder auth) throws Exception {
        auth.inMemoryAuthentication().withUser("lensen").password(passwordEncoder().encode("123456")).authorities("ROLE_USER");
    }

    @Bean
    protected PasswordEncoder passwordEncoder() {
        return new BCryptPasswordEncoder();
    }
}
LoginController.java的代码
/**
 * @author developlee
 * @since 2018/11/17 22:02
 */
@RestController
public class LoginController {
    @GetMapping("/hello")
    public String hello() {
        return "hello";
    }
}
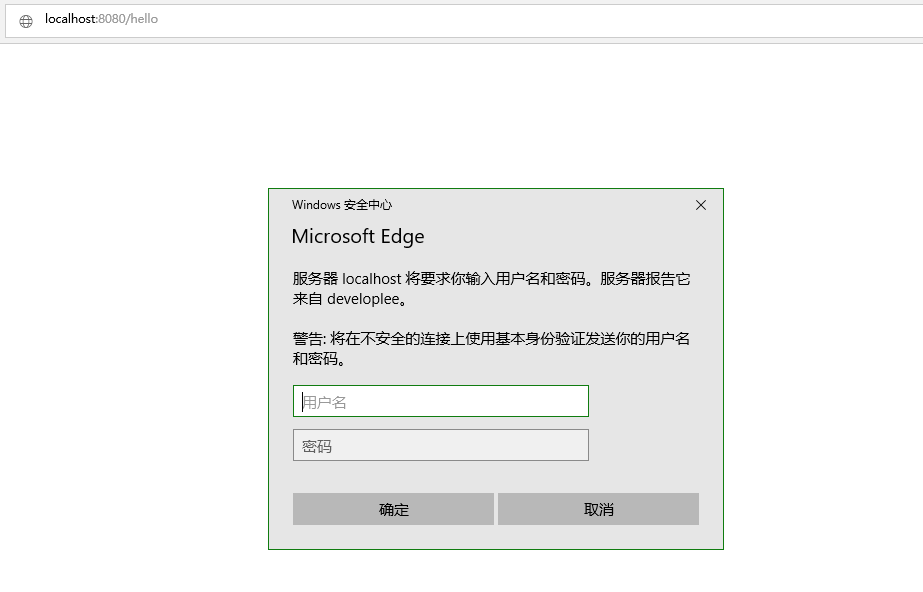
启动项目,访问我们写好的链接地址。http://loalhost:8080/hello ![]()
至此,Spring Security 5.X使用Http Basic 登陆的实例便已经完成了。 本文的所有代码我已经放在我的github.com上,感谢您的观看,如果有什么错误的地方,还请指出,共同探讨!
 也就是说,要将BasicAuthenticationFilter添加到Spring Security的filterChain中。let's do it! 我们先继承BasicAuthenticationEntryPoint,重写commence方法。