iOS itunesconnect 权限分配(发布版本前奏)
进入:itunesconnect.apple.com登陆对应的账号,登陆成功之后,有权限、无权限页面分别如下 登陆主账号,点击 填写邀请人的基本信息,APP ID需要要正确的,邀请成功之后,有邮件提示,最后需要点击邮寄链接激活 邀请人对应的权限,选择对应权限之后,有什么功能可以使用,列举在下面了 邮件提示 点击邮件里“activate your account” OK,重新登录一下账号
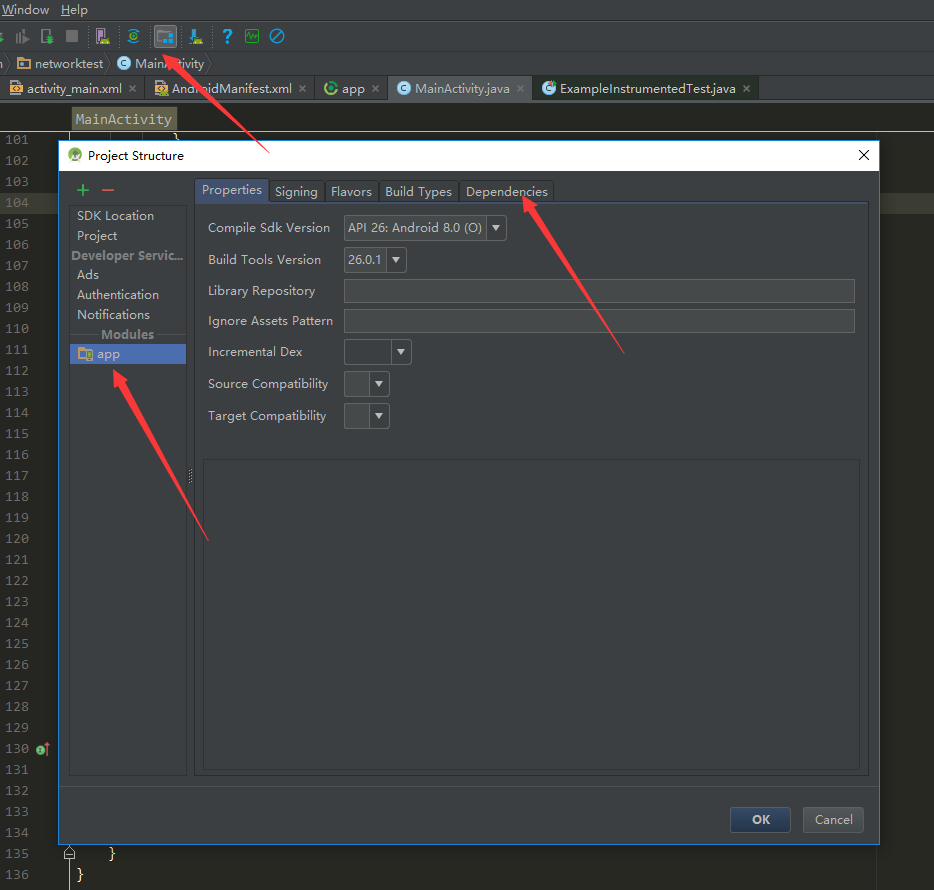
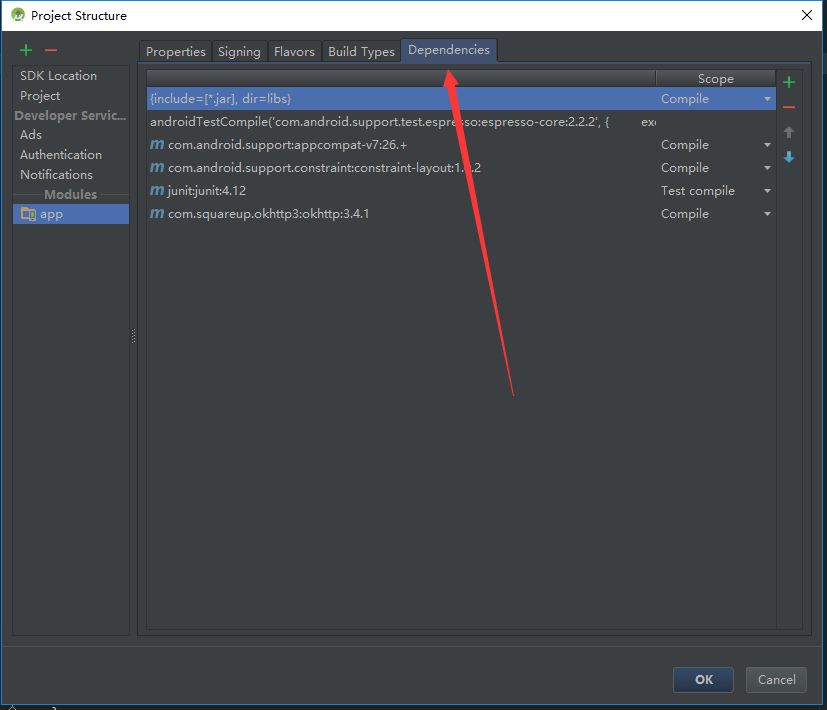
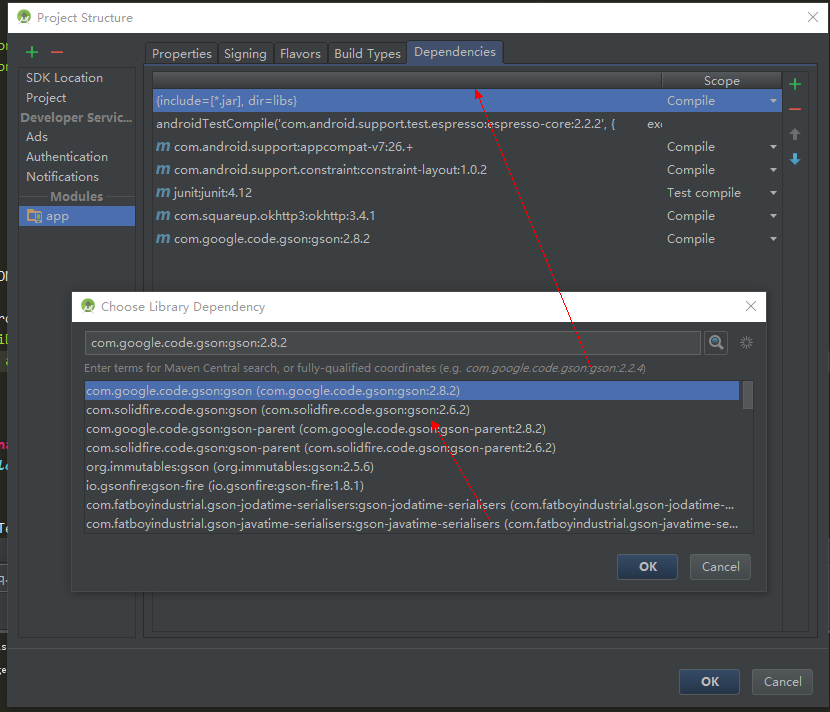
gson的安装和使用
1.安装
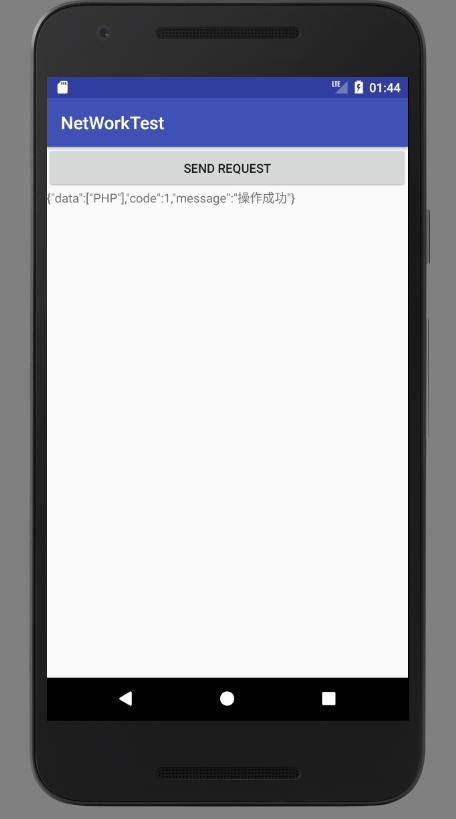
2.布局
<?xml version="1.0" encoding="utf-8"?>
<LinearLayout xmlns:android="http://schemas.android.com/apk/res/android"
    android:orientation="vertical"
    android:layout_width="match_parent"
    android:layout_height="match_parent"
    >

    <Button
        android:id="@+id/send_request"
        android:layout_width="match_parent"
        android:layout_height="wrap_content"
        android:text="Send Request"
        />

    <ScrollView
        android:layout_width="match_parent"
        android:layout_height="match_parent"
        >
        <TextView
            android:id="@+id/response_text"
            android:layout_width="match_parent"
            android:layout_height="wrap_content"
            />
    </ScrollView>

</LinearLayout>
3.查看声明
apply plugin: 'com.android.application'
android {
compileSdkVersion 26
buildToolsVersion "26.0.1"
defaultConfig {
applicationId "demo.jq.com.networktest"
minSdkVersion 15
targetSdkVersion 26
versionCode 1
versionName "1.0"
testInstrumentationRunner "android.support.test.runner.AndroidJUnitRunner"
}
buildTypes {
release {
minifyEnabled false
proguardFiles getDefaultProguardFile('proguard-android.txt'), 'proguard-rules.pro'
}
}
}
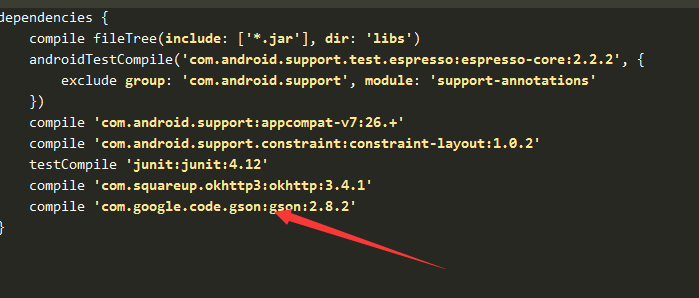
dependencies {
compile fileTree(include: ['*.jar'], dir: 'libs')
androidTestCompile('com.android.support.test.espresso:espresso-core:2.2.2', {
exclude group: 'com.android.support', module: 'support-annotations'
})
compile 'com.android.support:appcompat-v7:26.+'
compile 'com.android.support.constraint:constraint-layout:1.0.2'
testCompile 'junit:junit:4.12'
compile 'com.squareup.okhttp3:okhttp:3.4.1'
compile 'com.google.code.gson:gson:2.8.2'
}4.创建接收数据的类
package demo.jq.com.networktest;

import java.lang.reflect.Array;

/**
 * @author jim
 */

public class ApiData {
    String[] data =new String[5];
    private Integer code;
    private String message;

    public String[] getData() {
        return data;
    }

    public void setData(String[] data) {
        this.data = data;
    }

    public Integer getCode() {
        return code;
    }

    public void setCode(Integer code) {
        this.code = code;
    }

    public String getMessage() {
        return message;
    }

    public void setMessage(String message) {
        this.message = message;
    }


}
5.主体动作
package demo.jq.com.networktest;
import android.support.v7.app.AppCompatActivity;
import android.os.Bundle;
import android.util.Log;
import android.view.View;
import android.widget.Button;
import android.widget.TextView;
import com.google.gson.Gson;
import com.google.gson.reflect.TypeToken;
import org.json.JSONArray;
import org.json.JSONObject;
import java.io.BufferedReader;
import java.io.EOFException;
import java.io.IOException;
import java.io.InputStream;
import java.io.InputStreamReader;
import java.net.HttpURLConnection;
import java.net.URL;
import java.util.List;
import okhttp3.FormBody;
import okhttp3.OkHttpClient;
import okhttp3.Request;
import okhttp3.RequestBody;
import okhttp3.Response;
/**
* @author jim
*/
public class MainActivity extends AppCompatActivity implements View.OnClickListener{
TextView responseText;
private static final String TAG = "MainActivity";
@Override
protected void onCreate(Bundle savedInstanceState) {
super.onCreate(savedInstanceState);
setContentView(R.layout.activity_main);
Button sendRequest = (Button) findViewById(R.id.send_request);
responseText = (TextView) findViewById(R.id.response_text);
sendRequest.setOnClickListener(this);
}
@Override
public void onClick(View v) {
if (v.getId() == R.id.send_request) {
sendRequestWithOkHttp();
}
}
private void sendRequestWithOkHttp() {
// 开启线程来发起网络请求
new Thread(new Runnable() {
@Override
public void run() {
HttpURLConnection connection = null;
BufferedReader reader = null;
try {
OkHttpClient client = new OkHttpClient();
// post请求
RequestBody requestBody = new FormBody.Builder()
.add("type","1")
.build();
Request request = new Request.Builder()
.url("http://devmg.yunlutong.com/api/test/testApi")
.post(requestBody)
.build();
Response response = client.newCall(request).execute();
String responseData = response.body().string();
// 解析json数据
parseJSONWithGSON(responseData);
showResponse(responseData);
} catch (Exception e) {
e.printStackTrace();
} finally {
if (reader != null) {
try {
reader.close();
} catch (IOException e) {
e.printStackTrace();
}
}
if (connection != null) {
connection.disconnect();
}
}
}
}).start();
}
/**
* 解析json
* @param jsonData
*/
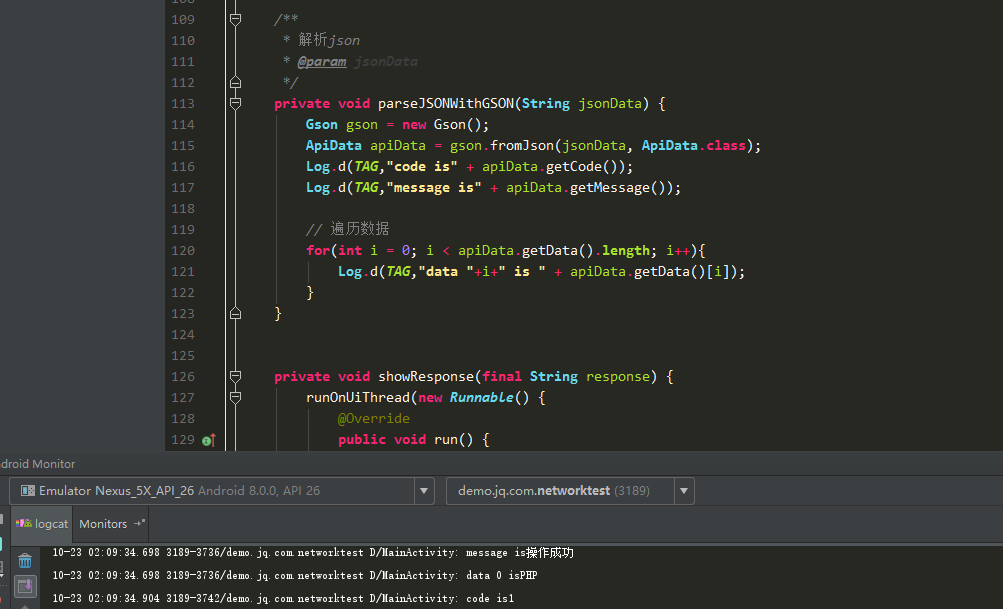
private void parseJSONWithGSON(String jsonData) {
Gson gson = new Gson();
ApiData apiData = gson.fromJson(jsonData, ApiData.class);
Log.d(TAG,"code is" + apiData.getCode());
Log.d(TAG,"message is" + apiData.getMessage());
// 遍历数据
for(int i = 0; i < apiData.getData().length; i++){
Log.d(TAG,"data "+i+" is " + apiData.getData()[i]);
}
}
private void showResponse(final String response) {
runOnUiThread(new Runnable() {
@Override
public void run() {
responseText.setText(response);
}
});
}
}
本文转自TBHacker博客园博客,原文链接:http://www.cnblogs.com/jiqing9006/p/7714921.html,如需转载请自行联系原作者

微信关注我们
转载内容版权归作者及来源网站所有!
低调大师中文资讯倾力打造互联网数据资讯、行业资源、电子商务、移动互联网、网络营销平台。持续更新报道IT业界、互联网、市场资讯、驱动更新,是最及时权威的产业资讯及硬件资讯报道平台。
为解决软件依赖安装时官方源访问速度慢的问题,腾讯云为一些软件搭建了缓存服务。您可以通过使用腾讯云软件源站来提升依赖包的安装速度。为了方便用户自由搭建服务架构,目前腾讯云软件源站支持公网访问和内网访问。
Spring框架(Spring Framework)是由Rod Johnson于2002年提出的开源Java企业级应用框架,旨在通过使用JavaBean替代传统EJB实现方式降低企业级编程开发的复杂性。该框架基于简单性、可测试性和松耦合性设计理念,提供核心容器、应用上下文、数据访问集成等模块,支持整合Hibernate、Struts等第三方框架,其适用范围不仅限于服务器端开发,绝大多数Java应用均可从中受益。
Rocky Linux(中文名:洛基)是由Gregory Kurtzer于2020年12月发起的企业级Linux发行版,作为CentOS稳定版停止维护后与RHEL(Red Hat Enterprise Linux)完全兼容的开源替代方案,由社区拥有并管理,支持x86_64、aarch64等架构。其通过重新编译RHEL源代码提供长期稳定性,采用模块化包装和SELinux安全架构,默认包含GNOME桌面环境及XFS文件系统,支持十年生命周期更新。
Sublime Text具有漂亮的用户界面和强大的功能,例如代码缩略图,Python的插件,代码段等。还可自定义键绑定,菜单和工具栏。Sublime Text 的主要功能包括:拼写检查,书签,完整的 Python API , Goto 功能,即时项目切换,多选择,多窗口等等。Sublime Text 是一个跨平台的编辑器,同时支持Windows、Linux、Mac OS X等操作系统。
扫码在手机上查看文章
扫描二维码,手机阅读更方便
有任何问题或合作意向欢迎联系我们
Email: 99873273@qq.com
QQ: 99873273