Python + Selenium 自动发布文章系列:
Python + Selenium 自动发布文章(一):开源中国
Python + Selenium 自动发布文章(二):简书
Python + Selenium 自动发布文章(三):CSDN
Python + Selenium 自动发布文章(四):加入 bat 脚本
写在开始
这是本系列的第三篇文章,主要介绍如何用Python+Selenium 自动发布CSDN博客,一些必要的条件在之前的文章里面已经提到过,这里也不再重复。
使用说明
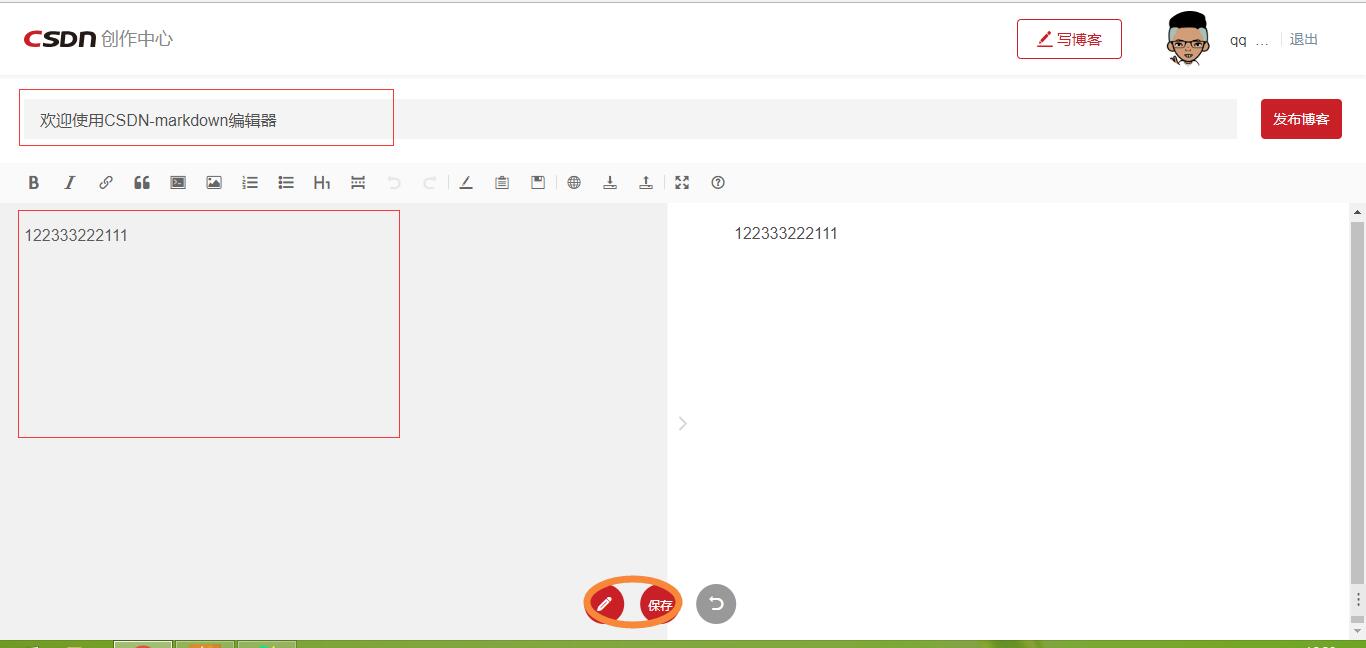
同样的,还是需要先分析下CSDN写博客的界面(记得设置默认编辑器为Markdown)。
![write-blog-csdn]()
write-blog-csdn
![post-blog-csdn]()
post-blog-csdn
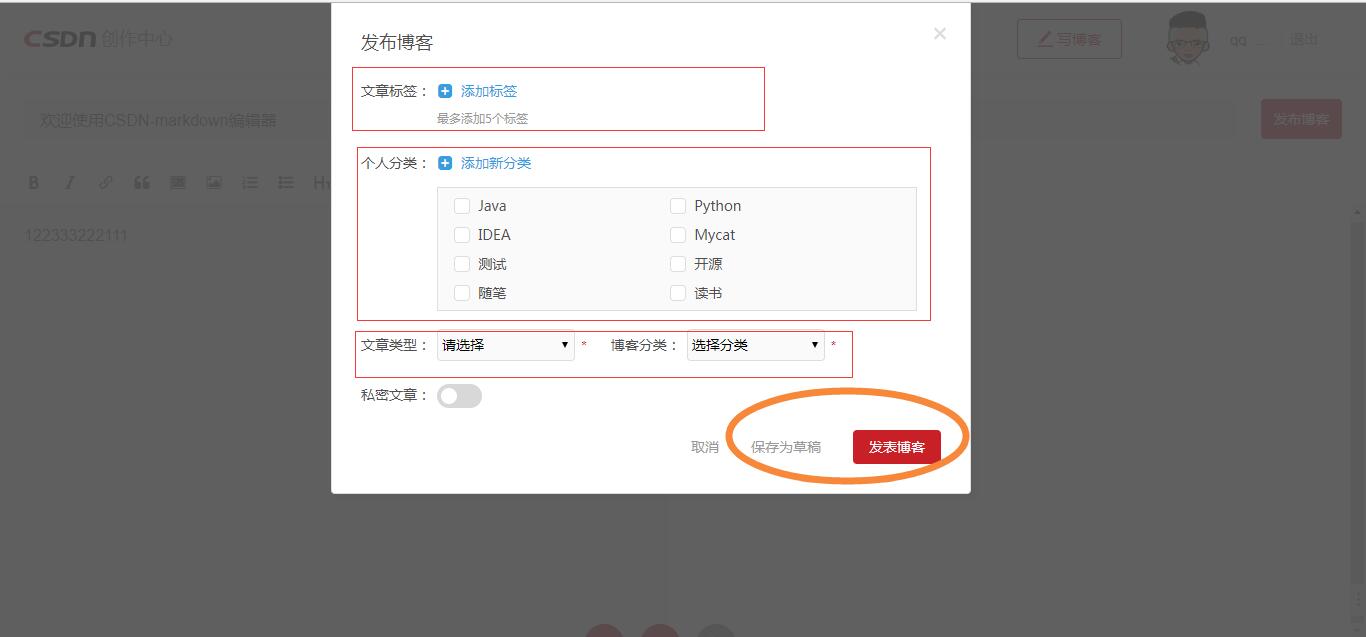
从上面两张图可以看到,在CSDN平台写一篇博客,依次需要填入标题和内容信息。如果是发布博客操作,还需要选择文章类型、博客分类、个人分类(可选)以及填写文章标签(可选)等信息。
我们结合auto.md的内容进行分析,标题定义在title处;正文内容通过匹配-->\n获取;剩下文章类型、博客分类、文章标签和个人分类,按规则已经提前定义在注释中,分别对应csdn_article_category、csdn_blog_category、self_tags和self_category。
代码说明
main.py:程序入口类,主要负责正则匹配解析Markdown和调用post发布文章
import re
import csdn
import linecache


class Main(object):
    # init
    def __init__(self, file):
        self.title = ''
        self.content = ''
        self.category = ''
        self.tags = ''
        # OsChina的系统分类, 设个默认值
        self.osChina_sys_category = '编程语言'
        # CSDN的文章分类, 设个默认值
        self.csdn_article_category = '原创'
        # CSDN的博客分类, 设个默认值
        self.csdn_blog_category = '后端'
        self.read_file(file)

    # 读取MD中的title, content, self_category, self_tags, osChina_sys_category, csdn_article_category, csdn_blog_category
    def read_file(self, markdown_file):
        self.title = linecache.getline(markdown_file, 2).split('title: ')[1].strip('\n')
        with open(markdown_file, 'r', encoding='UTF-8') as f:
            self.content = f.read().split('-->\n')[1]
            # 重置文件指针偏移量
            f.seek(0)
            for line in f.readlines():
                if re.search('self_category: ', line) is not None:
                    self.category = line.split('self_category: ')[1].strip('\n')
                elif re.search('self_tags: ', line) is not None:
                    self.tags = line.split('self_tags: ')[1].strip('\n')
                elif re.search('osChina_sys_category: ', line) is not None:
                    self.osChina_sys_category = line.split('osChina_sys_category: ')[1].strip('\n')
                elif re.search('csdn_article_category: ', line) is not None:
                    self.csdn_article_category = line.split('csdn_article_category: ')[1].strip('\n')
                elif re.search('csdn_blog_category: ', line) is not None:
                    self.csdn_blog_category = line.split('csdn_blog_category: ')[1].strip('\n')


if __name__ == '__main__':
    md_file = 'auto.md'
    print("Markdown File is ", md_file)

    timeout = 10
    main = Main(md_file)

    # CSDN
    csdn = csdn.CSDN()
    csdn.post(main, timeout)
authorize.py:目前仅实现了用qq进行授权登录的方法
from selenium.webdriver.support.wait import WebDriverWait


# QQ授权登录, 使用前提是QQ客户端在线
def qq(driver, timeout):
    # 切换到最新打开的窗口
    window_handles = driver.window_handles
    driver.switch_to.window(window_handles[-1])

    print('qq authorize title is ', driver.title)

    # 切换iframe
    iframe = WebDriverWait(driver, timeout).until(lambda d: d.find_element_by_id('ptlogin_iframe'))
    driver.switch_to.frame(iframe)

    # 点击头像进行授权登录
    login = WebDriverWait(driver, timeout).until(lambda d: d.find_element_by_xpath('//*[@id="qlogin_list"]/a[1]'))
    login.click()
csdn.py:这个是CSDN自动写(发)博客的核心类
import time
import authorize
from selenium import webdriver
from selenium.webdriver.support.ui import Select
from selenium.webdriver.support.wait import WebDriverWait
from selenium.webdriver.common.action_chains import ActionChains


# CSDN
class CSDN(object):
    @staticmethod
    def post(main, timeout, self_timeout=5):
        # 1.账号密码
        account = 'xxx'
        password = 'xxx'

        # 2.跳转登陆
        login = 'https://passport.csdn.net/account/login'
        driver = webdriver.Chrome()
        driver.get(login)

        # 3.窗口最大化
        driver.maximize_window()

        # 4.使用账号密码登陆
        # login_by_account = WebDriverWait(driver, timeout).until(
        #     lambda d: d.find_element_by_xpath('/html/body/div[3]/div/div/div[2]/div/h3/a'))
        # login_by_account.click()
        # time.sleep(self_timeout)
        # driver.find_element_by_id('username').send_keys(account)
        # driver.find_element_by_id('password').send_keys(password)
        # driver.find_element_by_xpath('//*[@id="fm1"]/input[8]').click()

        # 4.使用QQ授权登录
        driver.find_element_by_id('qqAuthorizationUrl').click()
        driver.close()
        authorize.qq(driver, timeout)

        # 5.点击"写博客"
        write_blog = WebDriverWait(driver, timeout).until(
            lambda d: d.find_element_by_xpath('/html/body/div[1]/div/div/ul/li[3]/a'))
        write_blog.click()
        driver.close()
        window_handles = driver.window_handles
        driver.switch_to.window(window_handles[-1])

        # 6.点击"开始写作"
        start = WebDriverWait(driver, timeout).until(
            lambda d: d.find_element_by_xpath('//*[@id="btnStart"]'))
        start.click()

        # 7.填写标题, 内容
        time.sleep(self_timeout)
        title = driver.find_element_by_xpath('//*[@id="txtTitle"]')
        title.clear()
        title.send_keys(main.title)
        # PS:下面这行代码很重要,卡了好久才解决┭┮﹏┭┮,不信可以试试注释掉这句
        ActionChains(driver).click(title).perform()
        content = driver.find_element_by_xpath('//*[@id="wmd-input"]/div[1]')
        content.clear()
        content.send_keys(main.content)

        # 8.保存草稿
        # driver.find_element_by_xpath('//*[@id="editorBox"]/div[2]/div/button[2]').click()
        # 8.发布文章
        driver.find_element_by_xpath('//*[@id="editorBox"]/div[2]/div/button[1]').click()

        # 9.若第8步选择"发布文章", 往下需依次填写标签,个人分类,文章类型,博客分类
        tags = main.tags.split(',')
        add_tag = WebDriverWait(driver, timeout).until(lambda d: d.find_element_by_id('addTag'))
        for i, tag in enumerate(tags):
            add_tag.click()
            tag_input = WebDriverWait(driver, timeout).until(
                lambda d: d.find_element_by_xpath('//*[@id="tagBox"]/div[' + str(i + 1) + ']/span'))
            tag_input.send_keys(tag)
        classify = driver.find_elements_by_class_name('form-check-label')
        for c in classify:
            html = c.get_attribute('innerHTML')
            if main.category in html:
                c.click()
        select = Select(driver.find_element_by_id('selType'))
        select.select_by_visible_text(main.csdn_article_category)
        select = Select(driver.find_element_by_id('radChl'))
        select.select_by_visible_text(main.csdn_blog_category)

        # 10.保存草稿
        driver.find_element_by_xpath('//*[@id="meditor_box"]/div[3]/div/div[6]/input[2]').click()
        # 10.发布文章
        # driver.find_element_by_xpath('//*[@id="meditor_box"]/div[3]/div/div[6]/input[3]').click()
        time.sleep(self_timeout)
CSDN支持账号密码登录,也可以用qq授权的方式,后期只需要扩展authorize.py的功能,就可以支持更多的第三方平台进行授权登录。
运行效果
还是来看看运行效果图吧,这里仅测试保存草稿。
![auto-post-csdn]()
auto-post-csdn
写在最后
在CSDN平台自动写文章的流程大概也就这样,同样这不是唯一的办法,也不敢保证程序可以一直正常运行下去。总而言之,这个花的时间是最多,因为一直卡在了某一点上,不过还好最后还是解决了。本系列还有最后一篇,将介绍如何结合bat脚本在多个平台同时发布文章,以及对系列做一个简单的总结,敬请期待。