![http://7xo6kd.com1.z0.glb.clouddn.com/upload-ueditor-image-20160616-1466033624591050732.png]()
上一节我们详细讨论了 cinder-api 和 cinder-volume,今天讨论另一个重要的 Cinder 组件 cinder-scheduler。
创建 Volume 时,cinder-scheduler 会基于容量、Volume Type 等条件选择出最合适的存储节点,然后让其创建 Volume。
下面介绍 cinder-scheduler 是如何实现这个调度工作的。
在 /etc/cinder/cinder.conf 中,cinder 通过 scheduler_driver, scheduler_default_filters 和 scheduler_default_weighers 这三个参数来配置 cinder-scheduler。
Filter scheduler
Filter scheduler 是 cinder-scheduler 默认的调度器。
scheduler_driver=cinder.scheduler.filter_scheduler.FilterScheduler
与 Nova 一样,Cinder 也允许使用第三方 scheduler,配置 scheduler_driver 即可。
scheduler 调度过程如下:
-
通过过滤器(filter)选择满足条件的存储节点(运行 cinder-volume)
-
通过权重计算(weighting)选择最优(权重值最大)的存储节点。
可见,cinder-scheduler 的运行机制与 nova-scheduler 完全一样。
Filter
当 Filter scheduler 需要执行调度操作时,会让 filter 对计算节点进行判断,filter 返回 True 或者 False。
cinder.conf 中 scheduler_default_filters 选项指定 filter scheduler 使用的 filter,默认值如下:
scheduler_default_filters = AvailabilityZoneFilter, CapacityFilter, CapabilitiesFilter
Filter scheduler 将按照列表中的顺序依次过滤:
AvailabilityZoneFilter
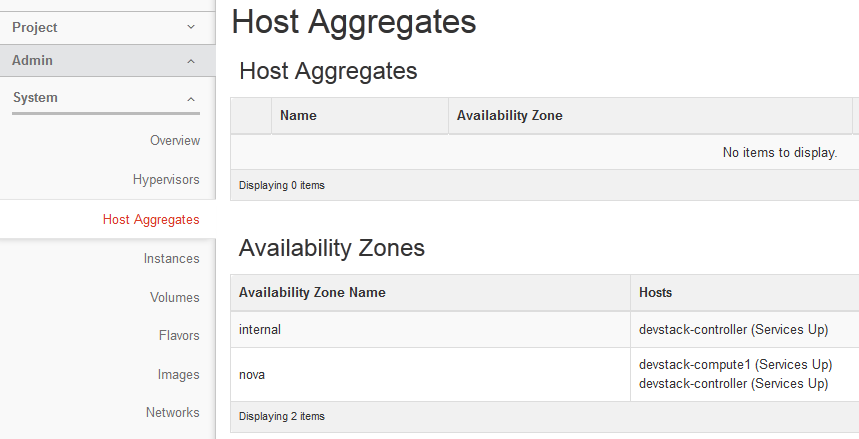
为提高容灾性和提供隔离服务,可以将存储节点和计算节点划分到不同的 Availability Zone 中。例如把一个机架上的机器划分在一个 Availability Zone 中。OpenStack 默认有一个命名为“Nova” Availability Zone 的,所有的节点初始都是放在“Nova”中。用户可以根据需要创建自己的 Availability Zone。
![http://7xo6kd.com1.z0.glb.clouddn.com/upload-ueditor-image-20160616-1466033702311001361.png image154.png]()
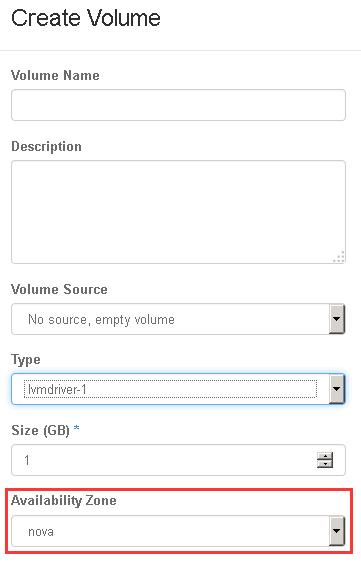
创建 Volume 时,需要指定 Volume 所属的 Availability Zone。
![http://7xo6kd.com1.z0.glb.clouddn.com/upload-ueditor-image-20160616-1466033624600015729.png]()
cinder-scheduler 在做 filtering 时,会使用 AvailabilityZoneFilter 将不属于指定 Availability Zone 的存储节点过滤掉。
CapacityFilter
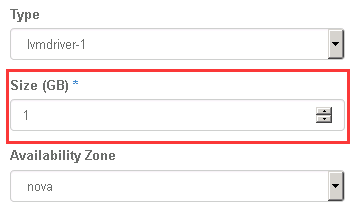
创建 Volume 时,用户会指定 Volume 的大小。CapacityFilter 的作用是将存储空间不能满足 Volume 创建需求的存储节点过滤掉。
![http://7xo6kd.com1.z0.glb.clouddn.com/upload-ueditor-image-20160616-1466033624578076693.png]()
CapabilitiesFilter
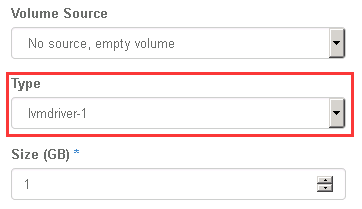
不同的 Volume Provider 有自己的特性(Capabilities),比如是否支持 thin provision 等。Cinder 允许用户创建 Volume 时通过 Volume Type 指定需要的 Capabilities。
![http://7xo6kd.com1.z0.glb.clouddn.com/upload-ueditor-image-20160616-1466033624693089219.png]()
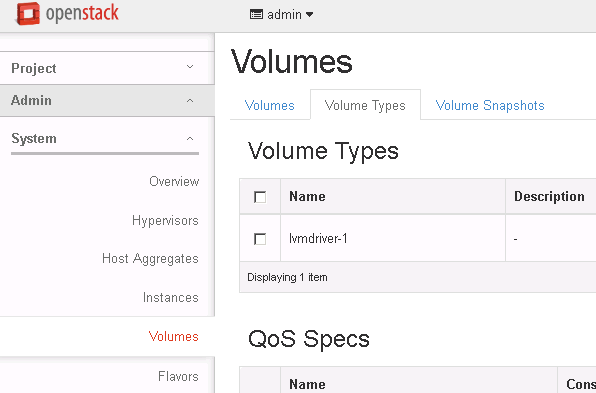
Volume Type 可以根据需要定义若干 Capabilities,详细描述 Volume 的属性。VolumeVolume Type 的作用与 Nova 的 flavor 类似。
Volume Type 在 Admin -> System -> Volume 菜单里管理
![http://7xo6kd.com1.z0.glb.clouddn.com/upload-ueditor-image-20160616-1466033624731061010.png]()
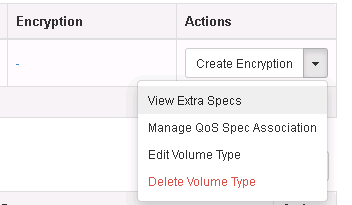
通过 Volume Type 的 Extra Specs 定义 Capabilities
![http://7xo6kd.com1.z0.glb.clouddn.com/upload-ueditor-image-20160616-1466033624707004908.png]()
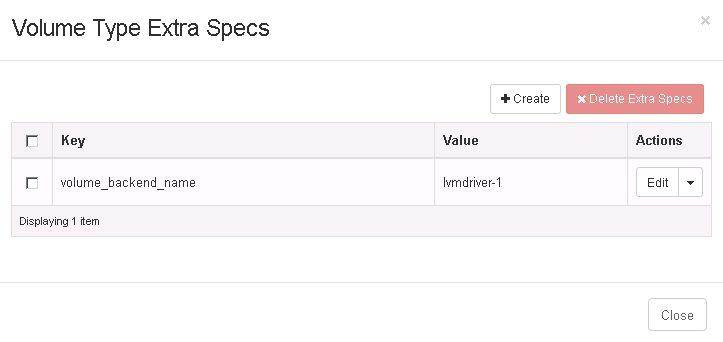
Extra Specs 是用 Key-Value 的形式定义。 不同的 Volume Provider 支持的 Extra Specs 不同,需要参考 Volume Provider 的文档。
![http://7xo6kd.com1.z0.glb.clouddn.com/upload-ueditor-image-20160616-1466033624799037241.png]()
上图所示的 Volume Type 只有一个 Extra Specs “volume_backend_name”,这是最重要也是必须的 Extra Specs。
cinder-volume 会在自己的配置文件 /etc/cinder/cinder.conf 中设置“volume_backend_name”这个参数,其作用是为存储节点的 Volume Provider 命名。
这样,CapabilitiesFilter 就可以通过 Volume Type 的“volume_backend_name”筛选出指定的 Volume Provider。
不同的存储节点可以在各自的 cinder.conf 中配置相同的 volume_backend_name,这是允许的。因为虽然存储节点不同,但它们可能使用的是一种 Volume Provider。
如果在第一步 filtering 环节选出了多个存储节点,那么接下来的 weighting 环节会挑选出最合适的一个节点。
Weighter
Filter Scheduler 通过 scheduler_default_weighers 指定计算权重的 weigher,默认为 CapacityWeigher。
scheduler_default_weighers = CapacityWeigher
如命名所示,CapacityWeigher 基于存储节点的空闲容量计算权重值,空闲容量最大的胜出。
下一节我们将开始通过各种场景学习 Cinder。
![]()
