一、前言
最近,不少同学在Q群中频繁提出疑问:在日常UI测试过程中,如何快速准确地识别页面上的多个元素,或在日常测试中,如何高效地遍历目标图片列表,以确认画面中是否包含特定元素?在官方交流Q群2群的lincoln同学给出了不错的方法思路,我们也获得了他的授权,现在我们一起来学习一下这个小技巧吧~
二、方法详解
lincoln同学提供了两个方法函数,其中一个是局部查找,一个是多重查找,我们就来看看他的一个函数逻辑是怎么样的吧。
代码逻辑的核心在于快速地识别目标图像。首先,将目标图像(最好是特征鲜明、尺寸小一些)列表输入 Multiple_exists() 函数。该函数通过循环执行截图操作,每0.2秒进行一次,以最小化循环识别时间。接着将设备屏幕截图和目标图像传递给 match_in_predict_area() 函数,进行裁剪和搜索。一旦找到匹配的图像,立即将坐标信息反馈给 Multiple_exists() 函数,并最终将图像编号和位置信息返回至主函数,供进一步使用。
可以看到当日常在跑游戏ui回归或APP回归的时候可以利用起来,当一个元素有多种ui表现形式或着需要判断多个元素的情况时,我们可以参考lincoln同学提供的方式,修改成自己想要的效果。
下面是lincoln同学的方法函数源码,大家可以参考一下:
    def match_in_predict_area(template, screen=None, rect=None):  # 局部查找
    # logger = Gvar.logger
    if screen is None:
        if G.DEVICE is None:
            raise Exception("G.DEVICE is none.")
    screen = G.DEVICE.snapshot()  # 截屏
    if screen is None:
        raise Exception("snapshot is none.")
    if rect is None:
        return template.match_in(screen)  # 如果没有指定区域,在整个屏幕中查找
    if not isinstance(rect, (list, tuple)):
        raise Exception("to crop a image, rect should be a list")
    else:
        # logger.debug("找到目标%s"%template.filename)
        predict_screen = aircv.crop_image(screen, rect)  # 图片裁切,根据指定区域裁剪屏幕
        focus_pos = template.match_in(predict_screen)  # 在裁剪后的图片中查找模板
        if not focus_pos:
            return False  # 如果没有找到匹配,返回False
        else:
            return focus_pos[0]+rect[0], focus_pos[1]+rect[1]  # 返回匹配位置,加上裁剪区域的偏移
    # end if
# end def

def Multiple_exists(targets,area=None,threshold=0.80,rgb=False,inti=5):#多重查找

    # 根据设备方向确定宽度和高度
    if (G.DEVICE.display_info['orientation']%2):
        width = G.DEVICE.display_info['height']
        height = G.DEVICE.display_info['width']
    else:
        width = G.DEVICE.display_info['width']
        height = G.DEVICE.display_info['height']
    #end if

    # 尝试多次查找目标
    for i in range(inti):
        #Gvar.logger.debug('第%d次查找%s'%(i,targets))

        # 获取全屏截图
        fullScreen = G.DEVICE.snapshot()

        # 遍历每个目标
        for target in targets:
            #print("查找目标 %s"%target)
            if target :
                # 在预测区域内匹配目标,如果有元素固定出现的位置范围,可以传入,更进一步的减少识别时间
                focus_pos = match_in_predict_area(Template( '%d\%s.png'%(width, target),
                threshold=threshold, rgb=rgb),
                fullScreen, area)

            # 如果找到目标
            if focus_pos:
                #Gvar.logger.debug("找到目标 %s"%target)
                ref = targets.index(target)
                return ref,focus_pos
        #endif
    #end for

        # 每次查找间隔0.2秒
        sleep(0.2)
#end for

    # 如果所有尝试都失败,返回-1和(-1,-1)
    return -1,(-1,-1)
#end def Multiple_exists
三、实际使用案例
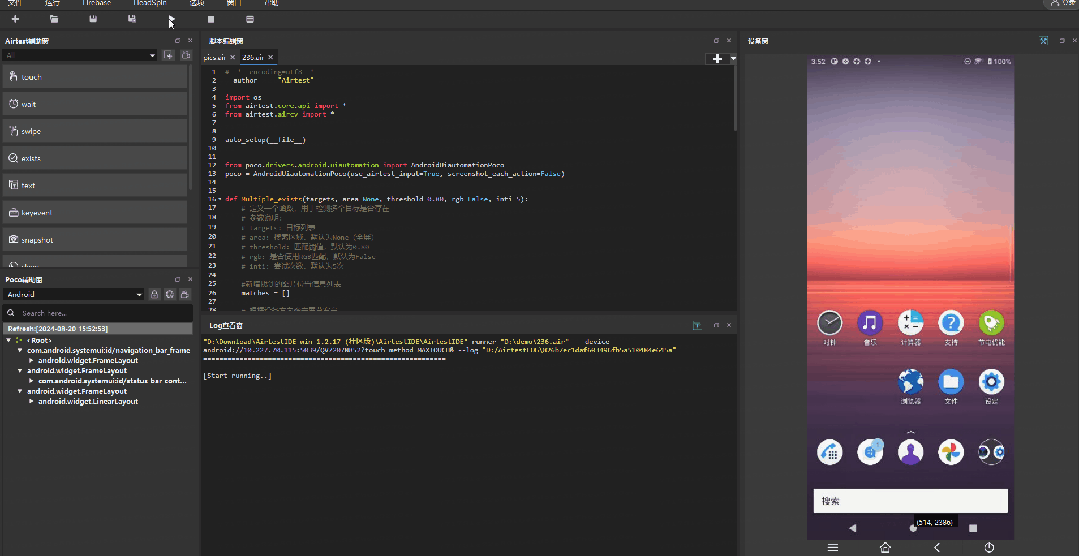
通过上述所讲的逻辑以及方式,我们这边给大家提供一个小小的使用案例,通过识别游戏画面内的三个元素是否都存在,从而去判断是否进入到我们需要的游戏画面。
![]()
    # -*- encoding=utf8 -*-
__author__ = "Airtest"

import os
from airtest.core.api import *
from airtest.aircv import *

auto_setup(__file__)

from poco.drivers.android.uiautomation import AndroidUiautomationPoco
poco = AndroidUiautomationPoco(use_airtest_input=True, screenshot_each_action=False)

def Multiple_exists(targets, area=None, threshold=0.80, rgb=False, inti=5):
    # 定义一个函数,用于检测多个目标是否存在
    # 参数说明:
    # targets: 目标列表
    # area: 搜索区域,默认为None(全屏)
    # threshold: 匹配阈值,默认为0.80
    # rgb: 是否使用RGB匹配,默认为False
    # inti: 尝试次数,默认为5次

    #新增找到的图片位置信息列表
    matches = []

    # 根据设备方向确定屏幕宽高
    if (G.DEVICE.display_info['orientation'] % 2):
        width = G.DEVICE.display_info['height']
        height = G.DEVICE.display_info['width']
    else:
        width = G.DEVICE.display_info['width']
        height = G.DEVICE.display_info['height']

    # 在指定的尝试次数内循环查找目标
    for i in range(inti):
        # 获取当前屏幕截图
        fullScreen = G.DEVICE.snapshot()
        # 遍历所有目标
        for target in targets:
            if target:
                # 构建目标图片的完整路径
                template_path = os.path.join(str(width), f"{target}.png")
                print(f"Trying to load template: {template_path}")
                # 在指定区域内查找目标
                focus_pos = match_in_predict_area(Template(template_path, threshold=threshold, rgb=rgb), fullScreen, area)
            #若找到图片则将当前图片出现的位置传入列表中
                if focus_pos:
                    matches.append((targets.index(target), focus_pos))
        # 如果所有目标都找到,立即返回结果
        if len(matches) == len(targets):
            return matches

        # 如果未找到所有目标,等待0.2秒后继续下一次尝试
        sleep(0.2)
    # 返回找到的所有匹配结果
    return matches

def match_in_predict_area(template, screen=None, rect=None):  # 局部找图
    if screen is None:
        if G.DEVICE is None:
            raise Exception("G.DEVICE is none.")
    screen = G.DEVICE.snapshot()  # 获取设备屏幕截图
    if screen is None:
        raise Exception("snapshot is none.")
    if rect is None:
        return template.match_in(screen)  # 如果没有指定区域,在整个屏幕中查找
    if not isinstance(rect, (list, tuple)):
        raise Exception("to crop a image, rect should be a list")
    else:
        # logger.debug("找到目标%s"%template.filename)
        predict_screen = aircv.crop_image(screen, rect)  # 裁剪指定区域的图片
        focus_pos = template.match_in(predict_screen)  # 在裁剪后的图片中查找模板
        if not focus_pos:
            return False  # 如果没有找到匹配,返回False
        else:
            return focus_pos[0]+rect[0], focus_pos[1]+rect[1]  # 返回匹配位置,加上裁剪区域的偏移

if __name__ == "__main__":
 #打开游戏,去确认是否游戏开始界面的元素已就位
    start_app("com.netease.dyll")
    sleep(1.0)
    poco(text="确定").click()
    touch([0.5,0.5])
    sleep(0.2)

    # 定义目标图片的路径列表
    targets = [r"D:/demo/pics.air/tpl1724135823600",r"D:/demo/pics.air/tpl1724135830426",r"D:/demo/pics.air/tpl1724135836266"]

    # 调用multiple_exists函数,查找游戏开始界面的图片识别情况
    result = Multiple_exists(targets)

#     打印查找结果
    for i in range(len(result)):
        print("图片{}的位置是:{}".format(i+1,result[i]))

    # 判断是否已进入游戏开始界面
    if len(result) == len(targets) :
        print("确认已进入到游戏的开始界面")
四、总结
本周推文我们分享了来自官方交流Q群2群的lincoln同学的一个快速遍历找图的方法函数,这里再次感谢lincoln同学的分享,在函数内我们主要的一个减少识别时间的思路是通过截图当前设备画面,并进行裁切判断,从而避免整个设备屏幕范围内寻找元素。
如果大家有更多好用好玩的Airtest使用脚本,也欢迎大家给我们投稿,同时如果大家在使用Airtest过程中有一些其他新的使用方式或者遇到了问题,又或者有任何想要深入了解的知识点,欢迎在官方交流群(526033840)里告诉我们或者提交issue。