MainActivity
public class MainActivity extends AppCompatActivity  {

private static final String URL = "https://www.baidu.com/";
private RequestQueue mQueue; // volley的请求队列
@BindView(R.id.volley_get)
Button btn;
TextView textView;

@Override
protected void onCreate(Bundle savedInstanceState) {
    super.onCreate(savedInstanceState);
    setContentView(R.layout.activity_main);

    mQueue = Volley.newRequestQueue(getApplicationContext());
    ButterKnife.bind(this);
}

@OnClick({R.id.volley_get})
public void onClick(View v) {
    get();
}

/**
 * 创建一个请求,这里我们做一个最简单的通过GET方式请求网页源码的操作。请求成功后打印结果。
 */
private void get() {
    StringRequest request = new StringRequest(Request.Method.GET, URL, new Response.Listener<String>() {

        @Override
        public void onResponse(String arg0) {
            //Toast.makeText(getApplicationContext(), arg0, Toast.LENGTH_LONG).show();
            textView = (TextView) findViewById(R.id.text);
            textView.setText(arg0.toString());
            //Log.d("onResponse", arg0);
        }
    }, new Response.ErrorListener() {

        @Override
        public void onErrorResponse(VolleyError arg0) {
            //Toast.makeText(getApplicationContext(), arg0.toString(), Toast.LENGTH_LONG).show();
            textView = (TextView) findViewById(R.id.text);
            textView.setText(arg0.toString());
        }
    });
    mQueue.add(request);
}
}
activity_main.xml
 <?xml version="1.0" encoding="utf-8"?>
<RelativeLayout xmlns:android="http://schemas.android.com/apk/res/android"
xmlns:tools="http://schemas.android.com/tools"
android:id="@+id/activity_main"
android:layout_width="match_parent"
android:layout_height="match_parent"
android:paddingBottom="@dimen/activity_vertical_margin"
android:paddingLeft="@dimen/activity_horizontal_margin"
android:paddingRight="@dimen/activity_horizontal_margin"
android:paddingTop="@dimen/activity_vertical_margin"
tools:context="com.an.volleytest.MainActivity">

<Button
    android:id="@+id/volley_get"
    android:layout_width="match_parent"
    android:layout_height="wrap_content"
    android:text="get请求"
    android:layout_alignParentTop="true"
    android:layout_alignParentLeft="true"
    android:layout_alignParentStart="true" />

<TextView
    android:layout_width="wrap_content"
    android:layout_height="wrap_content"
    android:text="Hello World!"
    android:id="@+id/text"
    android:layout_marginTop="25dp"
    android:layout_below="@+id/volley_get"
    android:layout_centerHorizontal="true" />
</RelativeLayout>
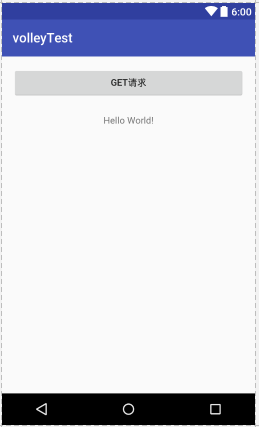
点击按钮 hello world 替换为请求网址的html文件