带实际例子的Android架构MVP简述一「 JAVA,MVP,Retrofit,RxJava」
谷歌推荐的MVP架构,是有Model层的。但是也有一种方式,是省略了Model层,把网络请求的方式在Presenter层完成了。本篇讲解的就是无model层实现方式。
本篇文章会使用Retrofit和RxJava请求一个学生信息接口,将请求到的学生数据展示到界面上文本上。
为什么要有这个东西
原生的架构是把所有的操作,如网络请求,数据库请求都直接放在了Activity里面。这样做得好处是写得时候比较简单,在操作较少的时候,这样做事很方便的。
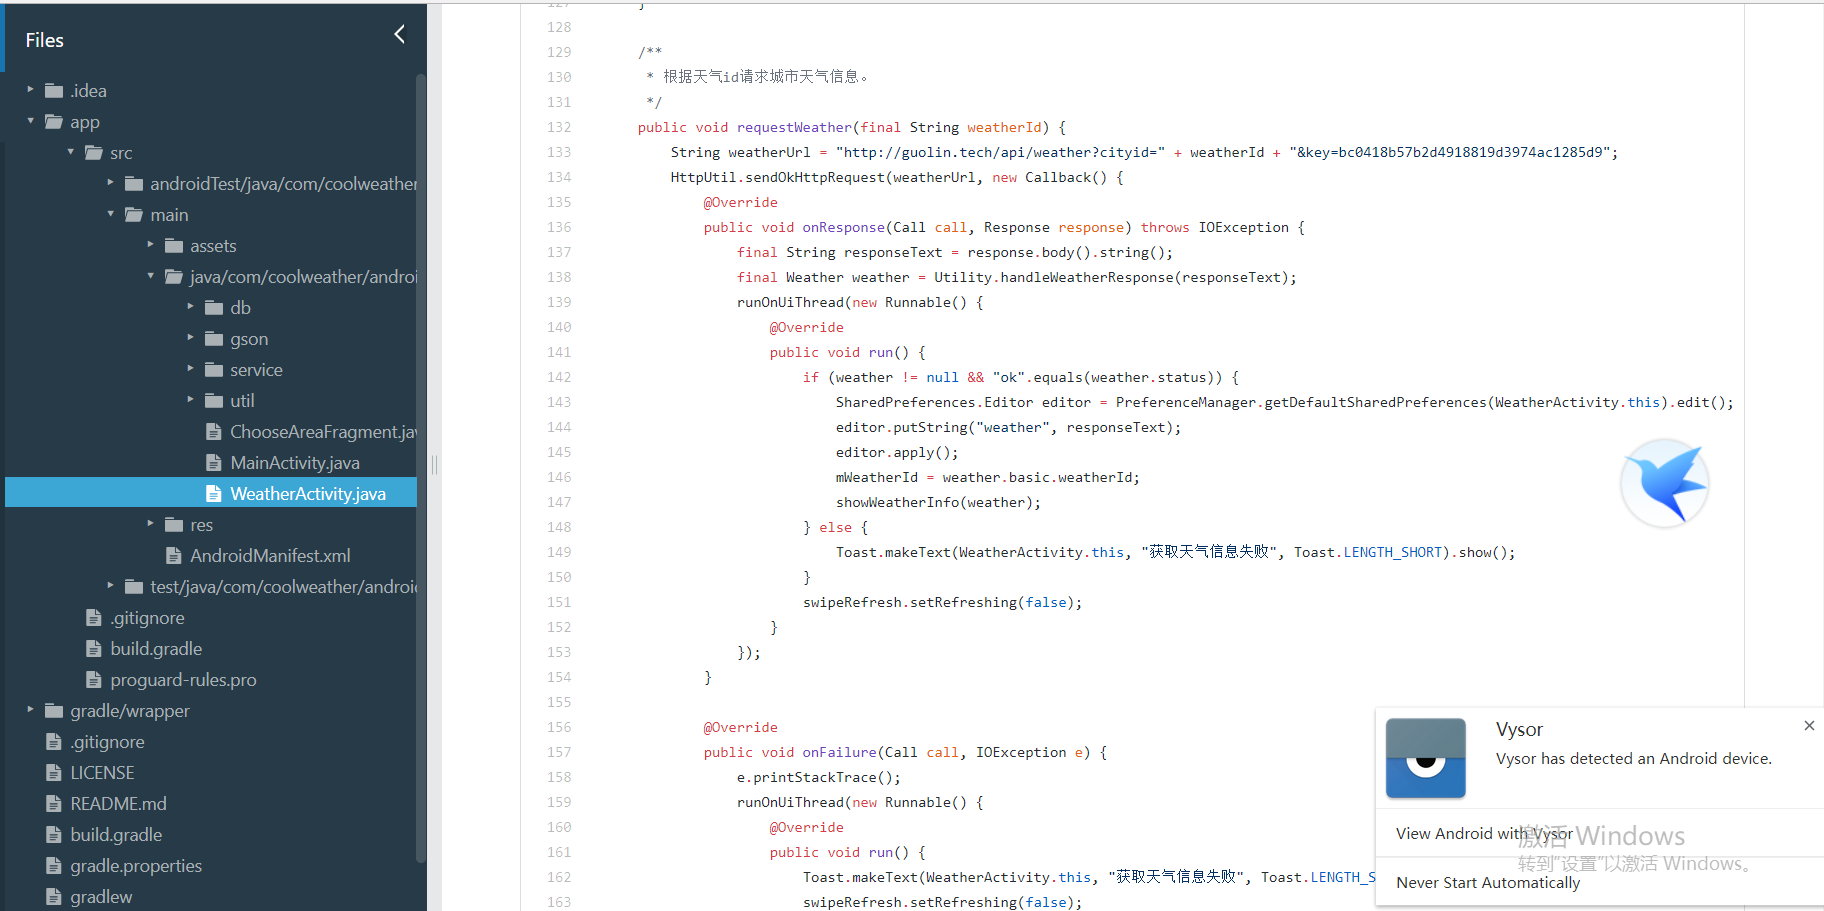
但是当我们的操作多得时候,代码太多,读起来就很费劲了。比如第一行代码里面最后的酷欧天气项目里的WeatherActivity就是我们原生的做法,把网络请求直接在Activity里面进行。
而MVP架构要做得,就是把Activity中过多的代码,网络请求,数据库数据请求抽离出来,是一种封装思想。
简而言之,MVP架构的作用就是一个类的代码太多了,把一个类的代码抽离出来,放在几个类中
项目架构的搭建
项目的源代码已经上传到仓库的MvpDemoA文件夹内。
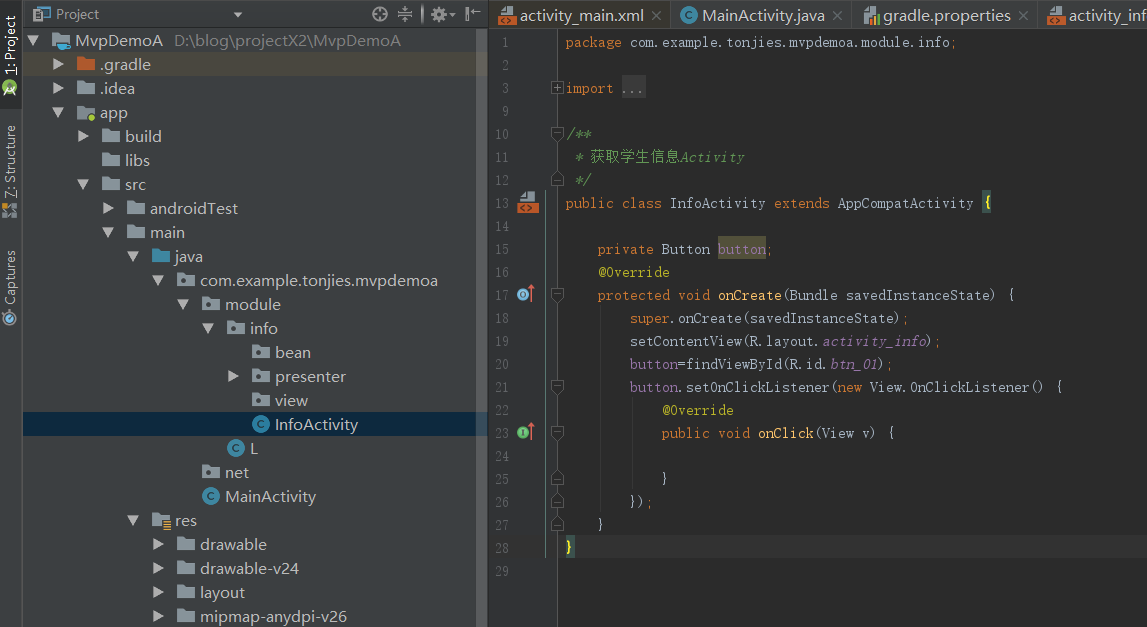
创建项目,进行分包。
module包是业务包,Info包就是接下来我们获取学生数据的包。info包下的presenter和view包是等等创建MVP的P层类和View接口时要使用到的包。
bean包用来存放网络请求实体类,net包用来放我们网络请求需要用到的类。
接下来书写xml布局。
<?xml version="1.0" encoding="utf-8"?>
<LinearLayout xmlns:android="http://schemas.android.com/apk/res/android"
    xmlns:app="http://schemas.android.com/apk/res-auto"
    xmlns:tools="http://schemas.android.com/tools"
    android:layout_width="match_parent"
    android:layout_height="match_parent"
    android:orientation="vertical"
    tools:context=".module.info.InfoActivity">

    <Button
        android:id="@+id/btn_01"
        android:layout_width="match_parent"
        android:layout_height="wrap_content"
        android:text="请求网络数据"
        />

    <TextView
        android:id="@+id/txt_01"
        android:layout_width="wrap_content"
        android:layout_height="wrap_content"
        android:text="最终的学生数据"
        />
</LinearLayout>
接下来开始MVP的代码书写了,在presenter包下创建InfoPresenter类,我们接下来从Activity里面抽取出来的代码就是写在该类里面的。
package com.example.tonjies.mvpdemoa.module.info.presenter;


public class InfoPresenter {

    public void getData() {
        //在此处进行网络请求,并将请求结果返回给Activity,这里假设我们已经请求成功,想要返回学生数据
    }
}
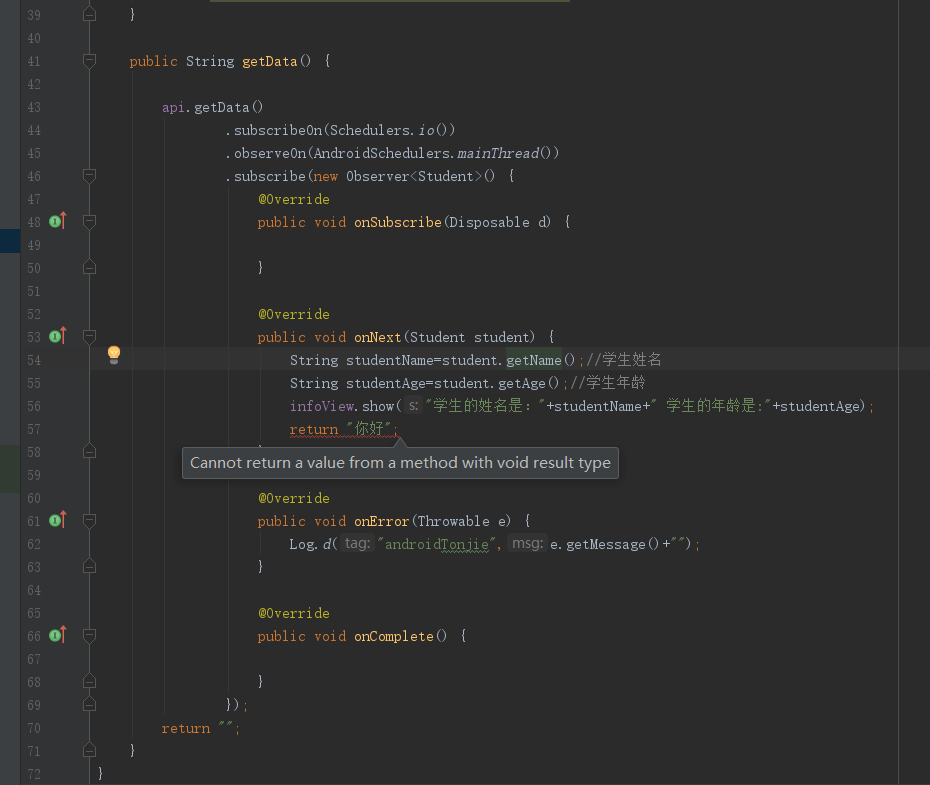
我们遇到了第一个难题,我们想要在InfoPresenter类里面的getData方法执行网络请求方法,然后将请求成功或失败的回调返回给Activity进行展示。
但是我们该怎么做呢?给getData方法一个返回值?这样做是不行的,因为我们在网络请求的方法中,是没办法直接返回的,如下图。
所以靠返回值来进行和Activity的交互是不行的,我们得采取另外一种方法,绑定View。
我们在view包下创建InfoView接口,在该类下创建show()方法,该方法用于请求成功后返回请求数据。
public interface InfoView {
    void show(String msg);//返回请求数据
}
让InfoActivity实现该接口
/**
 * 获取学生信息
 */
public class InfoActivity extends AppCompatActivity implements InfoView{

    private Button button;

    private TextView textView;


    @Override
    protected void onCreate(Bundle savedInstanceState) {
        super.onCreate(savedInstanceState);
        setContentView(R.layout.activity_info);
        button=findViewById(R.id.btn_01);
        textView=findViewById(R.id.txt_01);

        button.setOnClickListener(new View.OnClickListener() {
            @Override
            public void onClick(View v) {

            }
        });
    }

    @Override
    public void show(String s) {
        textView.setText(""+s);
        Toast.makeText(this, ""+s, Toast.LENGTH_SHORT).show();
    }


}
之后回到InfoPresenter
public class InfoPresenter {

    //View接口变量
    private InfoView infoView;

    //绑定View对象
    public void attachView(InfoView view) {
        this.infoView = view;
    }

    //销毁View对象
    public void detachView() {
        infoView = null;
    }

    public void getData() {
        //在此处进行网络请求,并将请求结果返回给Activity,这里假设我们已经请求成功,想要返回学生数据
        infoView.show("请求成功!");
    }

}
attachView方法的作用是绑定View对象,在此方法后P层里面的infoView变量就能调用Activity里面的show()方法了。
回到InfoActivity。
/**
 * 获取学生信息Activity
 */
public class InfoActivity extends AppCompatActivity implements InfoView{

    private Button button;

    //声明P层变量
    private InfoPresenter infoPresenter;

    private TextView textView;

    @Override
    protected void onCreate(Bundle savedInstanceState) {
        super.onCreate(savedInstanceState);
        setContentView(R.layout.activity_info);
        //绑定View对象
        infoPresenter.attachView(this);
        button=findViewById(R.id.btn_01);
        textView=findViewById(R.id.txt_01);
        button.setOnClickListener(new View.OnClickListener() {
            @Override
            public void onClick(View v) {
                infoPresenter.getData();//进行网络青丘
            }
        });
    }

    /**
     * 在P层中回调的方法
     * @param msg
     */
    @Override
    public void show(String msg) {
        textView.setText("获取到的学生数据:"+msg);
    }

    /**
     * 销毁View对象
     */
    @Override
    protected void onDestroy() {
        super.onDestroy();
        infoPresenter.detachView();
    }
}
声明了InfoPresenter类,然后通过attachView(this)方法,这里的this相当于把Activity本身传递了进去,之后InfoPresenter的InfoView变量调用的show方法就是Activity里的show方法了。
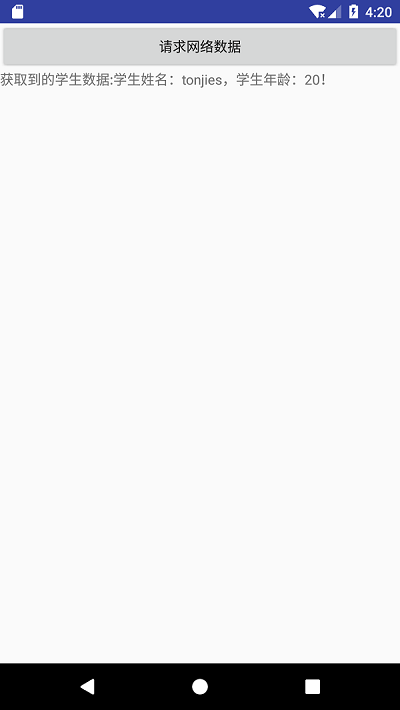
运行程序,在按钮的点击事件里面调用P层的getData()方法,P层的getData()方法再调用InfoView接口的show()方法,在Activity中显示我们的学生数据。
  public void getData() {
        //在此处进行网络请求,并将请求结果返回给Activity,这里假设我们已经请求成功,想要返回学生数据
        infoView.show("请求成功!");
    }
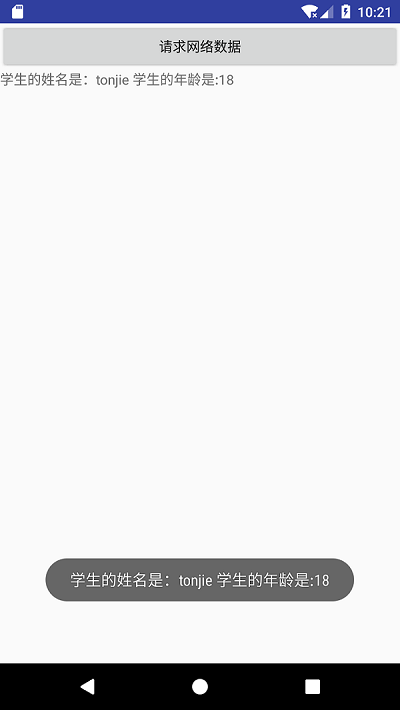
Screenshot_1534047603.png
至此,我们完成了MVP最简单的代码抽取。
网络请求
添加Retrofit,RxJava依赖
  // Retrofit库
    implementation 'com.squareup.retrofit2:retrofit:2.3.0'

    // Okhttp库
    implementation 'com.squareup.okhttp3:okhttp:3.10.0'

    //    RxJava
    implementation 'io.reactivex.rxjava2:rxjava:2.1.7'
    implementation 'io.reactivex.rxjava2:rxandroid:2.0.1'

    //RxJava2 Adapter
    implementation 'com.jakewharton.retrofit:retrofit2-rxjava2-adapter:1.0.0'

    // 支持Gson解析
    implementation 'com.squareup.retrofit2:converter-gson:2.3.0'
根据接口数据格式,使用GsonFormat在module-info-bean包下创建学生实体类。
public class Student {
    /**
     * name : tonjie
     * age : 18
     */

    private String name;
    private String age;

    public String getName() {
        return name;
    }

    public void setName(String name) {
        this.name = name;
    }

    public String getAge() {
        return age;
    }

    public void setAge(String age) {
        this.age = age;
    }
}
之后我们在net包下创建数据请求Api接口,Api接口时用来写我们的请求接口的。学生信息接口的请求方式为Get请求。
import io.reactivex.Observable;
import retrofit2.http.GET;

public interface Api {

    //获取学生数据信息
    @GET("2872/student")
    Observable<Student> getData();
}
括号里面的"2872/student是数据接口的后半部分,而数据接口的前半部分则是在RetrofitHelper进行配置。书写RetrofitHelper。
import com.google.gson.GsonBuilder;
import com.jakewharton.retrofit2.adapter.rxjava2.RxJava2CallAdapterFactory;

import okhttp3.OkHttpClient;
import retrofit2.Retrofit;
import retrofit2.converter.gson.GsonConverterFactory;

/**
 * Created by 舍长 on 2018/6/4.
 * 舍长: Retrofit请求封装类
 */

public class RetrofitHelper {

    OkHttpClient okHttpClient = new OkHttpClient();
    GsonConverterFactory gsonConverterFactory = GsonConverterFactory.create(new GsonBuilder().create());
    private static RetrofitHelper apiHelper = null;
    private static Retrofit retrofit = null;

    public static RetrofitHelper getInstance() {

        if (apiHelper == null) {
            apiHelper = new RetrofitHelper();
        }
        return apiHelper;
    }

    private RetrofitHelper() {

        init();
    }

    private void init() {
        retrofit = new Retrofit.Builder()
                .baseUrl("http://www.wanandroid.com/tools/mockapi/")//接口的前半部分
                .client(okHttpClient)
                .addConverterFactory(gsonConverterFactory)
                .addCallAdapterFactory(RxJava2CallAdapterFactory.create())
                .build();
    }

    public static Api getServer() {
        return retrofit.create(Api.class);
    }

}
RetrofitHelper里面配置的东西较多,大抵就是使用了一个单例模式初始化一些参数。这里我们暂且不去管那些的作用,只要知道那是配置Retrofit的就可以了。
我们需要关注的,是baseUri里面的地址,那就是我们数据接口的前半部分,注意地址的结尾要有/号。
之后我们来到InfoPresenter的attachView方法,在方法里初始化Api接口,调用请求网络数据的接口getData()。
import com.example.tonjies.mvpa.module.info.bean.Student;
import com.example.tonjies.mvpa.module.info.view.InfoView;
import com.example.tonjies.mvpa.net.*;

import io.reactivex.Observer;
import io.reactivex.Scheduler;
import io.reactivex.android.schedulers.AndroidSchedulers;
import io.reactivex.disposables.Disposable;
import io.reactivex.schedulers.Schedulers;

public class InfoPresenter {
    //View对象
    private InfoView infoView;

    //Context对象
    private Context context;

    //Api
    private Api api;

    //绑定View对象
    public void attachView(InfoView view) {
        this.infoView = view;
    }

    //销毁View对象
    public void detachView() {
        infoView = null;
    }

    public InfoPresenter(Context context) {
        this.context = context;
        api = RetrofitHelper.getInstance(context).getServer();
    }

    public void getData() {

        api.getData()
                .subscribeOn(Schedulers.io())
                .observeOn(AndroidSchedulers.mainThread())
                .subscribe(new Observer<Student>() {
                    @Override
                    public void onSubscribe(Disposable d) {

                    }

                    @Override
                    public void onNext(Student student) {
                        String studentName=student.getName();//学生姓名
                        String studentAge=student.getAge();//学生年龄
                        infoView.show("学生的姓名是:"+studentName+" 学生的年龄是:"+studentAge);
                    }

                    @Override
                    public void onError(Throwable e) {
                        Log.d("androidTonjie",e.getMessage()+"");
                    }

                    @Override
                    public void onComplete() {

                    }
                });
    }
}
onNext方法会在我们请求成功时呗调用,返回student对象。我们将返回的student对象通过show()方法显示到文本界面上。onError方法则是我们请求失败时会被调用,比如地址错误等等。
InfoActivity的代码我们是不需要改变的,这也是我们MVP架构的一个好处。最后别忘了加入我们的网络请求权限。
<uses-permission android:name="android.permission.INTERNET"/>
文章并没有对于Retrofit和RxJava进行细致的讲解,但是每一行代码都是完整的给出了的,这里只是掩饰如何在P层中进行网络请求,如果想要细致的学习一个RxJava合Retrofit,可以看看我的教程推荐。