CentOS7.2下一键安装Openstack
系统环境:
Oracle VirtualBox 4.38
CentOS-7.2-x86_64-bin-DVD1.iso
安装前需要修改 /etc/hosts文件,添加 127.0.0.1 dev-100 (dev-100为当前机器名)
否则会报如下错误:
Could not start Service[rabbitmq-server]: Execution of '/sbin/service rabbitmq-server start' returned 1: Starting rabbitmq-server: FAILED - check /var/log/rabbitmq/startup_{log, _err}

安装步骤:
[root@dev-100 openstack]# sudo yum install -y http://rdo.fedorapeople.org/rdo-release.rpm
[root@dev-100 openstack]# sudo yum install -y openstack-packstack
[root@dev-100 openstack]# packstack --allinone
Welcome to Installer setup utility
Installing:
Clean Up [ DONE ]
Setting up ssh keys [ DONE ]
Discovering hosts' details [ DONE ]
Adding pre install manifest entries [ DONE ]
Preparing servers [ DONE ]
Adding AMQP manifest entries [ DONE ]
Adding MySQL manifest entries [ DONE ]
Adding Keystone manifest entries [ DONE ]
Adding Glance Keystone manifest entries [ DONE ]
Adding Glance manifest entries [ DONE ]
Adding Cinder Keystone manifest entries [ DONE ]
Adding Cinder manifest entries [ DONE ]
Checking if the Cinder server has a cinder-volumes vg[ DONE ]
Adding Nova API manifest entries [ DONE ]
Adding Nova Keystone manifest entries [ DONE ]
Adding Nova Cert manifest entries [ DONE ]
Adding Nova Conductor manifest entries [ DONE ]
Creating ssh keys for Nova migration [ DONE ]
Gathering ssh host keys for Nova migration [ DONE ]
Adding Nova Compute manifest entries [ DONE ]
Adding Nova Scheduler manifest entries [ DONE ]
Adding Nova VNC Proxy manifest entries [ DONE ]
Adding Openstack Network-related Nova manifest entries[ DONE ]
Adding Nova Common manifest entries [ DONE ]
Adding Neutron API manifest entries [ DONE ]
Adding Neutron Keystone manifest entries [ DONE ]
Adding Neutron L3 manifest entries [ DONE ]
Adding Neutron L2 Agent manifest entries [ DONE ]
Adding Neutron DHCP Agent manifest entries [ DONE ]
Adding Neutron LBaaS Agent manifest entries [ DONE ]
Adding Neutron Metering Agent manifest entries [ DONE ]
Adding Neutron Metadata Agent manifest entries [ DONE ]
Checking if NetworkManager is enabled and running [ DONE ]
Adding OpenStack Client manifest entries [ DONE ]
Adding Horizon manifest entries [ DONE ]
Adding Swift Keystone manifest entries [ DONE ]
Adding Swift builder manifest entries [ DONE ]
Adding Swift proxy manifest entries [ DONE ]
Adding Swift storage manifest entries [ DONE ]
Adding Swift common manifest entries [ DONE ]
Adding Provisioning Demo manifest entries [ DONE ]
Adding MongoDB manifest entries [ DONE ]
Adding Ceilometer manifest entries [ DONE ]
Adding Ceilometer Keystone manifest entries [ DONE ]
Adding Nagios server manifest entries [ DONE ]
Adding Nagios host manifest entries [ DONE ]
Adding post install manifest entries [ DONE ]
Installing Dependencies [ DONE ]
Copying Puppet modules and manifests [ DONE ]
Applying 192.168.1.105_prescript.pp
192.168.1.105_prescript.pp: [ DONE ]
Applying 192.168.1.105_amqp.pp
Applying 192.168.1.105_mysql.pp
192.168.1.105_amqp.pp: [ DONE ]
192.168.1.105_mysql.pp: [ DONE ]
Applying 192.168.1.105_keystone.pp
Applying 192.168.1.105_glance.pp
Applying 192.168.1.105_cinder.pp
192.168.1.105_keystone.pp: [ DONE ]
192.168.1.105_glance.pp: [ DONE ]
192.168.1.105_cinder.pp: [ DONE ]
Applying 192.168.1.105_api_nova.pp
192.168.1.105_api_nova.pp: [ DONE ]
Applying 192.168.1.105_nova.pp
192.168.1.105_nova.pp: [ DONE ]
Applying 192.168.1.105_neutron.pp
192.168.1.105_neutron.pp: [ DONE ]
Applying 192.168.1.105_neutron_fwaas.pp
Applying 192.168.1.105_osclient.pp
Applying 192.168.1.105_horizon.pp
192.168.1.105_neutron_fwaas.pp: [ DONE ]
192.168.1.105_osclient.pp: [ DONE ]
192.168.1.105_horizon.pp: [ DONE ]
Applying 192.168.1.105_ring_swift.pp
192.168.1.105_ring_swift.pp: [ DONE ]
Applying 192.168.1.105_swift.pp
Applying 192.168.1.105_provision_demo.pp
192.168.1.105_swift.pp: [ DONE ]
192.168.1.105_provision_demo.pp: [ DONE ]
Applying 192.168.1.105_mongodb.pp
192.168.1.105_mongodb.pp: [ DONE ]
Applying 192.168.1.105_ceilometer.pp
Applying 192.168.1.105_nagios.pp
Applying 192.168.1.105_nagios_nrpe.pp
192.168.1.105_ceilometer.pp: [ DONE ]
192.168.1.105_nagios.pp: [ DONE ]
192.168.1.105_nagios_nrpe.pp: [ DONE ]
Applying 192.168.1.105_postscript.pp
192.168.1.105_postscript.pp: [ DONE ]
Applying Puppet manifests [ DONE ]
Finalizing [ DONE ]
**** Installation completed successfully ******
Additional information:
* A new answerfile was created in: /root/packstack-answers-20140920-225753.txt
* Time synchronization installation was skipped. Please note that unsynchronized time on server instances might be problem for some OpenStack components.
* Did not create a cinder volume group, one already existed
* File /root/keystonerc_admin has been created on OpenStack client host 192.168.1.105. To use the command line tools you need to source the file.
* To access the OpenStack Dashboard browse to http://192.168.1.105/dashboard .
Please, find your login credentials stored in the keystonerc_admin in your home directory.
* To use Nagios, browse to http://192.168.1.105/nagios username: nagiosadmin, password: 784f5aec5c1f4ca9
* The installation log file is available at: /var/tmp/packstack/20140920-225753-P5aOiP/openstack-setup.log
* The generated manifests are available at: /var/tmp/packstack/20140920-225753-P5aOiP/manifests

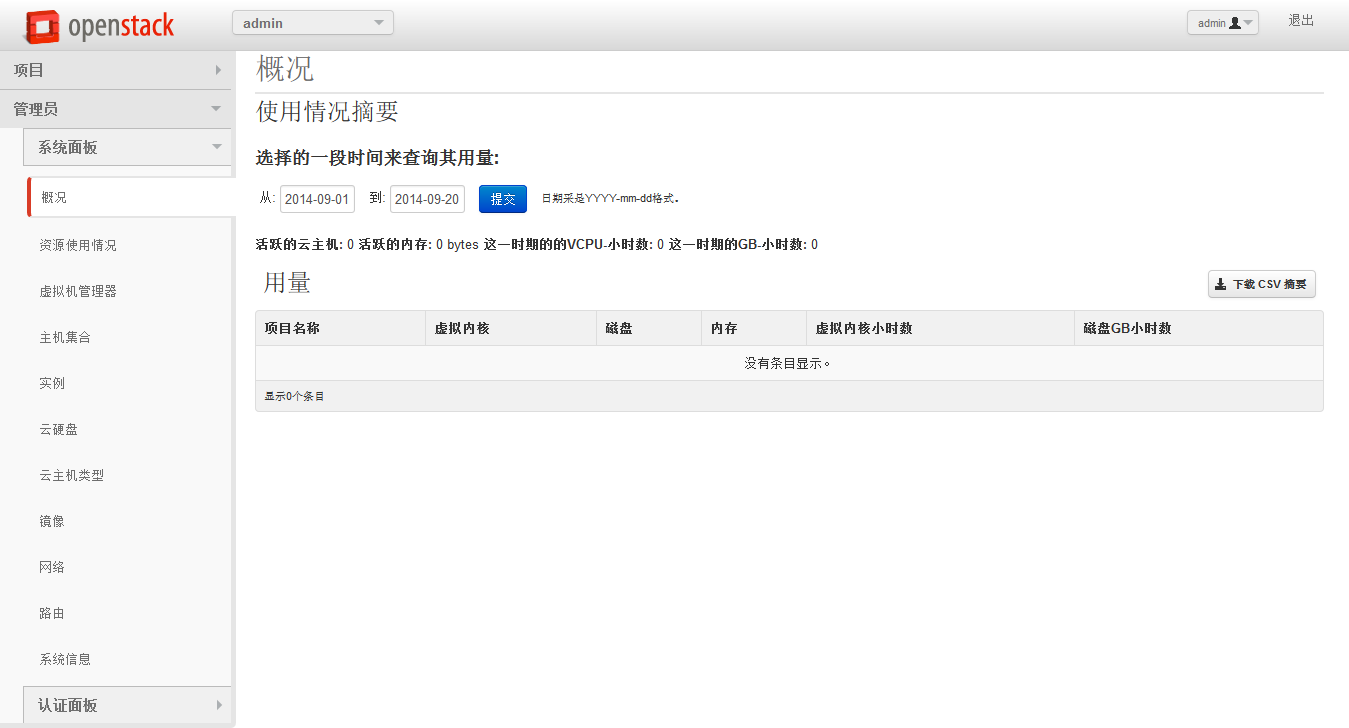
如上面内容所示,安装成功后,提示访问地址及登录账户信息所存储位置( /root/keystonerc_admin )
通过浏览器访问 http://192.168.1.105/dashboard 登录后截图如下:
![]()
相关参考资料:
CentOS下一键安装Openstack http://blog.csdn.net/longteng1116/article/details/17976919
OneStack:Ubuntu 12.04 (或11.10) 一键部署安装OpenStack云计算平台 http://blog.csdn.net/hilyoo/article/details/7696169
centos下最简安装openstack——使用packstack http://blog.csdn.net/huoyunshen88/article/details/19754079
陈沙克博客,很多关于openstack文章 http://www.chenshake.com/cloud-computing/
OpenStack-Rdo-Icehouse http://blog.csdn.net/dapao123456789/article/details/38068751
使用openstack遇到的问题 http://blog.csdn.net/blueorb/article/details/7831493
OneStack:Ubuntu 12.04 上一键自动部署 OpenStack http://www.vpsee.com/2012/07/onestack-all-in-one-installation-tool-for-openstack/
openstack多节点部署 采用devstack ubuntu11.10 nova多计算结点 http://blog.csdn.net/weiyuanke/article/details/7639849
OpenStack 部署运维实战(网易) http://www.ibm.com/developerworks/cn/cloud/library/1408_zhangxl_openstack
devstack http://devstack.org/
在Ubuntu 12.10 上安装部署Openstack http://www.linuxidc.com/Linux/2013-08/88184.htm
Ubuntu 12.04 OpenStack Swift单节点部署手册 http://www.linuxidc.com/Linux/2013-08/88182.htm
OpenStack云计算快速入门教程 http://www.linuxidc.com/Linux/2013-08/88186.htm
企业部署OpenStack:该做与不该做的事 http://www.linuxidc.com/Linux/2013-09/90428.htm
CentOS 7.2 x64bit 快速安装OpenStack http://www.linuxidc.com/Linux/2014-06/103775.htm
RDO 安装 OpenStackhttp://www.linuxidc.com/Linux/2014-07/104770.htm