![]()
本文包含以下内容:
@Resource、@Inject 自动注入
@Autowired标注方法、构造器、参数
实现Aware 获得Spring 的底层组件
通过@Profile配置不同的环境
1.@Resource、@Inject 自动注入
1)通过 @Resource 进行Bean 注入到容器
@Resource 为 JSR250 规范中提出的,可以实现@Autowired 一样的自动装配的功能,但是, 不支持@Primary ,默认优先注入和@Autowired(reqiured=false) 运行不注入2个功能,下面开始测试:
修改bookService 中,在开启bookDao2 和 @Repository 的前提下,
@Resourceprivate BookDao bookDao;
测试结果1,不设置指定的Bean id: ,默认注入了 @Repository 的Bean, 注入了lable 为2 的Bean
![]()
可以在里面指定注入Bean 的id ,如下代码所示:
@Resource(name="bookDao2")private BookDao bookDao;
测试结果2 , 指定注入Bean 的id ,注入了lable 为2的Bean:
![]()
@Inject 是 JSR330 规范中的注解,功能跟@Autowired 功能一致,不过需要额外引入 javax.inject 依赖
<dependency> <groupId>javax.inject</groupId> <artifactId>javax.inject</artifactId> <version>1</version></dependency>
@Injectprivate BookDao bookDao;
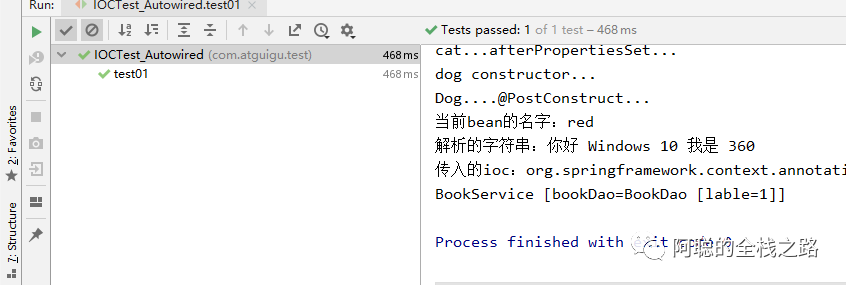
获得测试结果,成功注入lable 为1 的Bean
![]()
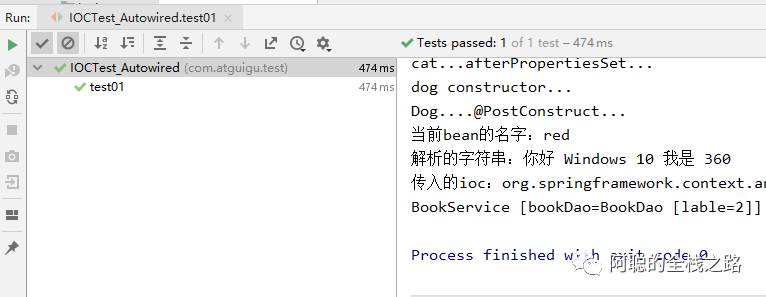
添加 @Primary 指定lable 为2 的Bean 为优先注入,即可获得如下结果:
@Primary@Bean("bookDao2")public BookDao bookDao(){ BookDao bookDao = new BookDao(); bookDao.setLable("2"); return bookDao;}
![]()
2.@Autowired标注方法、构造器、参数
除了上篇文章中的@Autowired 使用方法,@Autowired 还可以标注在 方法、构造器、参数上,进行注入,下面将进行测试
@Componentpublic class Car {    public Car(){    System.out.println("car constructor...");  }    public void init(){    System.out.println("car ... init...");  }    public void detory(){    System.out.println("car ... detory...");  }
}
@Componentpublic class Boss {
private Car car;
}
@Autowired public void setCar(Car car) { this.car = car; }
Boss boss = applicationContext.getBean(Boss.class);System.out.println(boss);Car car = applicationContext.getBean(Car.class);System.out.println(car);
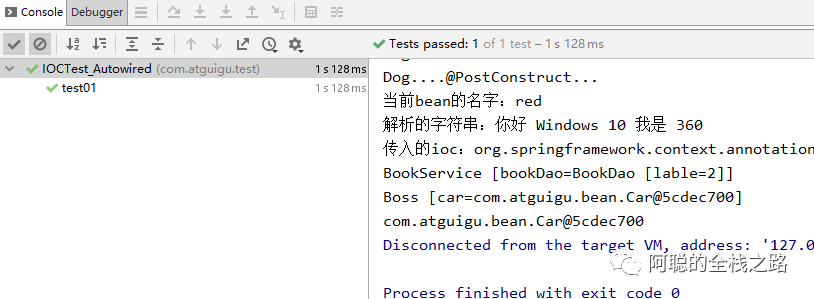
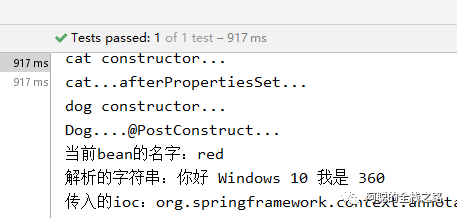
获得测试结果,可以看到容器内的Car 和Boss 上的Car 是指向同一个内存地址,即同一个对象。
![]()
方式一:自动忽略不填写(只有一个构造方法且为有参的)
public Boss(Car car){ this.car = car; System.out.println("Boss...有参构造器");}
public Boss(@Autowired Car car){ this.car = car; System.out.println("Boss...有参构造器");}
@Autowiredpublic Boss(Car car){ this.car = car; System.out.println("Boss...有参构造器");}
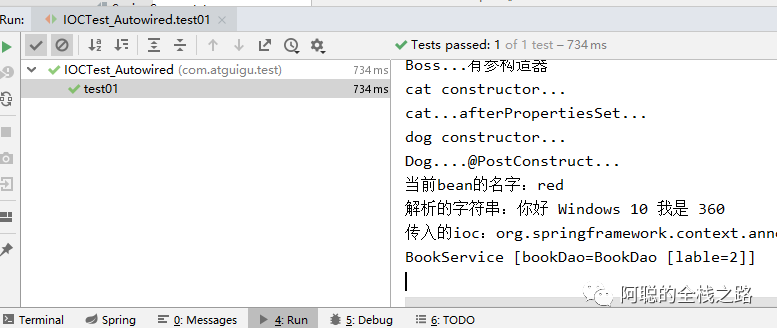
上面3种方式,测试结果如下:都会自动注入容器中的Car,可以看到内存地址 一致。
![]()
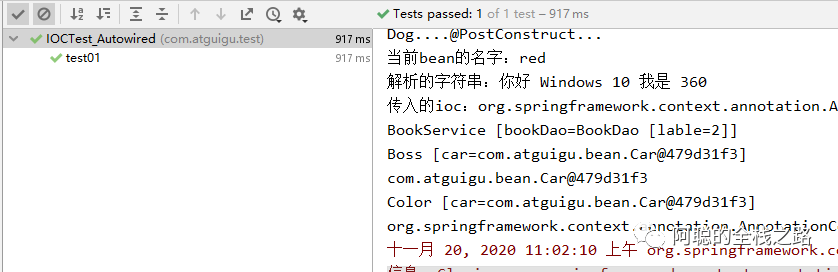
3)配合 @B ea n标注在 有参的构造 ,可以
@Beanpublic Color color(Car car){ Color color = new Color(); color.setCar(car); return color;}
@Bean public Color color(@Autowired Car car){ Color color = new Color(); color.setCar(car); return color; }
Color color = applicationContext.getBean(Color.class);System.out.println(color);System.out.println(applicationContext);applicationContext.close();
获得测试结果如下,可以看到Color 中的Car 跟容器的的Car 是一致的
![]()
3.实现Aware 获得Spring 的底层组件
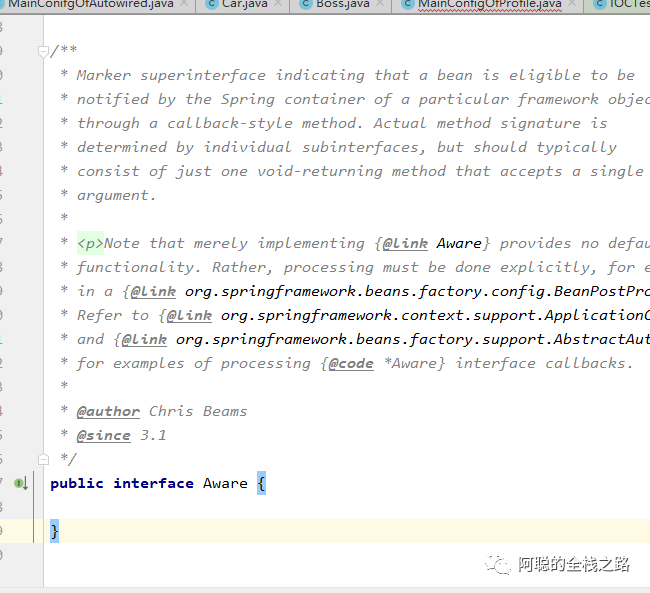
Spring 中可以通过实现 XXXAware 接口,实现对应的方法,可以获取到Spring 底层的一下 组件,下面将对Aware 接口进行测试:
![]()
Marker superinterface indicating that a bean is eligible to be notified by the Spring container of a particular framework object through a callback-style method.
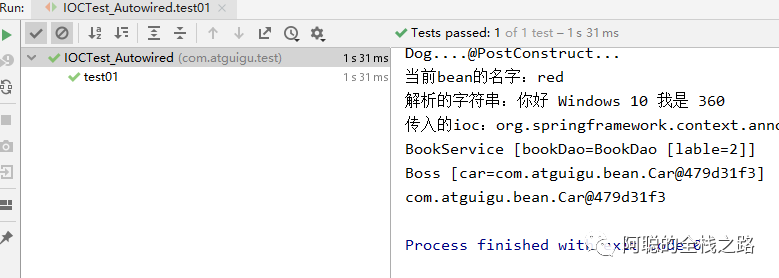
spring 框架会通过 回调方法。下面以 ApplicationContextAware 、BeanNameAware 、EmbeddedValueResolverAware 为例测试
1.)ApplicationContextAware 实现setApplicationContext 获取到 ioc 容器
@Overridepublic void setApplicationContext(ApplicationContext applicationContext) throws BeansException { System.out.println("传入的ioc:"+applicationContext); this.applicationContext = applicationContext;}
2.) BeanNameAware 获取到当前 容器的名称
@Overridepublic void setBeanName(String name) { System.out.println("当前bean的名字:"+name);}
3.) EmbeddedValueResolverAware 获取到 字符串解析器 ,既可以跟@Value 中一样可以解析基本类型、#{} 、${} 等
@Overridepublic void setEmbeddedValueResolver(StringValueResolver resolver) { String resolveStringValue = resolver.resolveStringValue("你好 ${os.name} 我是 #{20*18}"); System.out.println("解析的字符串:"+resolveStringValue);}
![]()
4.通过@Profile配置不同的环境
在Spring 中,可以通过@Profile 指定 当前运行环境,如项目开发中的流程 开发、测试、生产的环境,采用不同的 配置文件等信息,如数据库文件目录等信息。下面开始测试:
<dependency>  <groupId>c3p0</groupId>  <artifactId>c3p0</artifactId>  <version>0.9.1.2</version></dependency>
<dependency>  <groupId>mysql</groupId>  <artifactId>mysql-connector-java</artifactId>  <version>5.1.44</version></dependency>
2.)建立配置文件 dbconfig.properties
db.user=rootdb.password=123456db.driverClass=com.mysql.jdbc.Driver
@PropertySource("classpath:/dbconfig.properties")@Configurationpublic class MainConfigOfProfile implements EmbeddedValueResolverAware{ @Value("${db.user}") private String user; private String driverClass; @Override public void setEmbeddedValueResolver(StringValueResolver resolver) { driverClass = resolver.resolveStringValue("${db.driverClass}"); }}
@Bean("testDataSource")public DataSource dataSourceTest(@Value("${db.password}")String pwd) throws Exception{  ComboPooledDataSource dataSource = new ComboPooledDataSource();  dataSource.setUser(user);  dataSource.setPassword(pwd);  dataSource.setJdbcUrl("jdbc:mysql://localhost:3306/test");  dataSource.setDriverClass(driverClass);  return dataSource;}

@Bean("devDataSource")public DataSource dataSourceDev(@Value("${db.password}")String pwd) throws Exception{  ComboPooledDataSource dataSource = new ComboPooledDataSource();  dataSource.setUser(user);  dataSource.setPassword(pwd);  dataSource.setJdbcUrl("jdbc:mysql://localhost:3306/ssm_crud");  dataSource.setDriverClass(driverClass);  return dataSource;  }  @Bean("prodDataSource")public DataSource dataSourceProd(@Value("${db.password}")String pwd) throws Exception{  ComboPooledDataSource dataSource = new ComboPooledDataSource();  dataSource.setUser(user);  dataSource.setPassword(pwd);  dataSource.setJdbcUrl("jdbc:mysql://localhost:3306/scw_0515");
  dataSource.setDriverClass(driverClass);  return dataSource;}
public class IOCTest_Profile {
@Test public void test01(){
AnnotationConfigApplicationContext applicationContext = new AnnotationConfigApplicationContext(MainConfigOfProfile.class); String[] namesForType = applicationContext.getBeanNamesForType(DataSource.class); for (String string : namesForType) { System.out.println(string); }
}
}
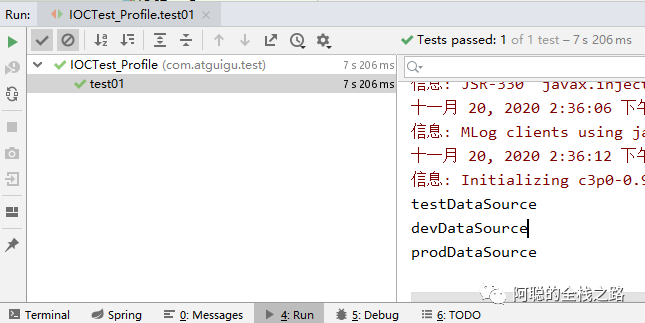
7.)可以看到运行结果如下,没有配置任何的环境, 所有Bean 都会注入进来
@Profile("test")@Bean("testDataSource")
@Profile("dev")@Bean("devDataSource")
@Profile("prod")@Bean("prodDataSource")
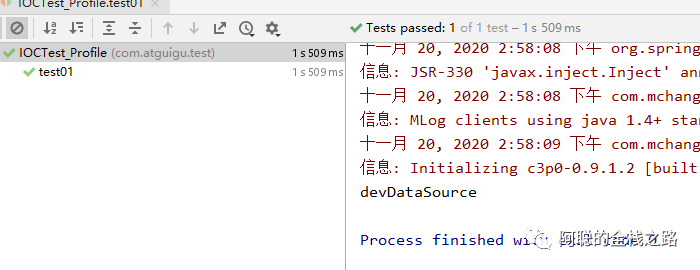
![]()
10.) 使用default ,会默认创建该Bean 跟不标注 @Profile的效果是一致的
@Profile("default")@Bean("devDataSource")
![]()
-Dspring.profiles.active=test
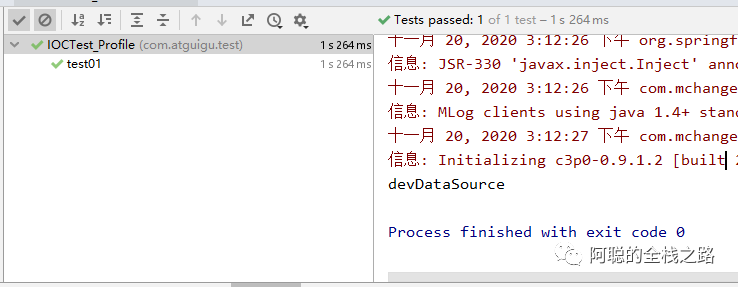
方式二,通过代码形式,注册容器时,不使用带参数的 构造方法进行注册
AnnotationConfigApplicationContext applicationContext = new AnnotationConfigApplicationContext();applicationContext.getEnvironment().setActiveProfiles("dev");applicationContext.register(MainConfigOfProfile.class);applicationContext.refresh();
![]()
-END-
![]()
可以关注我的公众号,免费获取价值1980元学习资料