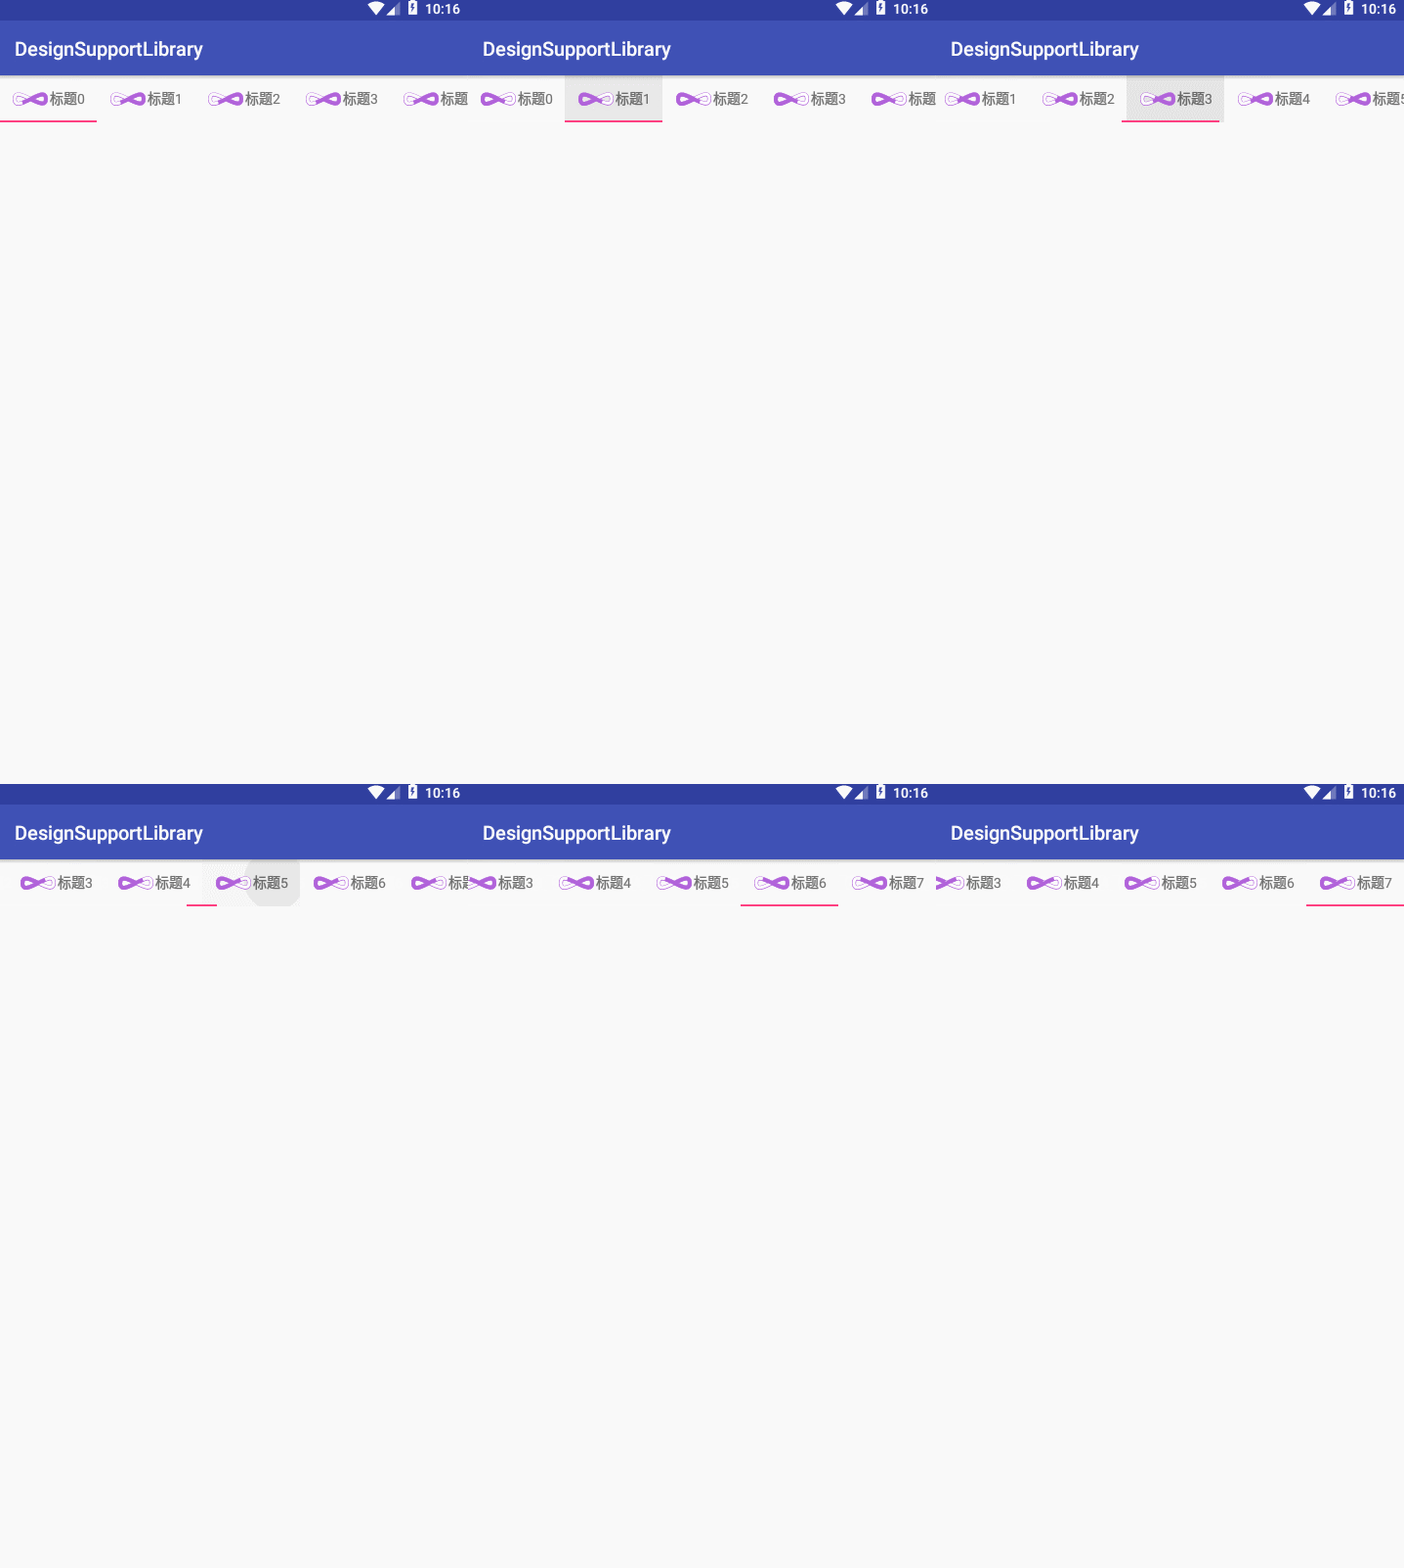
TabLayout的自定义
TabLayout的自定义,主要是通过setCustomView方法来添加自定义布局实现。
自定义TabLayout的实现主要包含以下几个步骤
●创建自定义布局(这里我加了一个动画控件,可以替换成其他控件)
<?xml version="1.0" encoding="utf-8"?>
<RelativeLayout
    xmlns:android="http://schemas.android.com/apk/res/android"
    xmlns:app="http://schemas.android.com/apk/res-auto"
    android:layout_width="match_parent"
    android:layout_height="match_parent">
    <LinearLayout
        android:layout_width="wrap_content"
        android:orientation="horizontal"
        android:gravity="center_vertical"
        android:layout_centerInParent="true"
        android:layout_height="wrap_content">
        <com.airbnb.lottie.LottieAnimationView
            android:layout_width="40dp"
            android:id="@+id/lottanim"
            app:lottie_autoPlay="true"
            app:lottie_loop="true"
            app:lottie_fileName="infinity.json"
            android:layout_height="20dp" />
        <TextView
            android:layout_width="wrap_content"
            android:text="标题"
            android:id="@+id/tv"
            android:layout_height="wrap_content" />
    </LinearLayout>
</RelativeLayout>
●创建Activity布局
<?xml version="1.0" encoding="utf-8"?>
<LinearLayout
    xmlns:android="http://schemas.android.com/apk/res/android"
    xmlns:app="http://schemas.android.com/apk/res-auto"
    android:layout_width="match_parent"
    android:orientation="vertical"
    android:layout_height="match_parent">
    <android.support.design.widget.TabLayout
        android:layout_width="match_parent"
        android:id="@+id/tablayout"
        app:tabMode="scrollable"
        android:layout_height="wrap_content">
    </android.support.design.widget.TabLayout>
</LinearLayout>
●在Activity中动态添加tab
 tabLayout=findViewById(R.id.tablayout);
 for (int x=0;x<8;x++){
            TabLayout.Tab tab = tabLayout.newTab();
            View inflate = View.inflate(this, R.layout.customtablayout, null);
            TextView textView = inflate.findViewById(R.id.tv);
            textView.setText("标题"+x);
            tab.setCustomView(inflate);
            tabLayout.addTab(tab);
}
此时就已经实现了自定义tab了

接下来实现绑定ViewPager
viewPager.setAdapter(new PagerAdapter() {
            @Override
            public int getCount() {
                return 8;
            }

            @Override
            public boolean isViewFromObject(@NonNull View view, @NonNull Object object) {
                return view==object;
            }

            @NonNull
            @Override
            public Object instantiateItem(@NonNull ViewGroup container, int position) {
                TextView textView=new TextView(CustomTablayout.this);
                textView.setText(position+"");
                textView.setTextSize(50);
                container.addView(textView);
                return textView;
            }

            @Override
            public void destroyItem(@NonNull ViewGroup container, int position, @NonNull Object object) {
                container.removeView((View) object);
            }
        });
tabLayout.setupWithViewPager(viewPager);
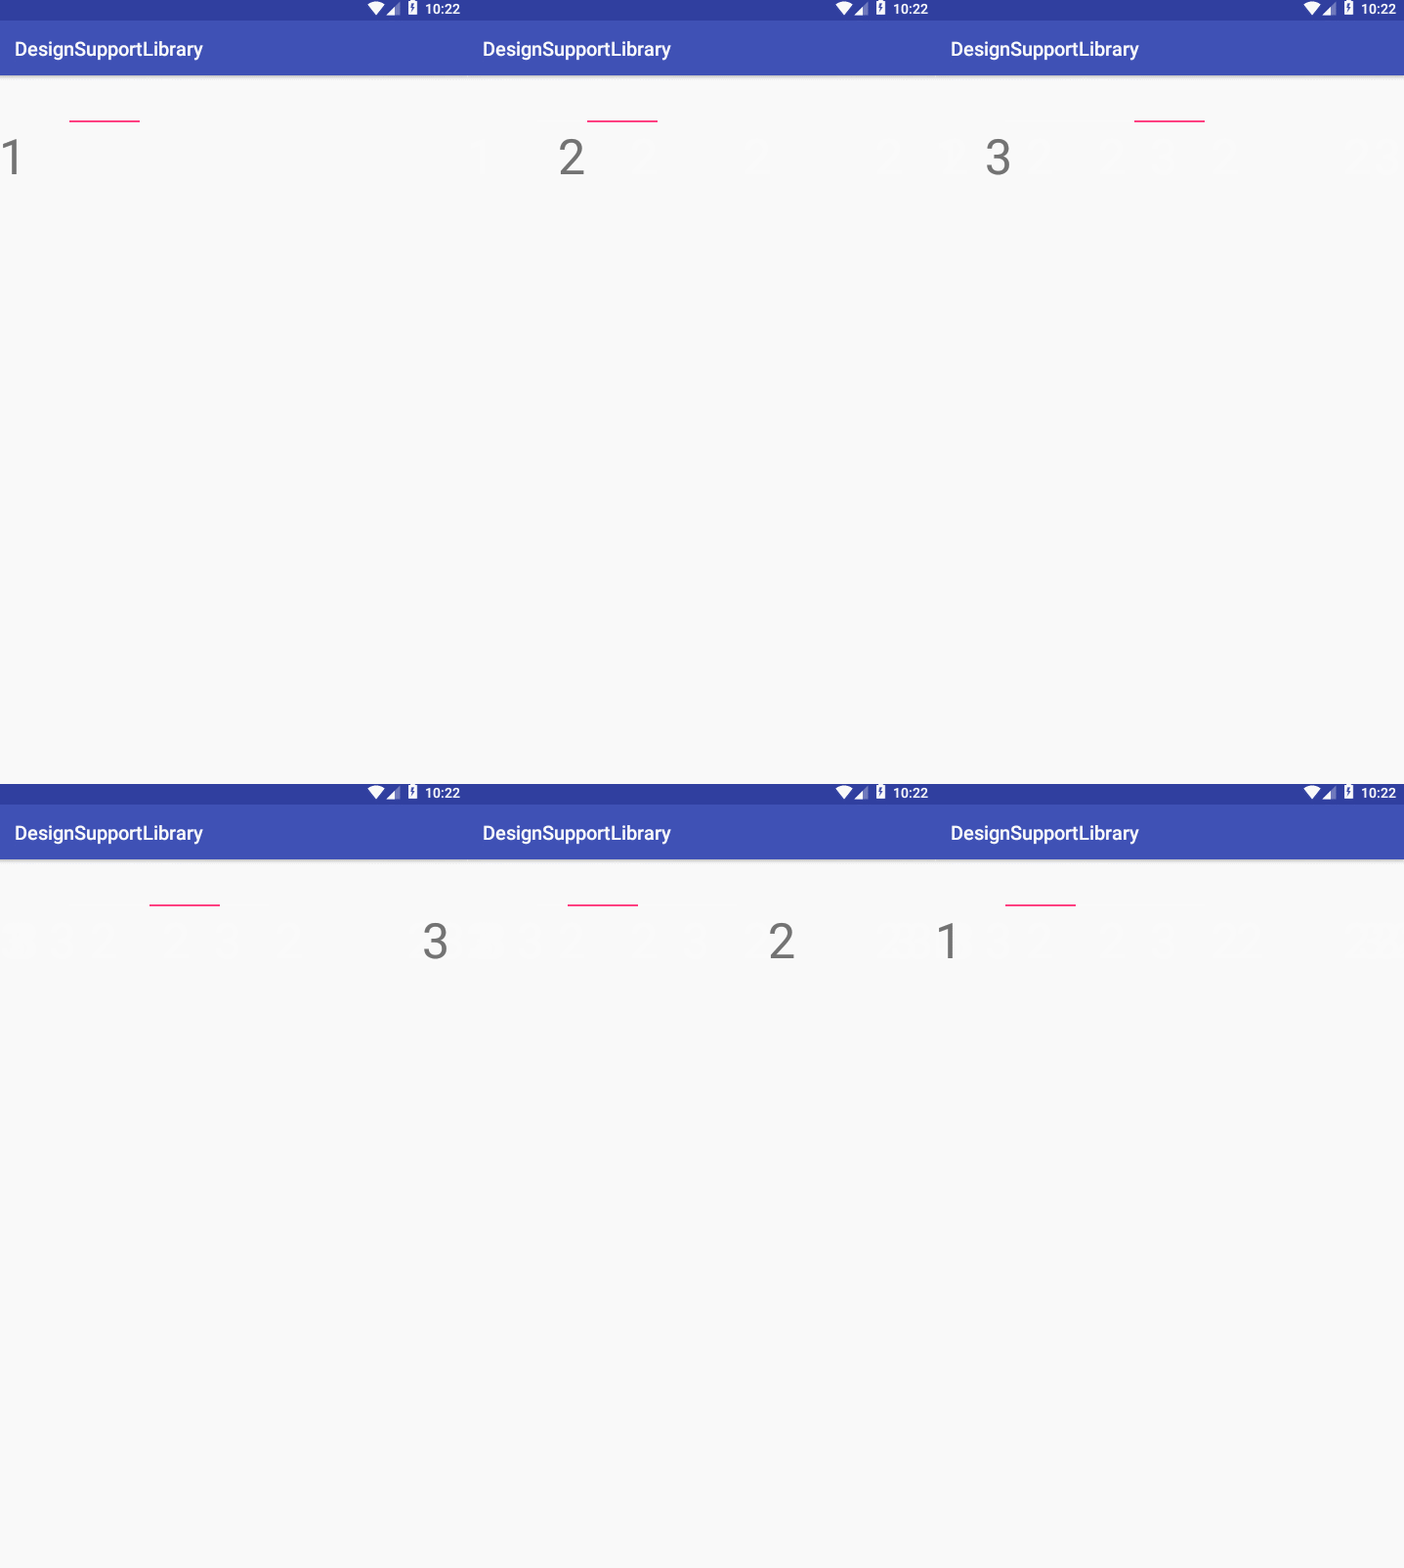
这里发现自定义的tab不见了,这里是因为当Tablayout绑定ViewPager的时候TabLayout会采用默认的tab布局所以才看不到效果。

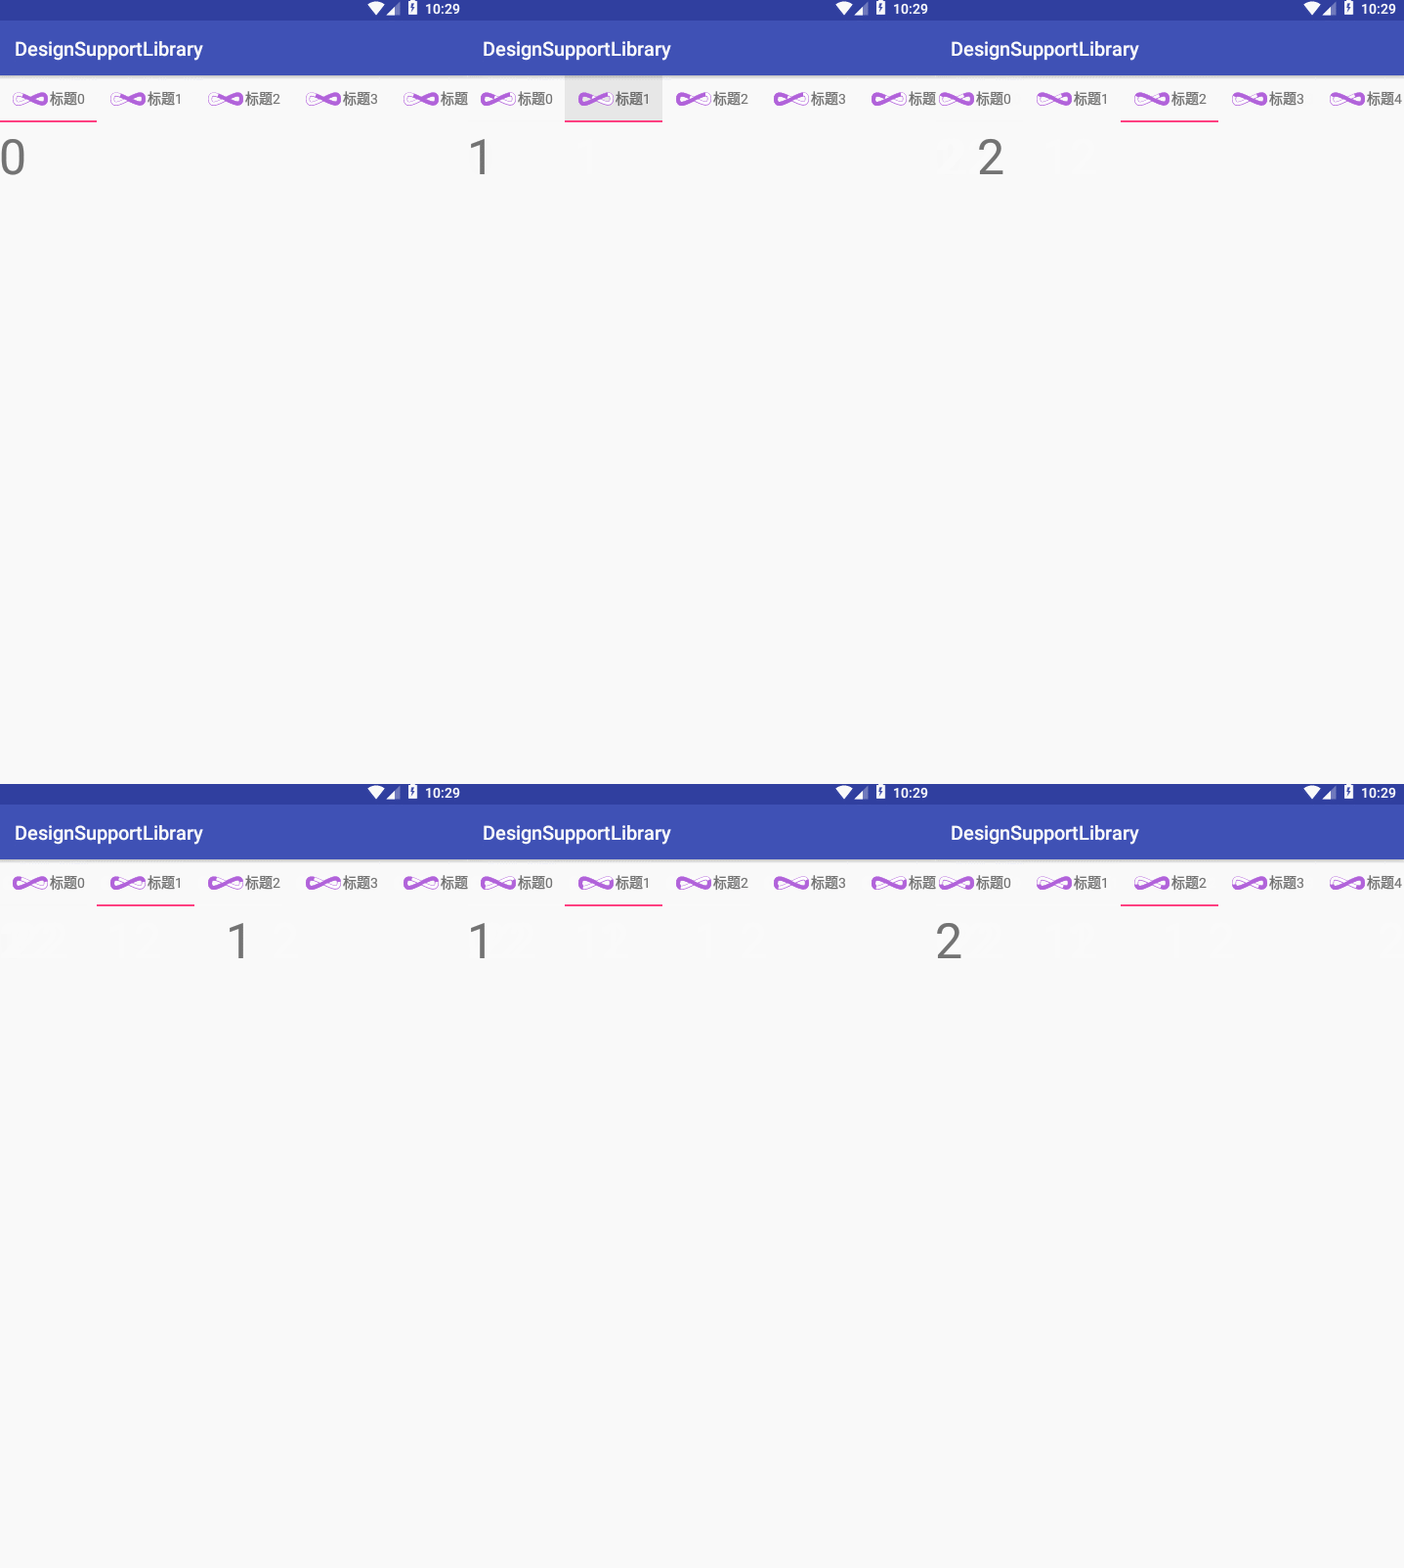
解决方法:不采用setupWithViewPager方法来进行手动绑定,这里注意tab的数量要和PagerAdapter的getCount方法返回的数量一致。
tabLayout.addOnTabSelectedListener(new TabLayout.OnTabSelectedListener() {
            @Override
            public void onTabSelected(TabLayout.Tab tab) {
                viewPager.setCurrentItem(tab.getPosition());
            }

            @Override
            public void onTabUnselected(TabLayout.Tab tab) {

            }

            @Override
            public void onTabReselected(TabLayout.Tab tab) {

            }
        });
        viewPager.addOnPageChangeListener(new ViewPager.OnPageChangeListener() {
            @Override
            public void onPageScrolled(int position, float positionOffset, int positionOffsetPixels) {

            }

            @Override
            public void onPageSelected(int position) {
                tabLayout.setScrollPosition(position, 0f, true);
            }

            @Override
            public void onPageScrollStateChanged(int state) {

            }
        });

个人博客:https://myml666.github.io
 关注公众号
关注公众号
低调大师中文资讯倾力打造互联网数据资讯、行业资源、电子商务、移动互联网、网络营销平台。
持续更新报道IT业界、互联网、市场资讯、驱动更新,是最及时权威的产业资讯及硬件资讯报道平台。
转载内容版权归作者及来源网站所有,本站原创内容转载请注明来源。
-
上一篇

对比Xcode Debug Memory Graph和FBMemoryProfiler
内存泄露一直是一个头疼的问题,需要工程化的阶段来解决。之前在每个VC的deinit打印一些日志,因为日志太多,看到泄露信息并不容易。跑Instruments成本也比较高,很多时候并不想去跑。所以对比了一下Memory Debug Graph和FBMemoryProfiler。 Memory Debug Graph Memory Debug Graph是Xcode8新增的feature,跟Xcode无缝融合,用起来比较方便,模拟器开发测试一段时间之后,不妨看一下Xcode Runtime issue,是否有警告。 如果想要看到右侧的内存申请时的堆栈,需要在Scheme里面勾选上Malloc Stack。 打开Malloc Stack选项之后,会在沙箱的/tmp/目录下会产生巨大的日志文件,平时最好把它关掉。 -rw-r--r-- 1 hens
-
下一篇

Android用5种方式实现自定义计时器, 哪种才是你的菜?
Chronometer和CountDownTimer计时器github传送门 目录 效果图 前言 Timer + TimerTask + Handler Timer + TimerTask Handler Thread + Handler Handler + Runnable 最后 效果图 看下效果图, 这是五种不同的方式演示计时器. 当然不看源码是看不出差别的. 效果图 前言 这次的文章不知道能不能帮助大家, 但是对我自己的帮助还是蛮大的, 才知道自己原来用的方法不是最优而且也不是最简. 然后我之前有一篇文章是用官方控件和类实现的, 有兴趣可以看一下Chronometer和CountDownTimer计时器. Timer + TimerTask + Handler 在TimerTask实例的run方法中用Handler实例发送消息, 用Timer实例启动计时器, 从0ms开始, 间隔1000ms. case R.id.cv_start1: if (mTimer1 == null && mTask1 == null) { mTimer1 = new Timer(); m...
相关文章
文章评论
共有0条评论来说两句吧...
文章二维码
点击排行
推荐阅读
最新文章
- SpringBoot2整合Thymeleaf,官方推荐html解决方案
- SpringBoot2配置默认Tomcat设置,开启更多高级功能
- SpringBoot2整合MyBatis,连接MySql数据库做增删改查操作
- Windows10,CentOS7,CentOS8安装MongoDB4.0.16
- Mario游戏-低调大师作品
- Jdk安装(Linux,MacOS,Windows),包含三大操作系统的最全安装
- SpringBoot2全家桶,快速入门学习开发网站教程
- Crontab安装和使用
- CentOS7,CentOS8安装Elasticsearch6.8.6
- CentOS7编译安装Cmake3.16.3,解决mysql等软件编译问题


 微信收款码
微信收款码 支付宝收款码