引言
ElasticSearch是一个基于Lucene的搜索引擎,它提供了一个基于RESTful web接口的分布式多用户的全文搜索引擎。ElasticSearch可以用来存储需要检索和统计的数据,它支持聚合、百分比、分段统计等,也可以用来存储日志,例如ELK(Elasticsearch+Logstash+Kibana)日志分析系统。本文主要介绍Elasticsearch的单机部署以及如何解决部署过程中碰到的各种坑。
部署指南
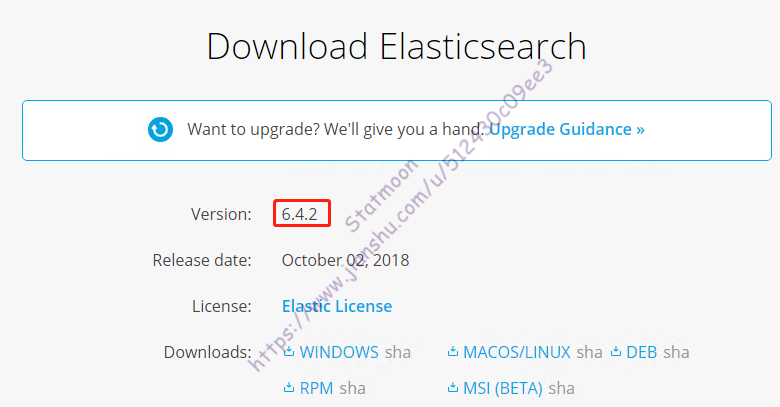
- 首先进入Elasticsearch官方下载页下载Elasticsearch安装包,笔者下载的是6.4.2的linux版本
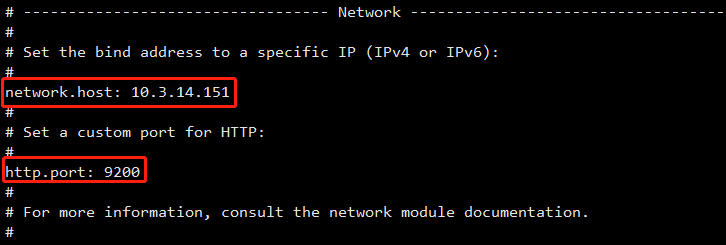
- 使用tar命令解压并修改文件【elasticsearch-6.4.2/config/elasticsearch.yml】,修改network这块,将【network.host】修改为部署服务器的IP地址,【http.port】去掉前面的注释【#】。
- 使用非root用户运行如下命令
elasticsearch-6.4.2/bin/elasticsearch -d
- 启动成功运行命令【curl http://{IP}:9200】能看到如下输出就证明启动成功了:
{
  "name" : "TUJE35D",
  "cluster_name" : "elasticsearch",
  "cluster_uuid" : "-fsA4mjPTyOe0fF-bPvvmA",
  "version" : {
    "number" : "6.4.2",
    "build_flavor" : "default",
    "build_type" : "tar",
    "build_hash" : "04711c2",
    "build_date" : "2018-09-26T13:34:09.098244Z",
    "build_snapshot" : false,
    "lucene_version" : "7.4.0",
    "minimum_wire_compatibility_version" : "5.6.0",
    "minimum_index_compatibility_version" : "5.0.0"
  },
  "tagline" : "You Know, for Search"
}
填坑指南
-
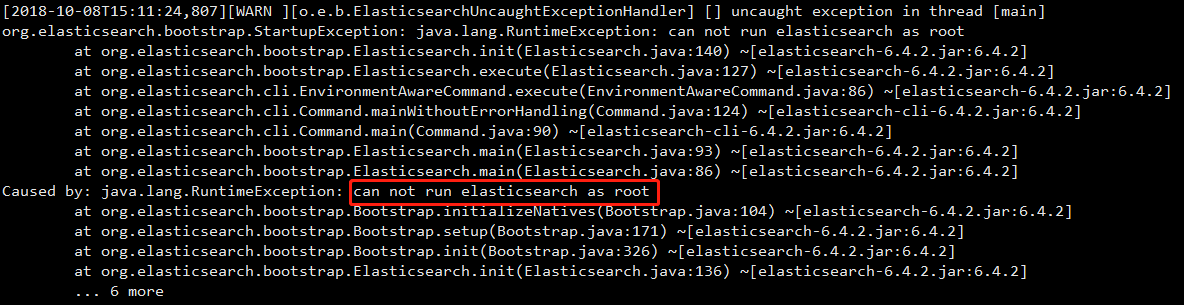
org.elasticsearch.bootstrap.StartupException: java.lang.RuntimeException: can not run elasticsearch as root
can not run elasticsearch as root
这个错误是因为使用了root账户启动Elasticsearch,换个非root账户启动就可以了;
-
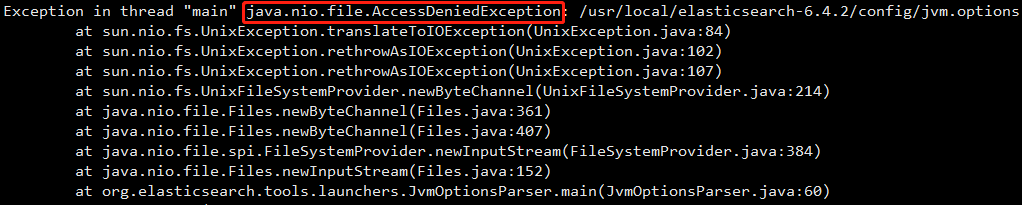
Exception in thread "main" java.nio.file.AccessDeniedException: /usr/local/elasticsearch-6.4.2/config/jvm.options
这是文件权限问题,启动Elasticsearch的用户没有elasticsearch-6.4.2目录的权限,运行如下命令修改文件夹权限
chown -R {启动Elasticsearch的用户}:{启动Elasticsearch用户所属的用户组} elasticsearch-6.4.2
-
max file descriptors [4096] for elasticsearch process is too low, increase to at least [65536]
这是用户最大可创建的文件数太小,只有4096,无法创建本地文件,需要增加到65536。切换到root用户,编辑limits.conf配置文件
vi /etc/security/limits.conf
添加如下两行,然后保存
{启动Elasticsearch的用户} soft nofile 65536
{启动Elasticsearch的用户} hard nofile 65536
-
max virtual memory areas vm.max_map_count [65530] is too low, increase to at least [262144]
这是因为设置的最大虚拟内存太小,切换到root用户下,修改配置文件sysctl.conf
vi /etc/sysctl.conf
添加下面配置:
vm.max_map_count=262144
并执行命令:
sysctl -p