kingshard 是一个由Go开发高性能MySQL Proxy项目.
功能简介:
具体功能查看官方文档,这次主要是自己动手搭建基于Kingshard的MySQL集群。
环境
过程
- 安装Go语言
yum install golang -y
- 安装Kingshard
git clone https://github.com/flike/kingshard.git src/github.com/flike/kingshard
cd src/github.com/flike/kingshard
source ./dev.sh
make
至此已经算安装了Kingshard,其配置文件等会再做修改
- 拉取MysqL镜像,并启动两台MySQL实例
docker pull mysql:5.6
docker run --name mysql1 -d -p3307:3306 -e MYSQL_ROOT_PASSWORD=123456 mysql:5.6
docker run --name mysql2 -d -p3308:3306 -e MYSQL_ROOT_PASSWORD=123456 mysql:5.6
- 初始化两台MySQL数据库,创建测试所需的表
这个语句比较枯燥,粘贴就好了
create database kingshard;
use kingshard;

CREATE TABLE `test_shard_hash_0000` (
  `id` bigint(64) unsigned NOT NULL,
  `str` varchar(256) DEFAULT NULL,
  `f` double DEFAULT NULL,
  `e` enum('test1','test2') DEFAULT NULL,
  `u` tinyint(3) unsigned DEFAULT NULL,
  `i` tinyint(4) DEFAULT NULL,
  PRIMARY KEY (`id`)
) ENGINE=InnoDB DEFAULT CHARSET=utf8;

CREATE TABLE `test_shard_hash_0001` (
  `id` bigint(64) unsigned NOT NULL,
  `str` varchar(256) DEFAULT NULL,
  `f` double DEFAULT NULL,
  `e` enum('test1','test2') DEFAULT NULL,
  `u` tinyint(3) unsigned DEFAULT NULL,
  `i` tinyint(4) DEFAULT NULL,
  PRIMARY KEY (`id`)
) ENGINE=InnoDB DEFAULT CHARSET=utf8;

CREATE TABLE `test_shard_hash_0002` (
  `id` bigint(64) unsigned NOT NULL,
  `str` varchar(256) DEFAULT NULL,
  `f` double DEFAULT NULL,
  `e` enum('test1','test2') DEFAULT NULL,
  `u` tinyint(3) unsigned DEFAULT NULL,
  `i` tinyint(4) DEFAULT NULL,
  PRIMARY KEY (`id`)
) ENGINE=InnoDB DEFAULT CHARSET=utf8;

CREATE TABLE `test_shard_hash_0003` (
  `id` bigint(64) unsigned NOT NULL,
  `str` varchar(256) DEFAULT NULL,
  `f` double DEFAULT NULL,
  `e` enum('test1','test2') DEFAULT NULL,
  `u` tinyint(3) unsigned DEFAULT NULL,
  `i` tinyint(4) DEFAULT NULL,
  PRIMARY KEY (`id`)
) ENGINE=InnoDB DEFAULT CHARSET=utf8;

CREATE TABLE `test_shard_hash_0004` (
  `id` bigint(64) unsigned NOT NULL,
  `str` varchar(256) DEFAULT NULL,
  `f` double DEFAULT NULL,
  `e` enum('test1','test2') DEFAULT NULL,
  `u` tinyint(3) unsigned DEFAULT NULL,
  `i` tinyint(4) DEFAULT NULL,
  PRIMARY KEY (`id`)
) ENGINE=InnoDB DEFAULT CHARSET=utf8;

CREATE TABLE `test_shard_hash_0005` (
  `id` bigint(64) unsigned NOT NULL,
  `str` varchar(256) DEFAULT NULL,
  `f` double DEFAULT NULL,
  `e` enum('test1','test2') DEFAULT NULL,
  `u` tinyint(3) unsigned DEFAULT NULL,
  `i` tinyint(4) DEFAULT NULL,
  PRIMARY KEY (`id`)
) ENGINE=InnoDB DEFAULT CHARSET=utf8;

CREATE TABLE `test_shard_hash_0006` (
  `id` bigint(64) unsigned NOT NULL,
  `str` varchar(256) DEFAULT NULL,
  `f` double DEFAULT NULL,
  `e` enum('test1','test2') DEFAULT NULL,
  `u` tinyint(3) unsigned DEFAULT NULL,
  `i` tinyint(4) DEFAULT NULL,
  PRIMARY KEY (`id`)
) ENGINE=InnoDB DEFAULT CHARSET=utf8;

CREATE TABLE `test_shard_hash_0007` (
  `id` bigint(64) unsigned NOT NULL,
  `str` varchar(256) DEFAULT NULL,
  `f` double DEFAULT NULL,
  `e` enum('test1','test2') DEFAULT NULL,
  `u` tinyint(3) unsigned DEFAULT NULL,
  `i` tinyint(4) DEFAULT NULL,
  PRIMARY KEY (`id`)
) ENGINE=InnoDB DEFAULT CHARSET=utf8;
- 配置Kingshard的配置文件,这次只配置Kingshard的hash shard功能
# server listen addr
addr : 0.0.0.0:9696

user_list:
-
    user :  root
    password : 123456

web_addr : 0.0.0.0:9797

web_user : admin
web_password : admin
# log level[debug|info|warn|error],default error
log_level : debug

# if set log_sql(on|off) off,the sql log will not output
log_sql: on

nodes :
-
    name : node1
    max_conns_limit : 32
    user :  root
    password : 123456
    master : 127.0.0.1:3307
    down_after_noalive : 32
-
    name : node2
    max_conns_limit : 32
    user :  root
    password : 123456
    master : 127.0.0.1:3308
    down_after_noalive: 32

# schema defines sharding rules, the db is the sharding table database.
schema_list :

-
    user: root
    nodes: [node1,node2]
    default: node1
    shard:
    -
        db : kingshard
        table: test_shard_hash
        key: id
        nodes: [node1, node2]
        type: hash
        locations: [4,4]
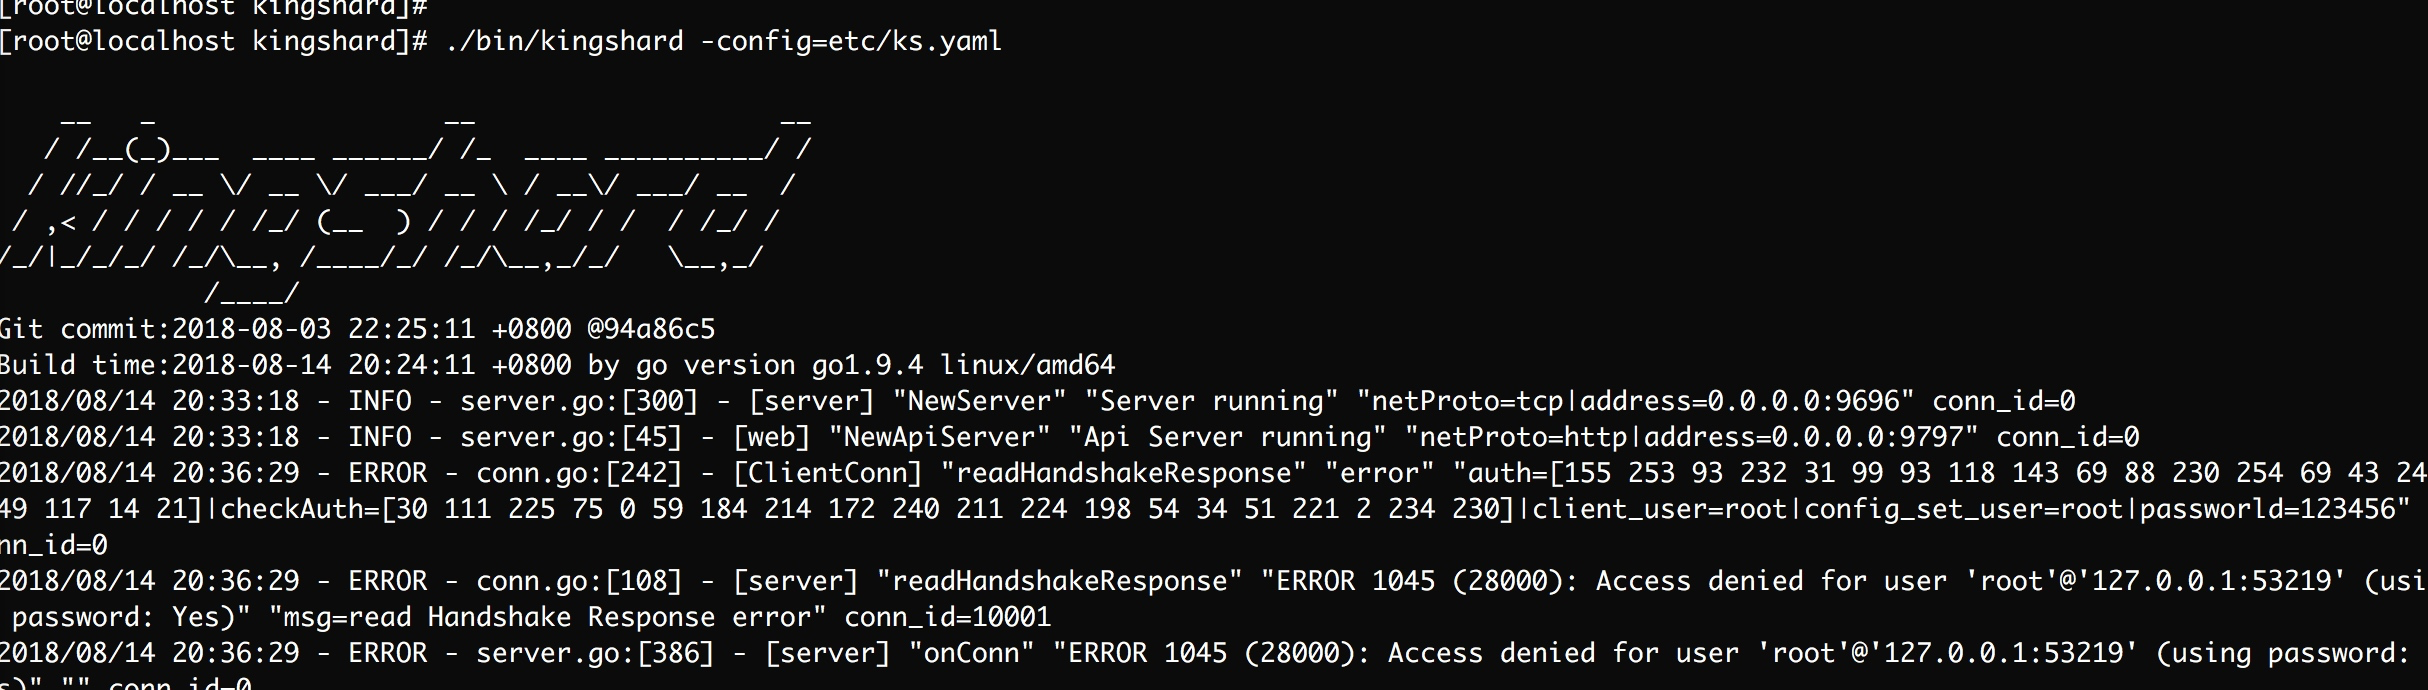
- 启动Kingshard
./bin/kingshard -config=etc/ks.yaml
- 连接Kingshard,测试操作
mysql -h127.0.0.1 -P9696 -p -c
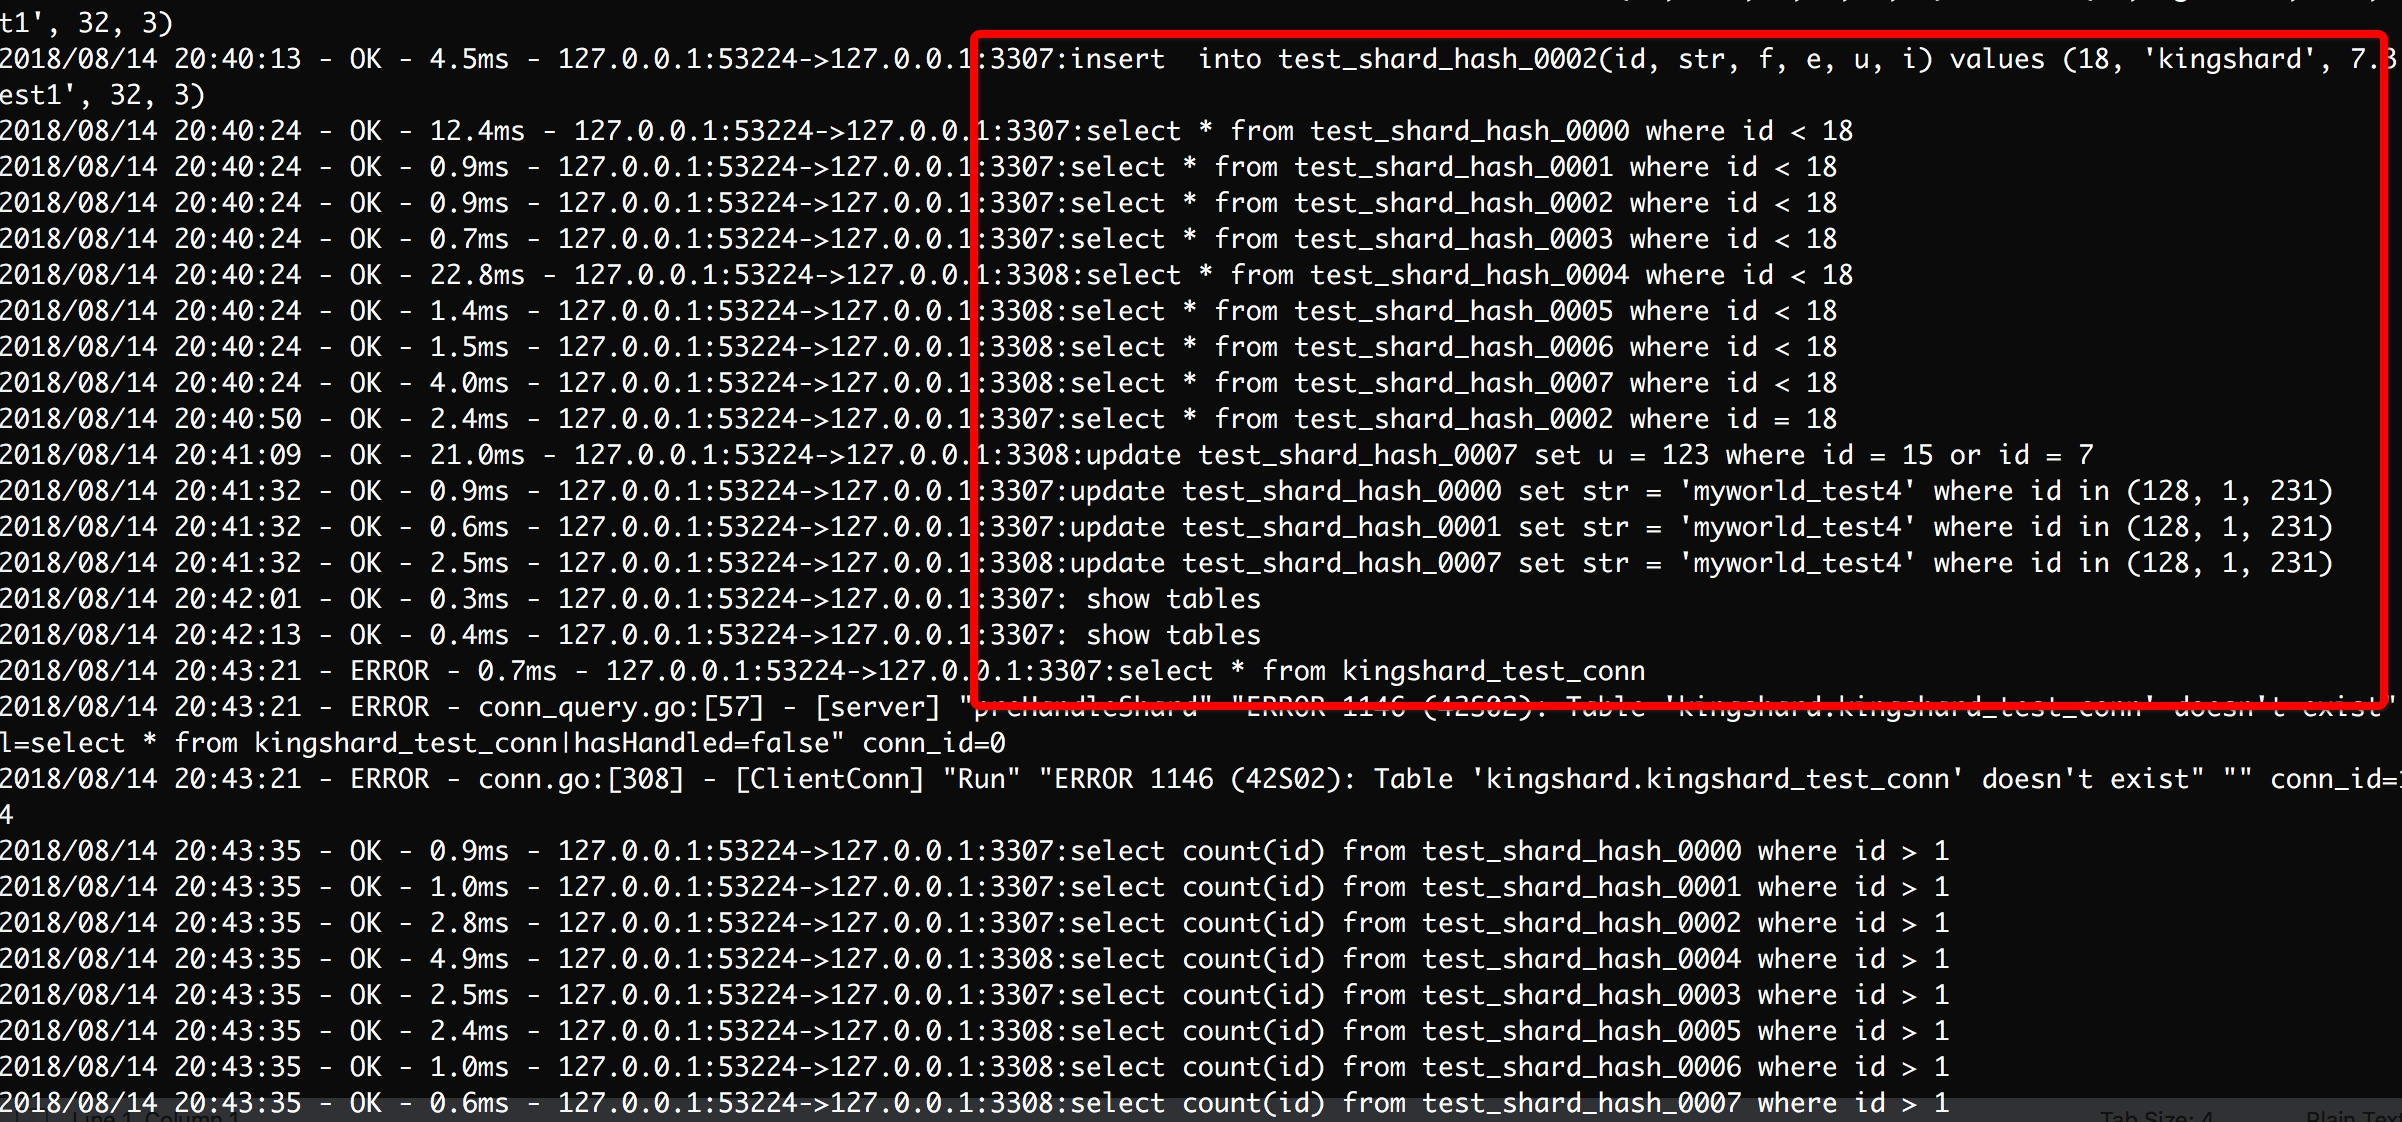
执行相关的SQL语句
insert into test_shard_hash(id,str,f,e,u,i) values(15,"flike",3.14,'test2',2,3);
insert into test_shard_hash(id,str,f,e,u,i) values(7,"chen",2.1,'test1',32,3);
insert into test_shard_hash(id,str,f,e,u,i) values(17,"github",2.5,'test1',32,3);
insert into test_shard_hash(id,str,f,e,u,i) values(18,"kingshard",7.3,'test1',32,3);
select * from test_shard_hash where id < 18;
select * from test_shard_hash where id = 18;
/*node2*/show tables;
在控制台我们都可以看到对应的输出信息
问题
- ks.yml文件中配置的userList都要被使用才行
- 如果想让非本机访问,ks.yml需要开启一些白名单
- mysql命令行中的-c功能启用注释
最后
绝知此事要躬行,学东西不能光看,亲自动手才知道问题所在。有助于自己更好的理解
参考