Overloaded
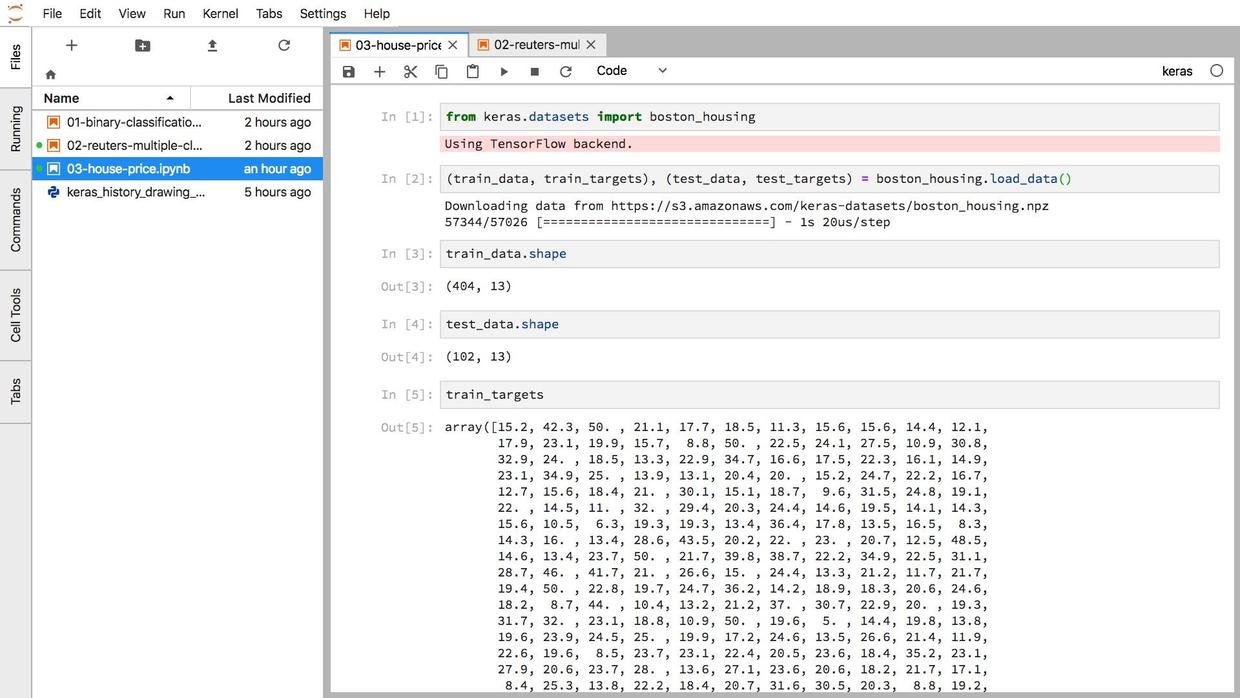
This afternoon, I trained a 3-layers neural network as a regression model to predict the house price in Boston district with Python and Keras.
The example case came from the book "Deep Learning with Python".
There were 2 big loop during the running procedure.
The first one went through the data for 100 times (epochs), while the second one ran 500 epochs.
My poor laptop was apparently overladed in such a hot summer weather and the fan was roaring.
It seems the laptop is not the best choice to train deep neural models.
It would be so great if I have got a GPU.
Suddenly, it occurs to me that it is not necessary to train the model locally. It's a cloud computing age!
How about to run the code on cloud GPU to save my laptop's effort?
Encounter
It reminds me a video clip post by Siraj Raval on Youtube recently.
He recommended cloud GPU platform, namely Floydhub, in this video.
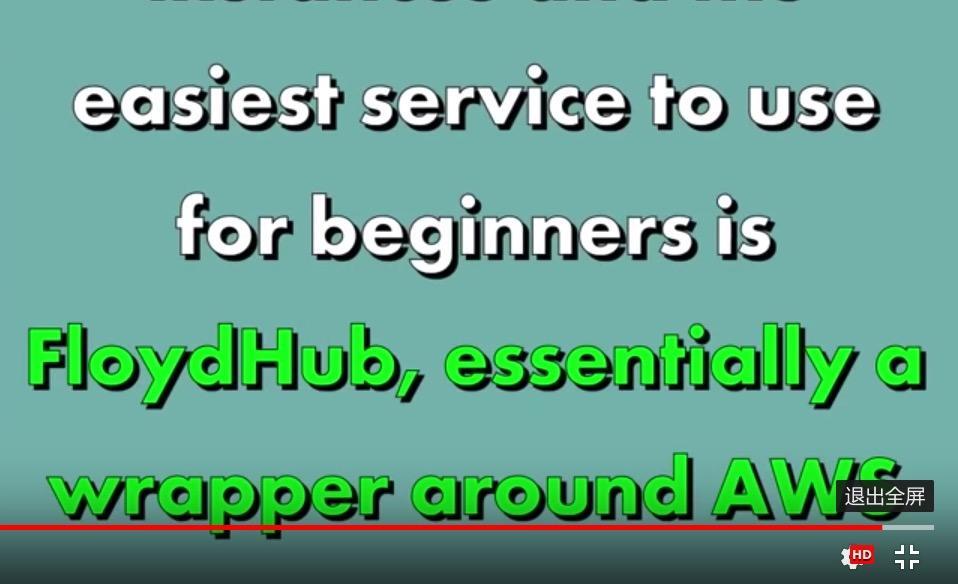
Actually, I once tried AWS GPU product in a online deep learning course. The instructor collaborated with AWS and provided all the students with AWS Computing power to solve the exercise as well as the homework.
However, it was not a very good experience, since he had to make a long video to show the students how to configure the AWS instance.
Indeed, comparing with some other solutions, the AWS was simple enough, yet still not so simple for the new newbies.
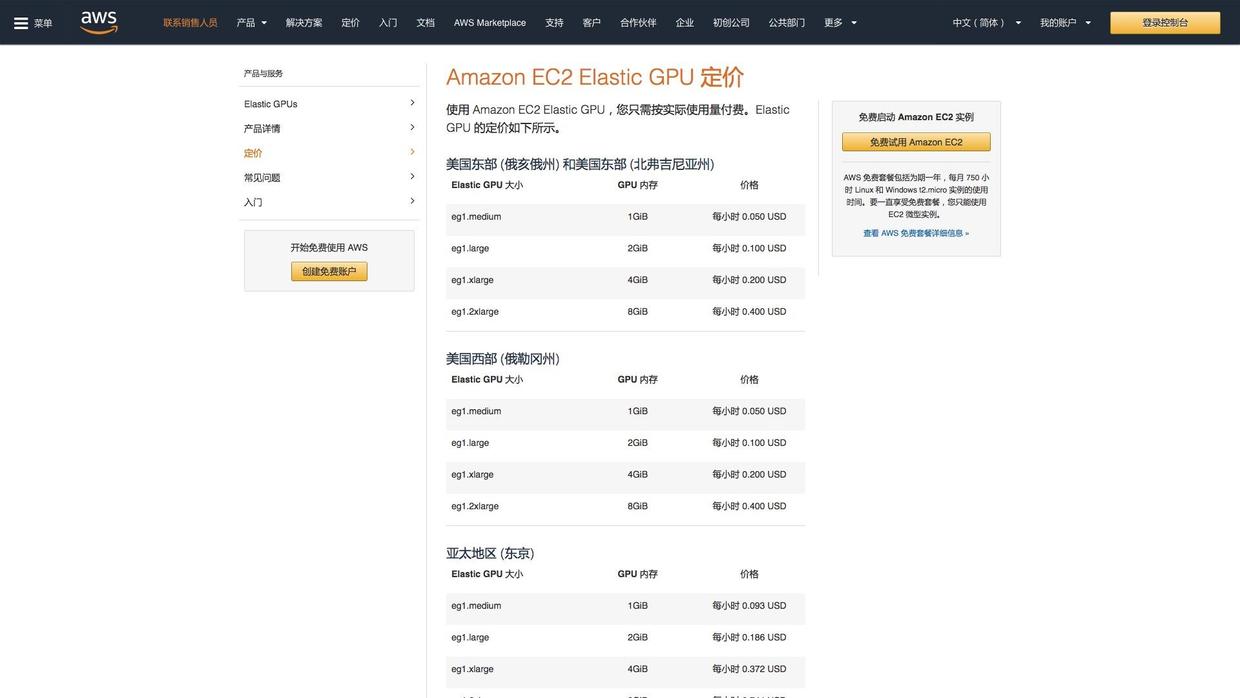
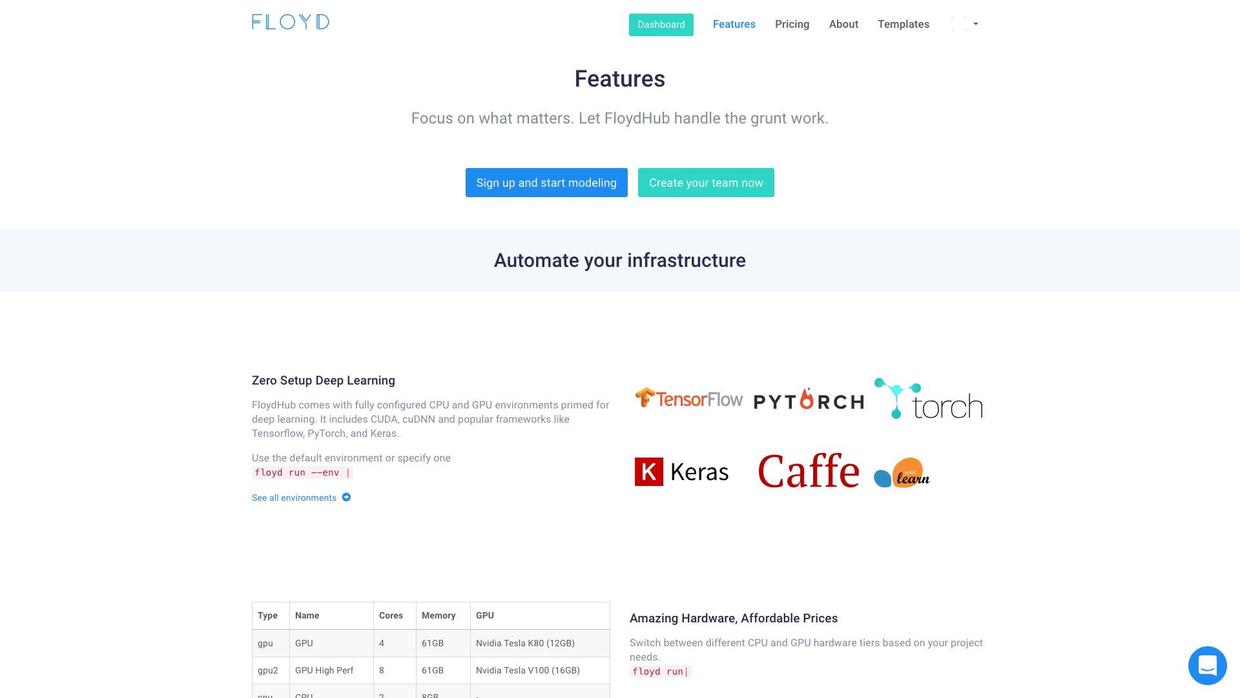
The website FloydHub, on the other hand, solved the pain point well.
Firstly, it is wrapper over AWS, and filtered out a lot of complex operations.
Secondly, FloydHub is batteries-included with a lot of main stream machine learning frameworks.
Besides, it is well-documented and friendly to the new users.
The slogan is:
Focus on what matters. Let FloydHub handle the grunt work.
Honestly, I like all the things designed for the lazy folks.
So I registered immediately and validated my email.
Then I got 2 hours GPU running time for free!
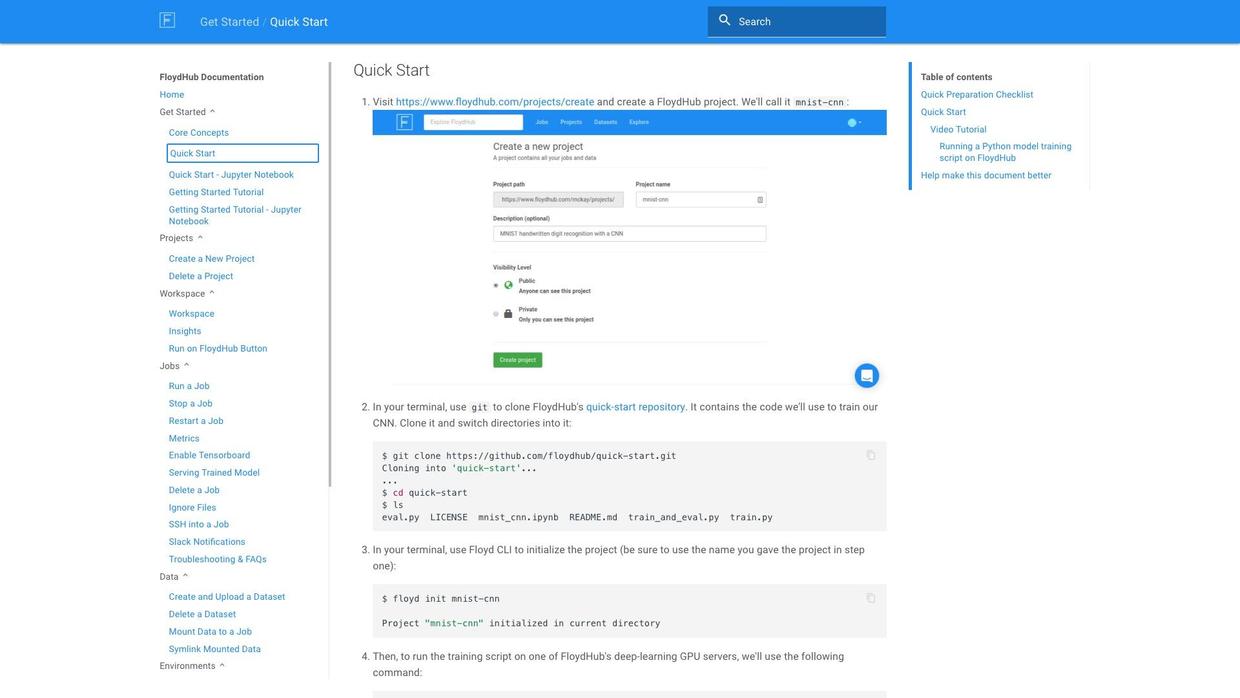
To spend the precious GPU running time on something import, I read the Quick Start Tutorial eagerly.
Several minutes later, I feel confident to use it.
Trial
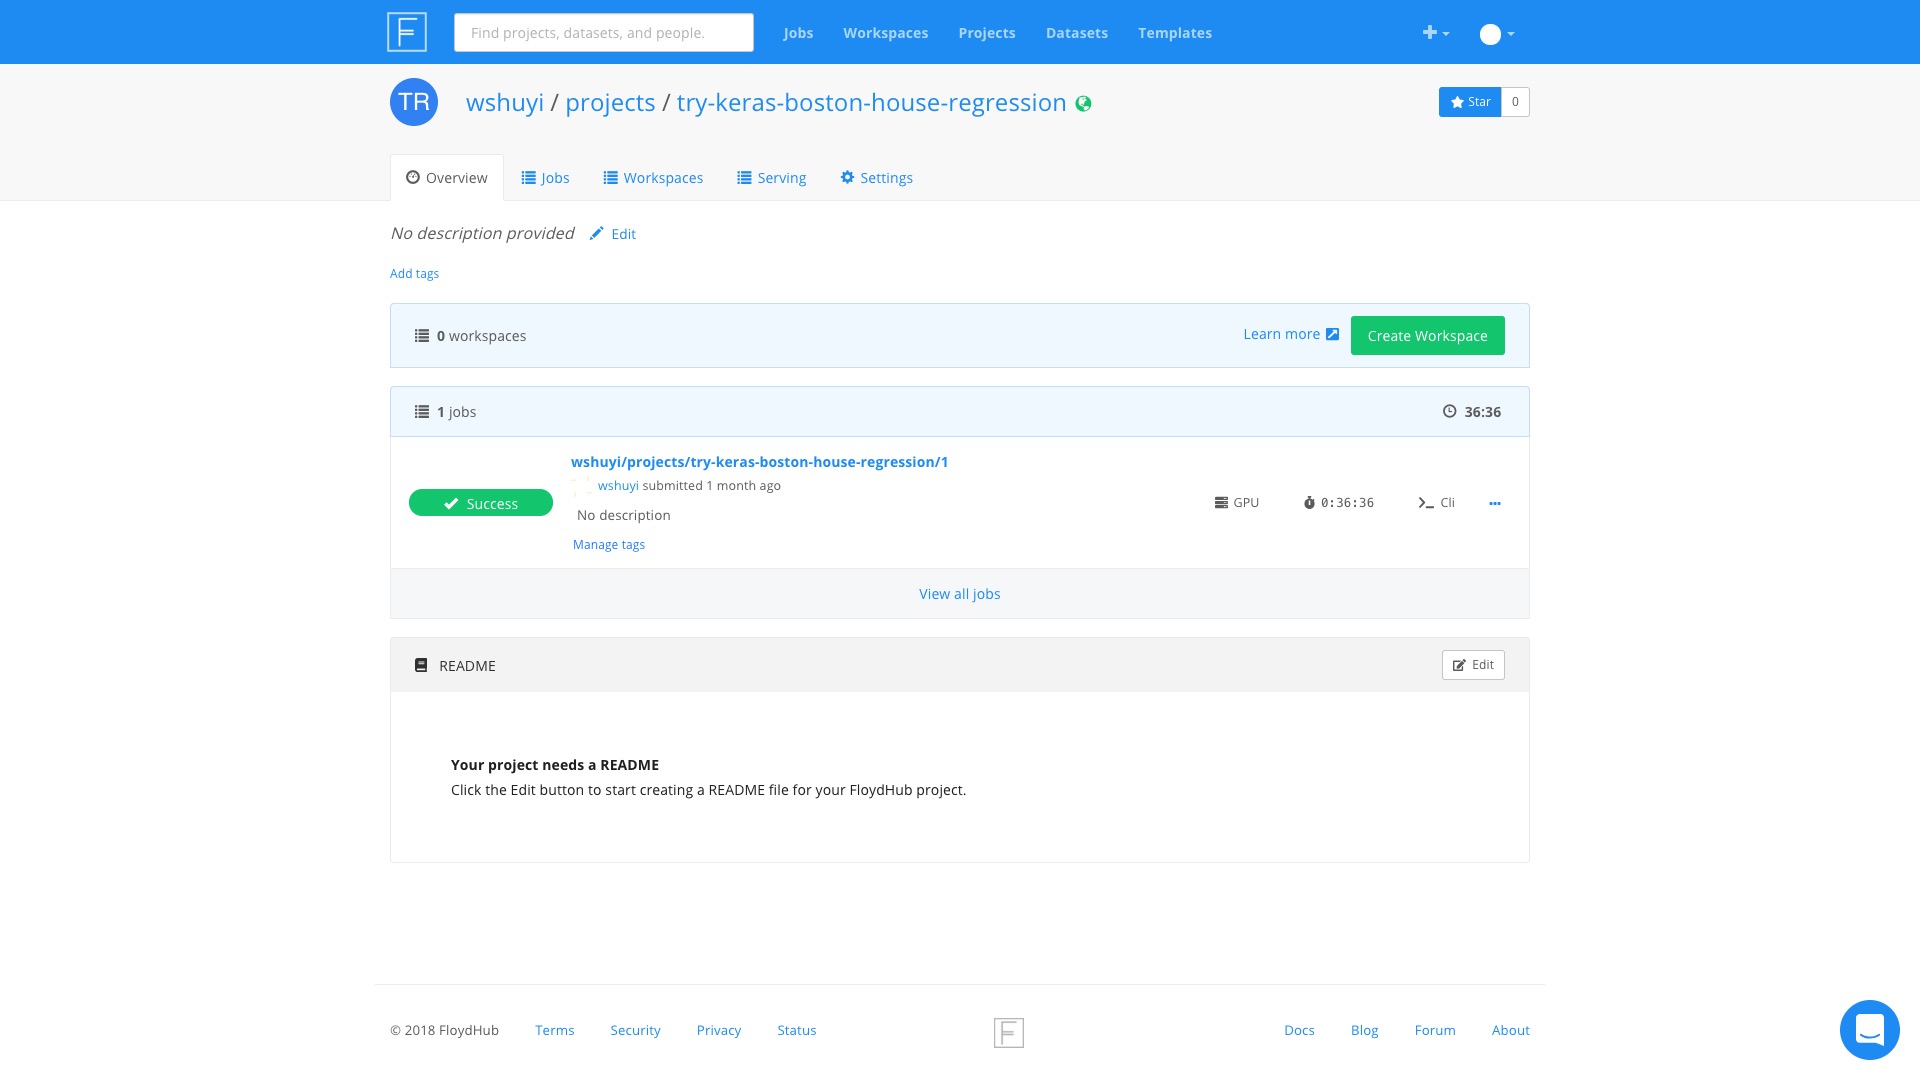
I created a new job from personal control panel on FloydHub and named it "try-keras-boston-house-regression".
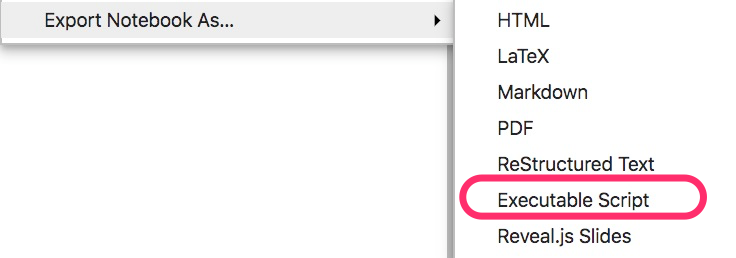
Then I exported a Python Script file from my local Jupyter Notebook.
I created a new directory and copied the script file into it.
To save the Evaluation Metrics of the training and evaluation process, I added 3 lines of code in the end of the Python Script.
import pickle

with open('data.pickle', 'wb') as f:
    pickle.dump([all_scores, all_mae_histories], f)
In this way, we can save all_scores and all_mae_histories data into a file named data.pickle with the Pickle Module in Python.
Then let's dive into the shell and navigate to this new created folder with cd command and execute the following command:
pip install floyd-cli
The command line interface of FloydHub is ready to use.
We can login the FloydHub account with:
floyd login
Then input your FloydHub username and password.
When it's ready, run:
floyd init try-keras-boston-house-regression
Please notice the last parameter should be identical to the title you input just now when created the new job from control panel.
Now we can run the Python script with following command:
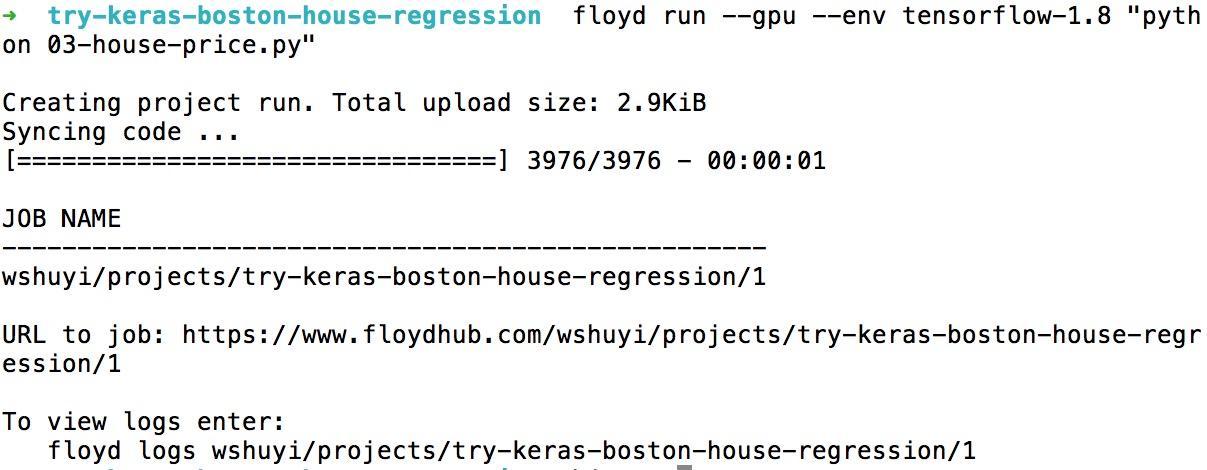
floyd run --gpu --env tensorflow-1.8 "python 03-house-price.py"
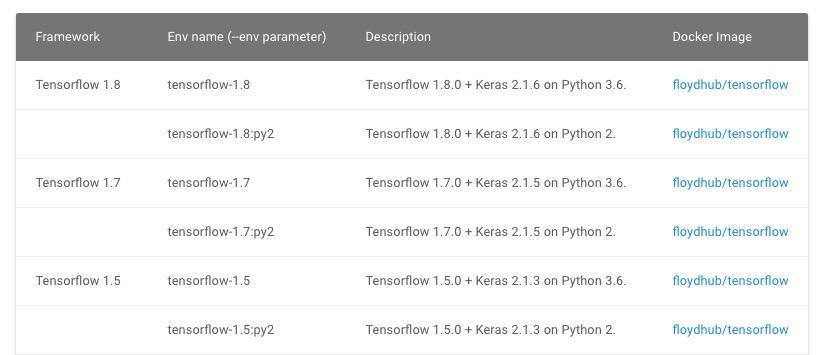
In this command, --gpu means that we ask the FloydHub to run the script in a GPU environment instead of a default CPU one, and --env tensorflow-1.8 means it will use Tensorflow version 1.8, and the Keras version is 2.1.6 accordingly.
If you want to use other framework or choose a different version, please refer to this link.
In response, we get the following messages from FloydHub.
It's all set.
Yes, so easy. And your learning job is already running in the cloud.
Results
While the job was running, I drank some tea, read several pages of books and browsed some news on Social Media with my phone.
When the running job is done, it will terminate the environment and will not charge you any extra GPU running time. So you don't need to keep an eye on it.
When I came back to my computer, the job's already fininished.
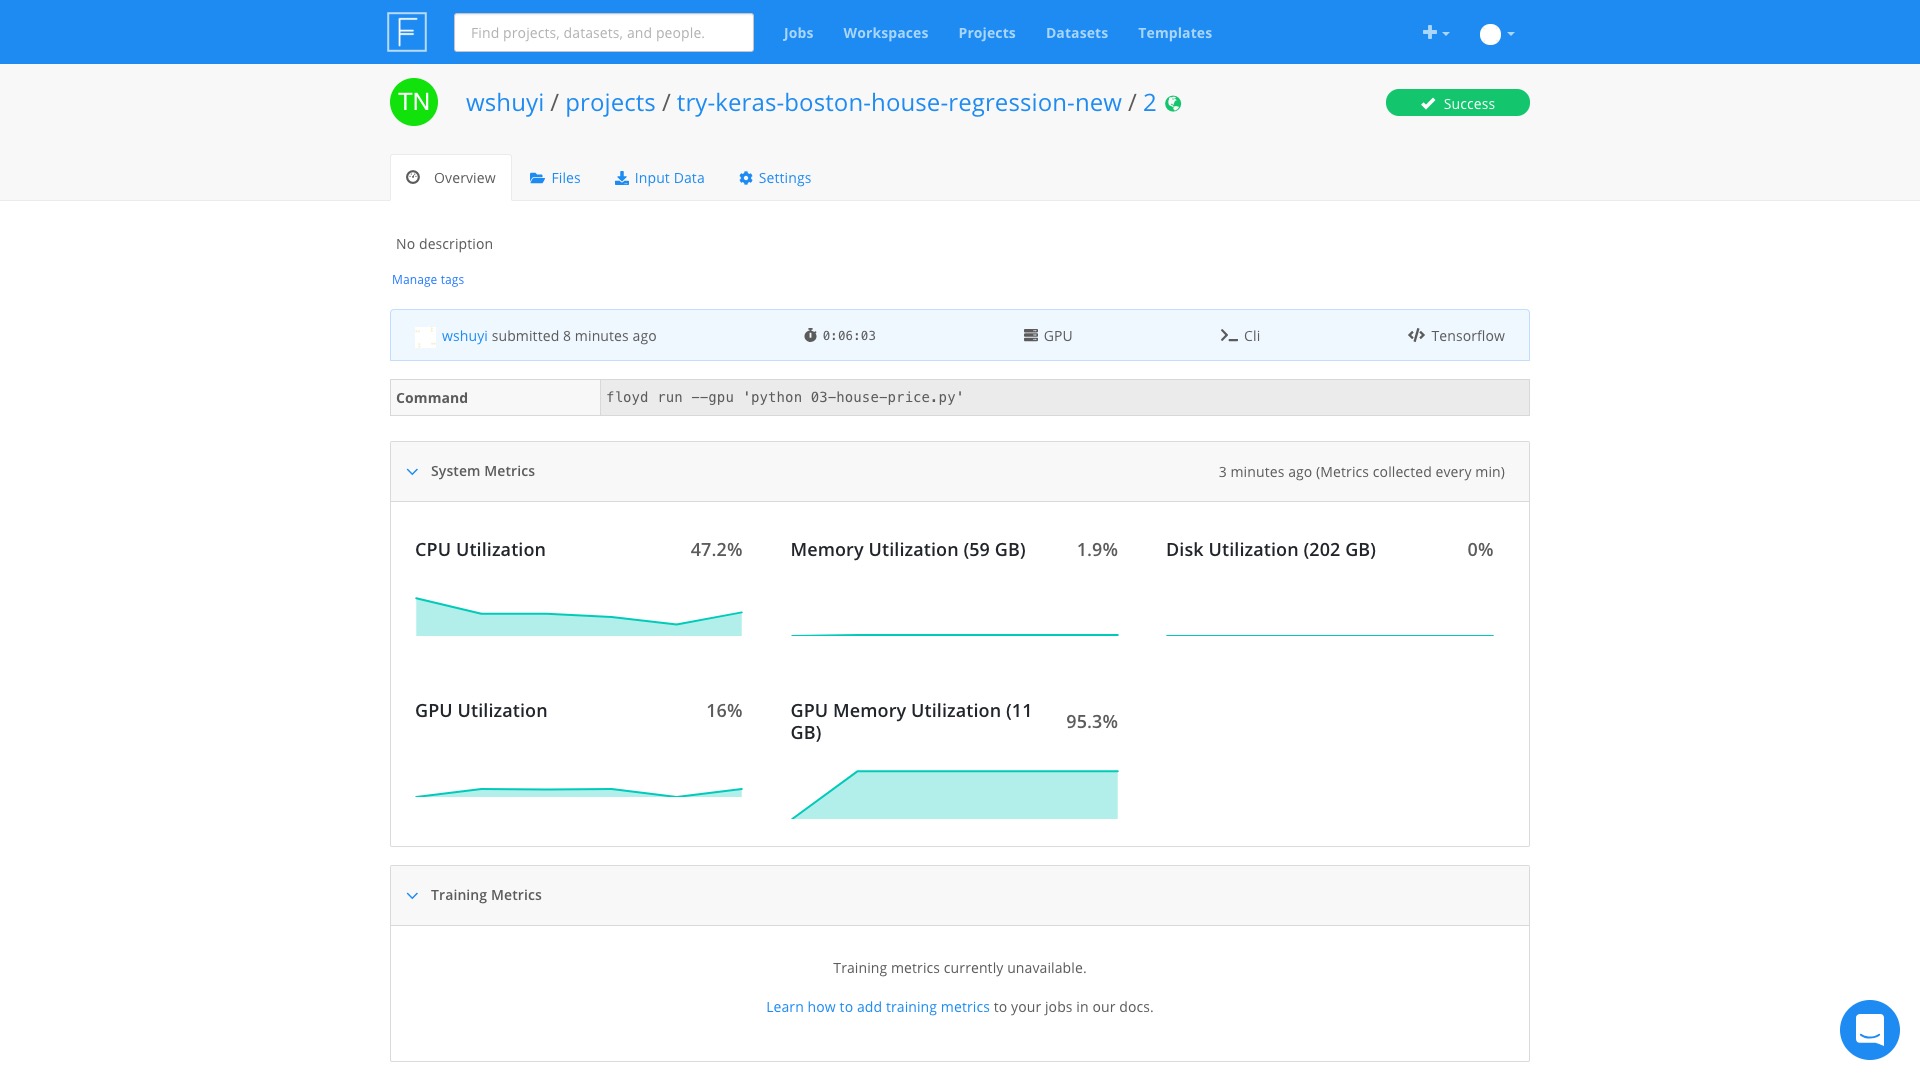
GPU memory was busy during the whole procedure, as the Utilization was above 90% most of the time.
The GPU, on the other hand, was not busy at all.
Maybe my neural network was too simple.
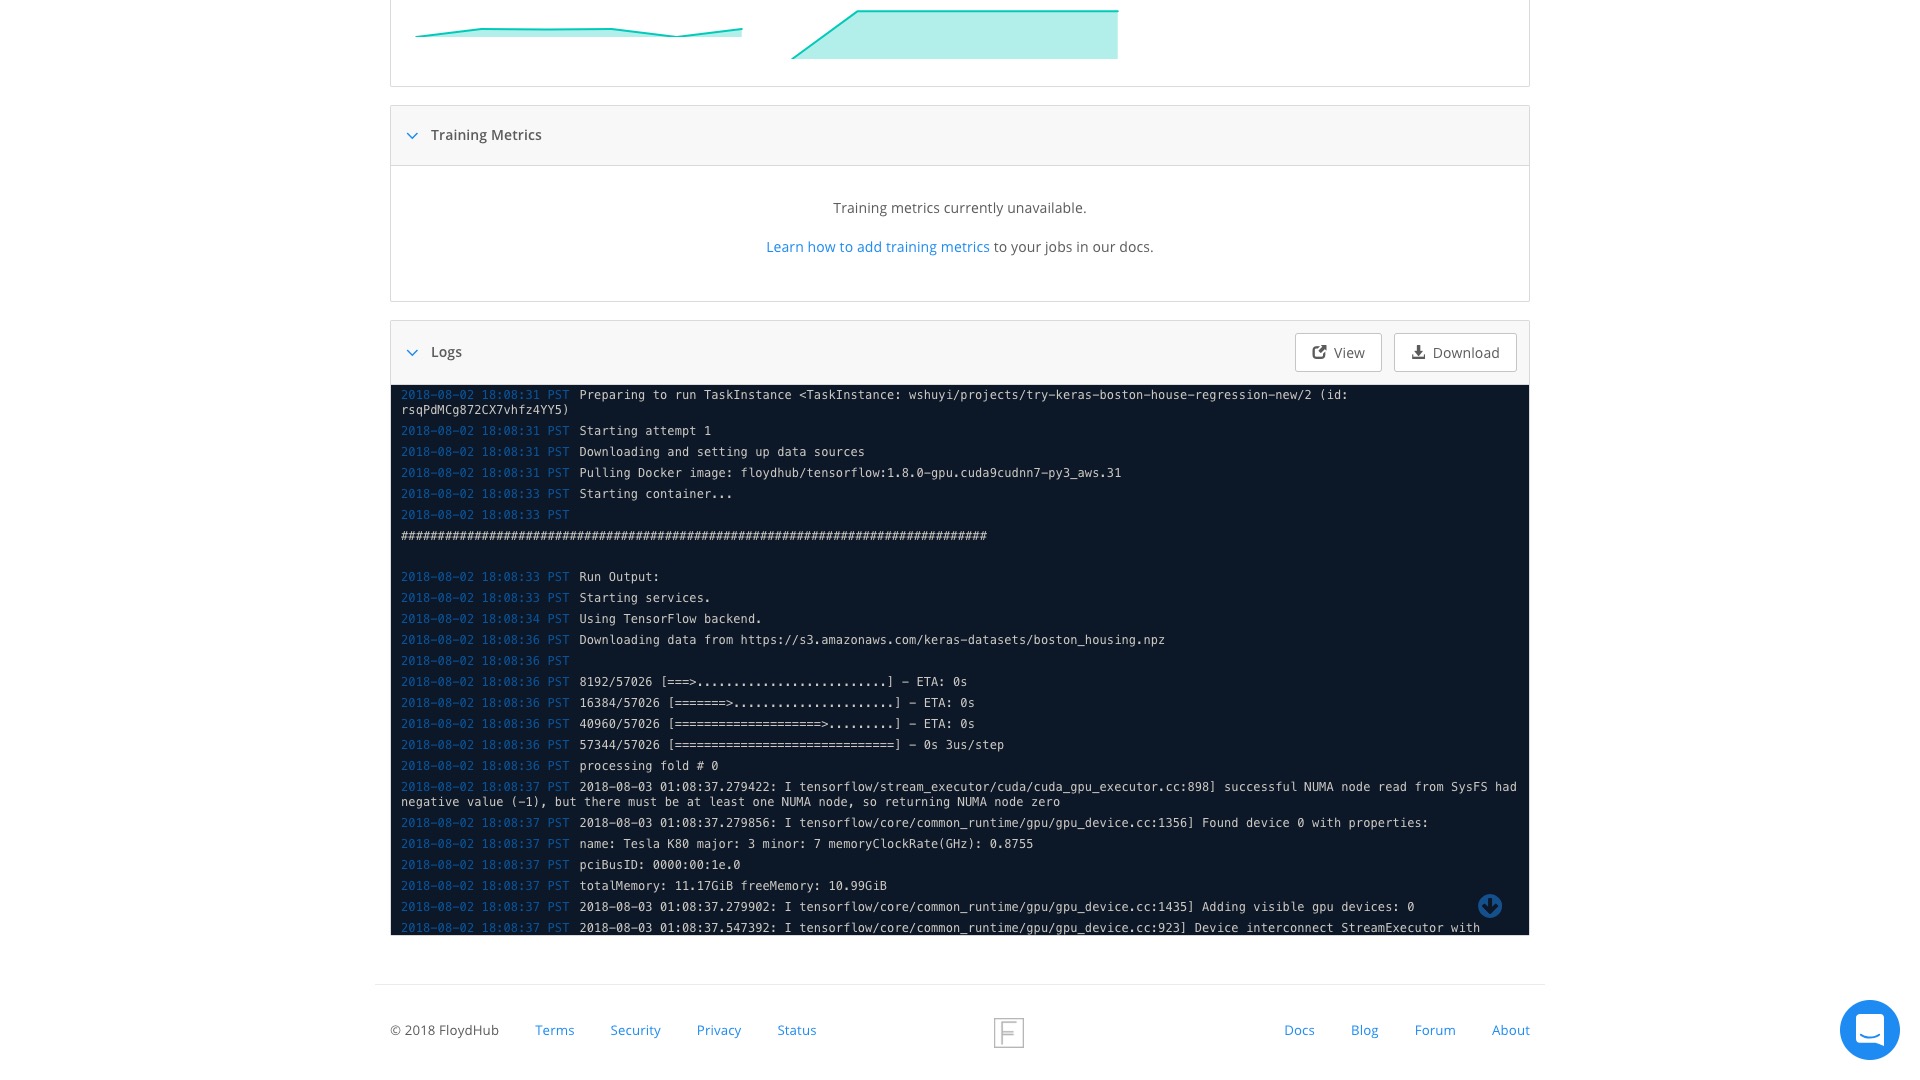
Scrolling down the page, we can see the logs.
The output was similar to the one when you train the model locally. Besides, it showed you extra information about GPU resource allocation.
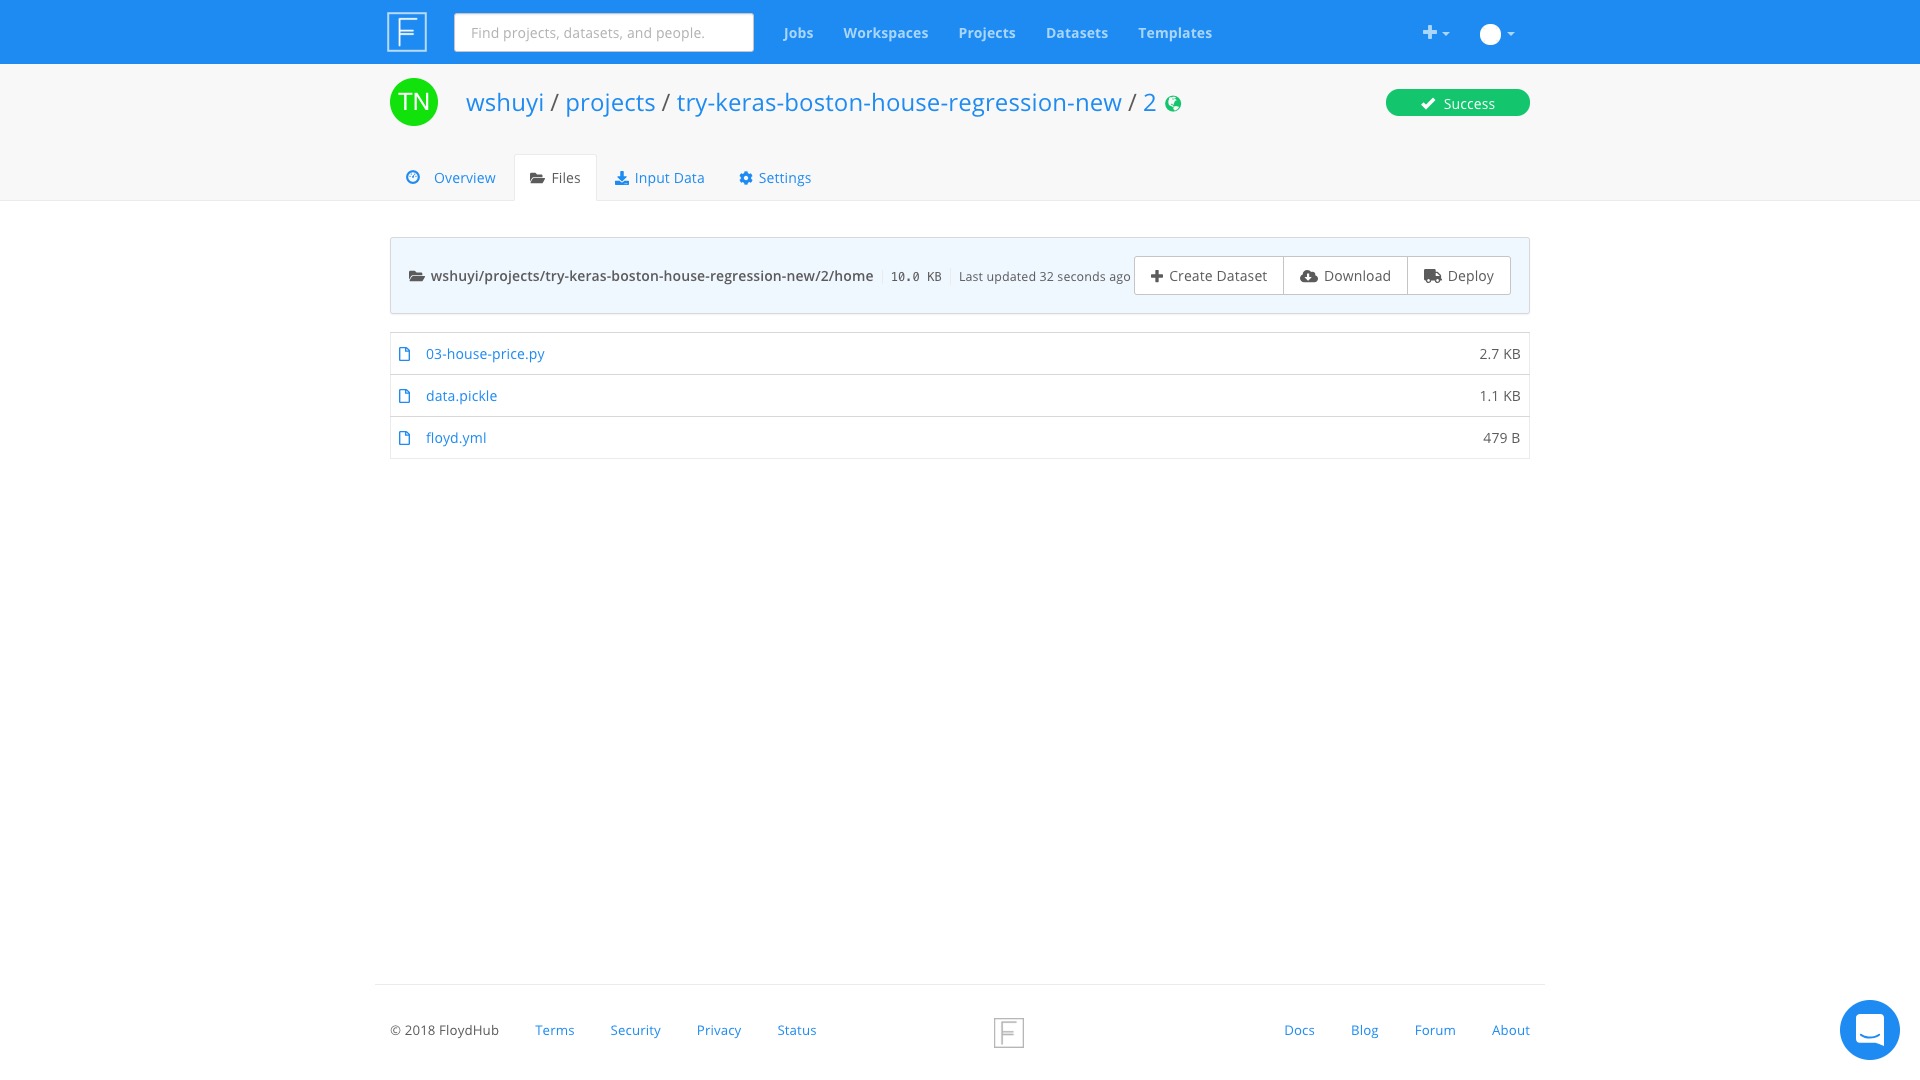
To see the saved file, you can open the Files tag.
The pickle file's already there.
FloydHub helped us with all the hard computing job, and my laptop is much cooler this time.
You can download the pickle file, and put it back into the original working directory.
Let's go back to the Jupyter Lab page on the laptop and open a new ipynb file.
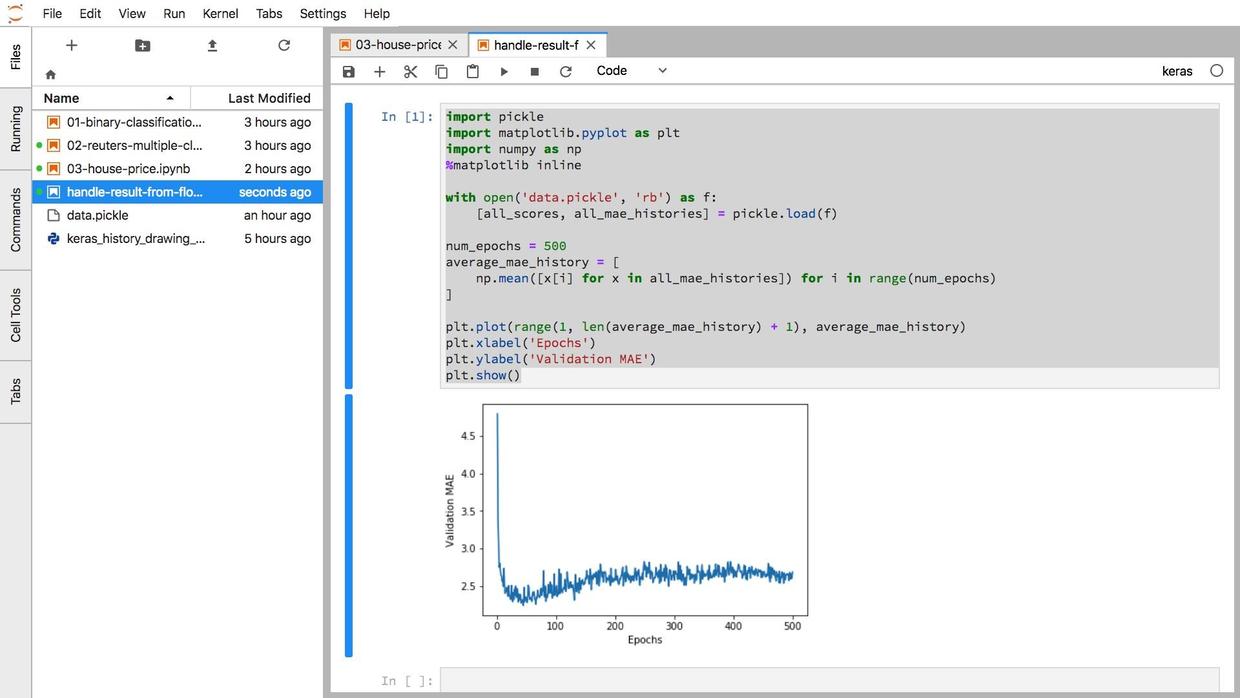
The following code can check the running results.
import pickle
import matplotlib.pyplot as plt
import numpy as np
%matplotlib inline

with open('data.pickle', 'rb') as f:
    [all_scores, all_mae_histories] = pickle.load(f)

num_epochs = 500
average_mae_history = [
    np.mean([x[i] for x in all_mae_histories]) for i in range(num_epochs)
]

plt.plot(range(1, len(average_mae_history) + 1), average_mae_history)
plt.xlabel('Epochs')
plt.ylabel('Validation MAE')
plt.show()
Please notice these codes will only do some drawings.
Here is the result:
The visualization result is identical to the textbook which shows the code ran smoothly on the Cloud GPU environment.
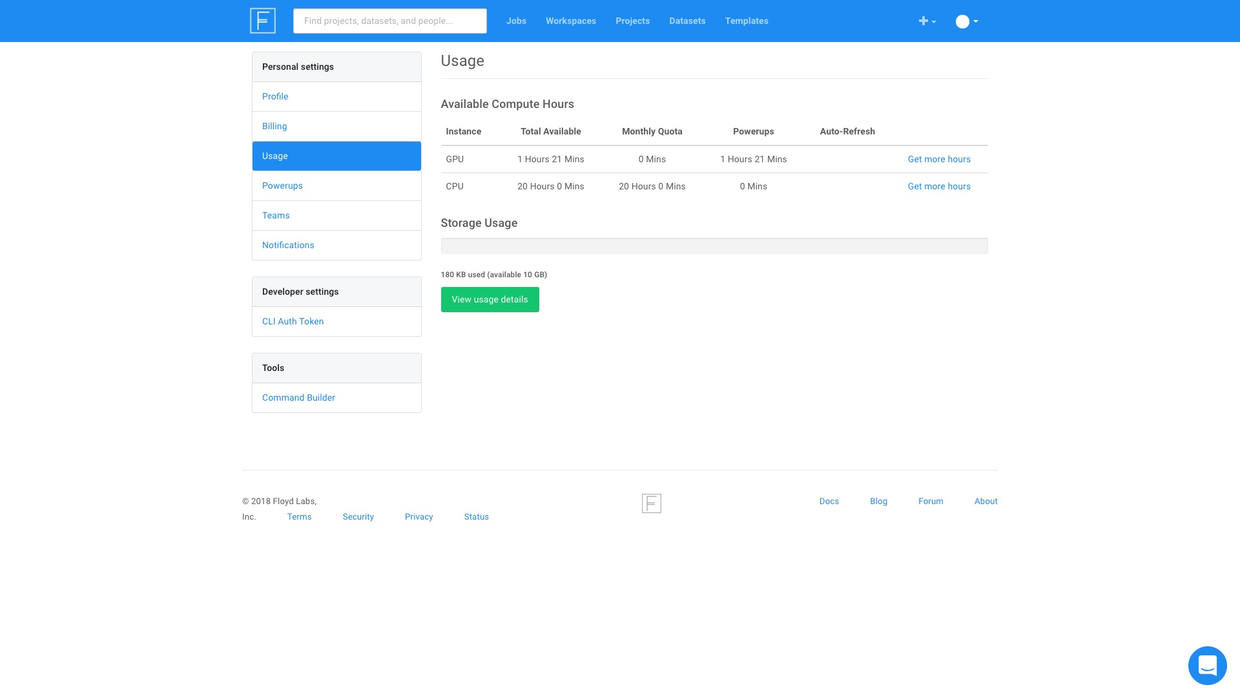
You can check the remaining GPU running time easily.
There's still more than 1 hour to play with. Great!
Workspace
Just now, I showed you how to run FloydHub in Command Line Interface. If you are familiar with bash command, it will be great.
However, for the new users who do not want to use the shell command, I recommend you to try an easier way.
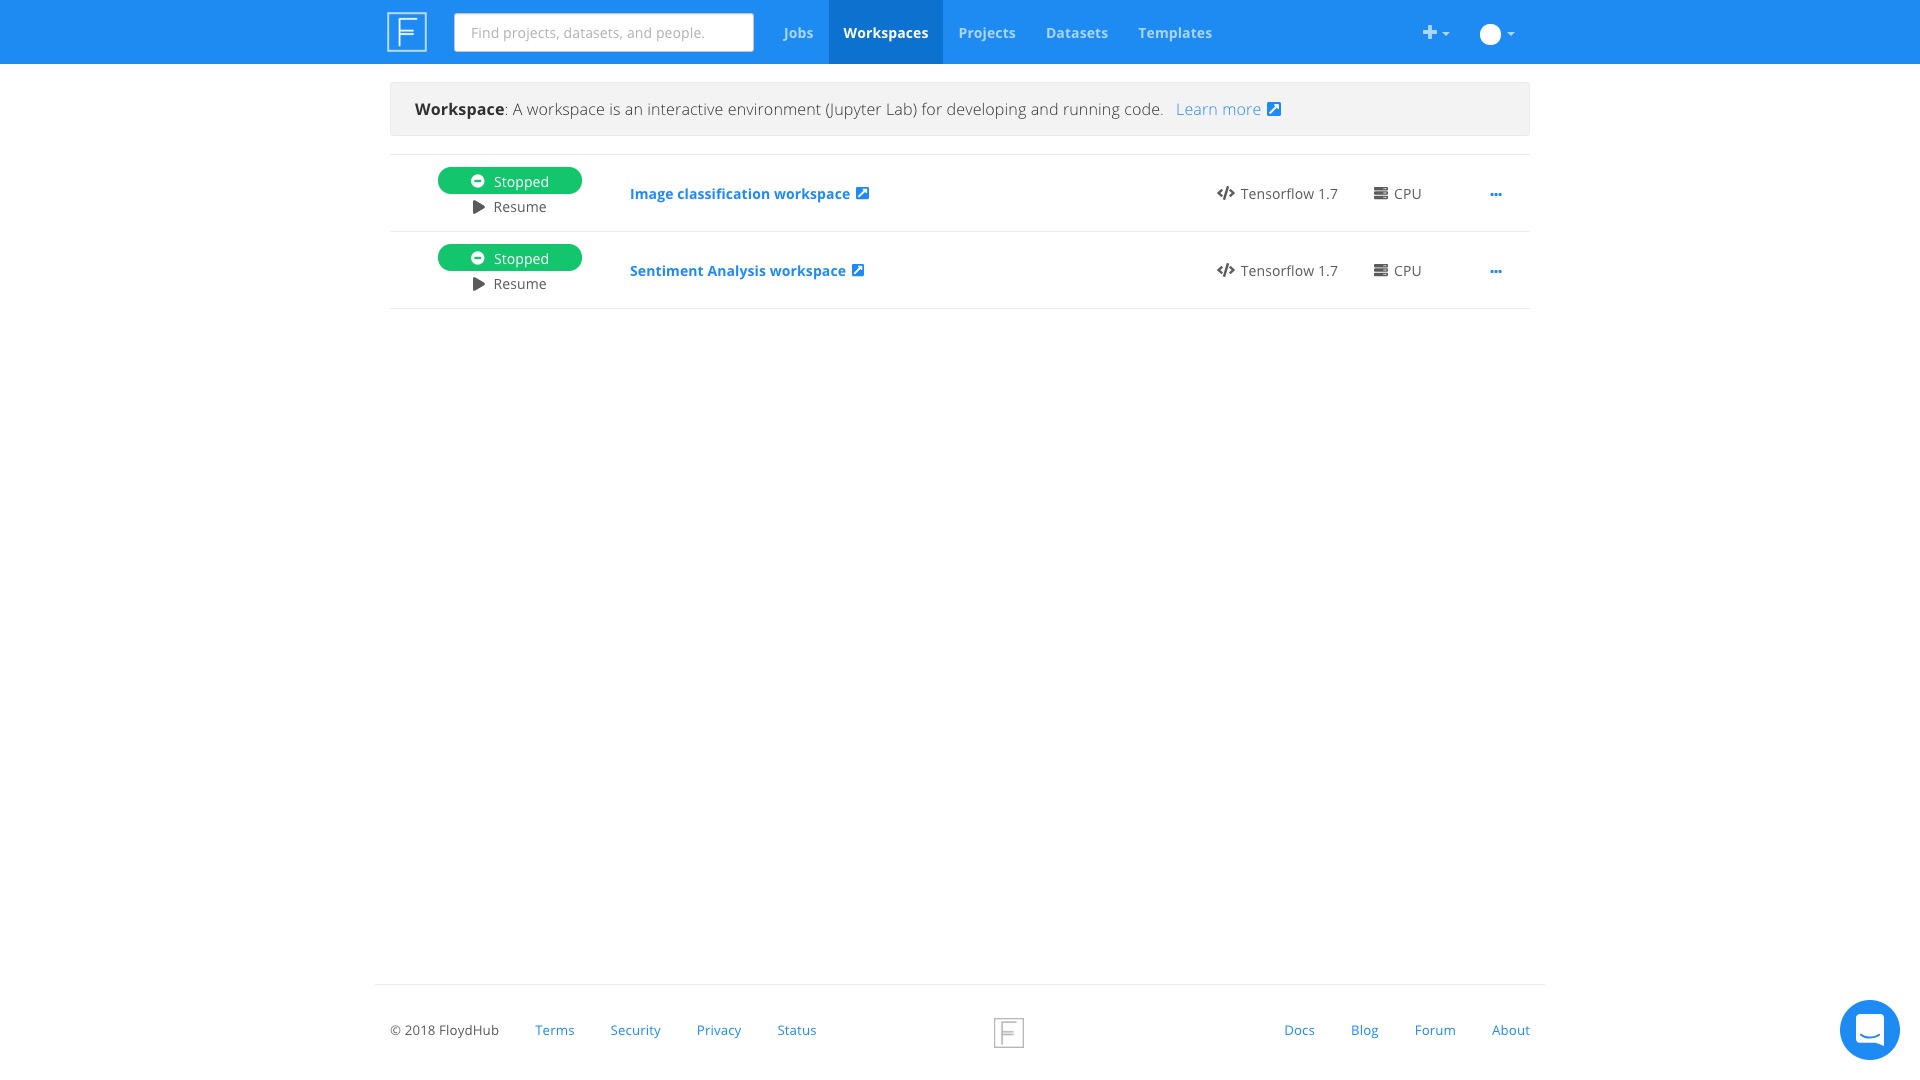
Click the Workspace tab.
You will see two existing Workspace examples.
Try to open the first one and check it out.
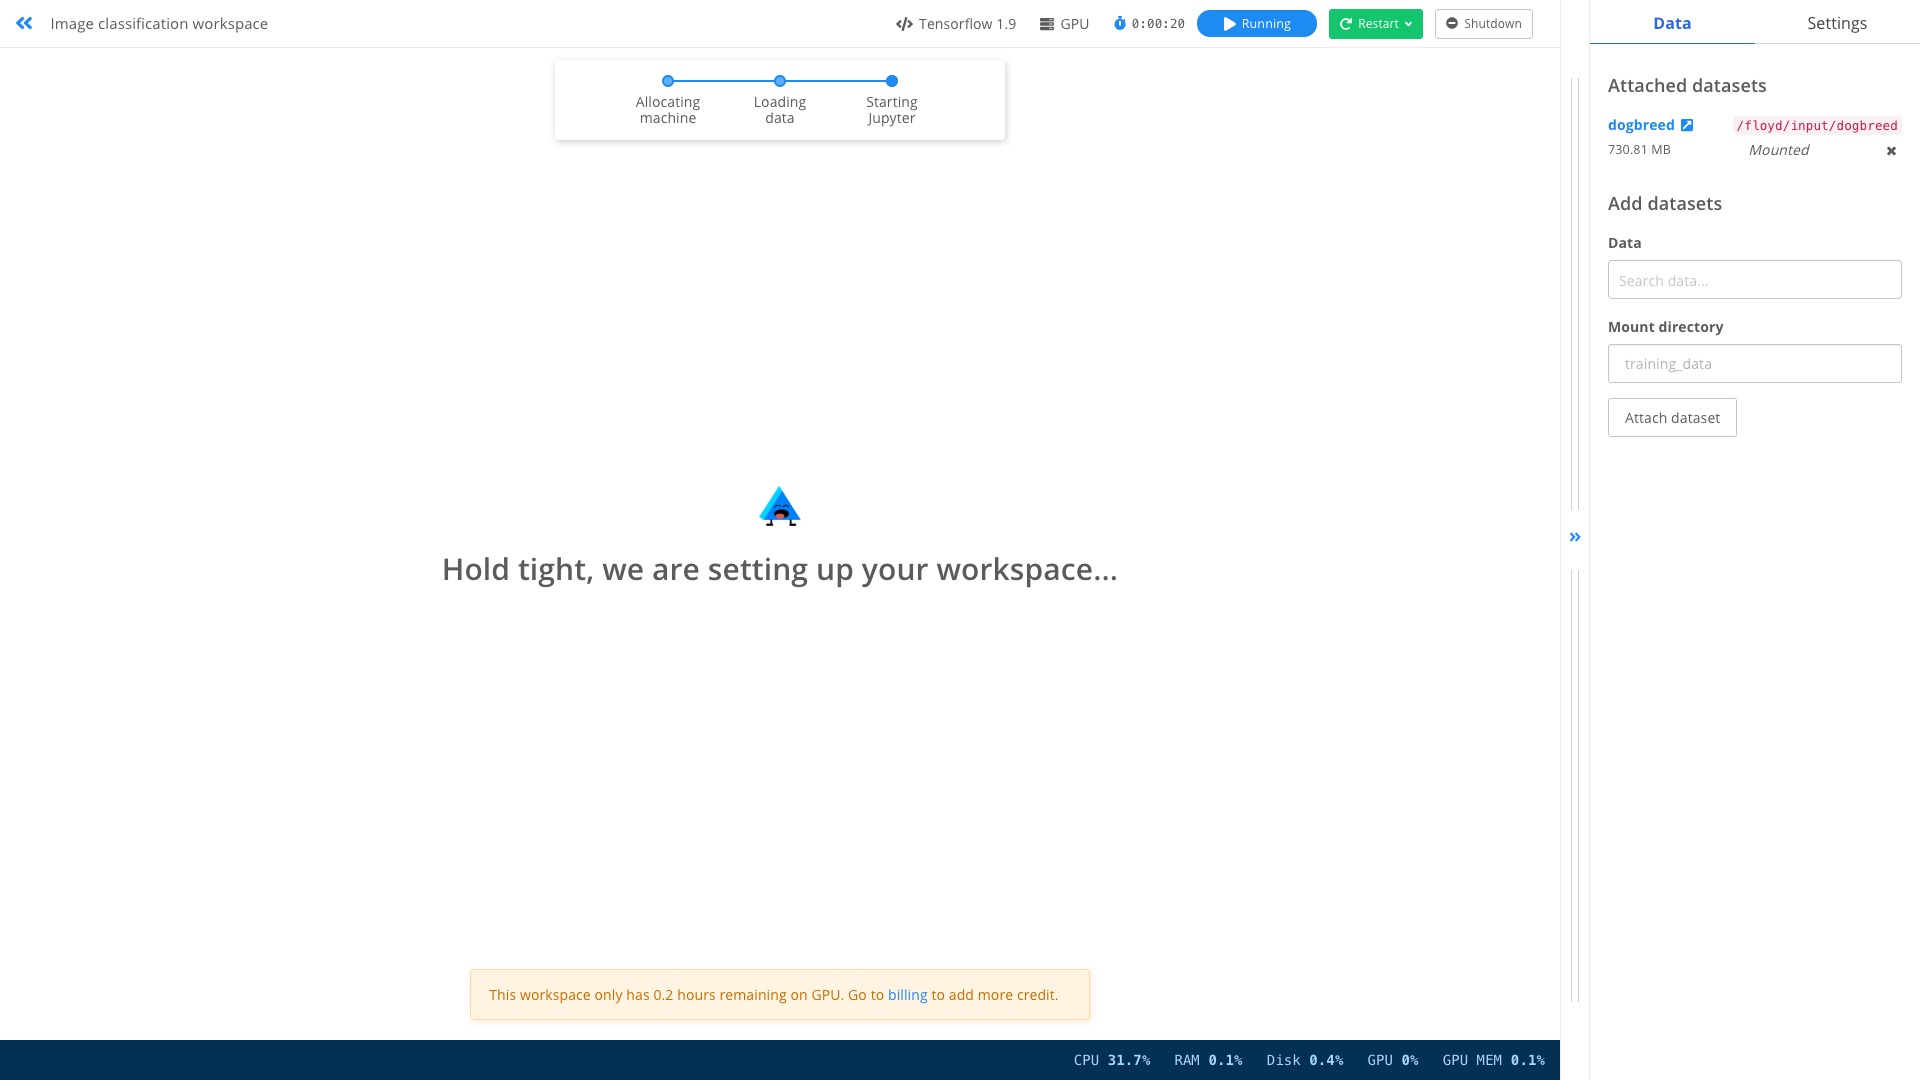
Hit the green Resume button on top right, the system will try to provide us the environment.
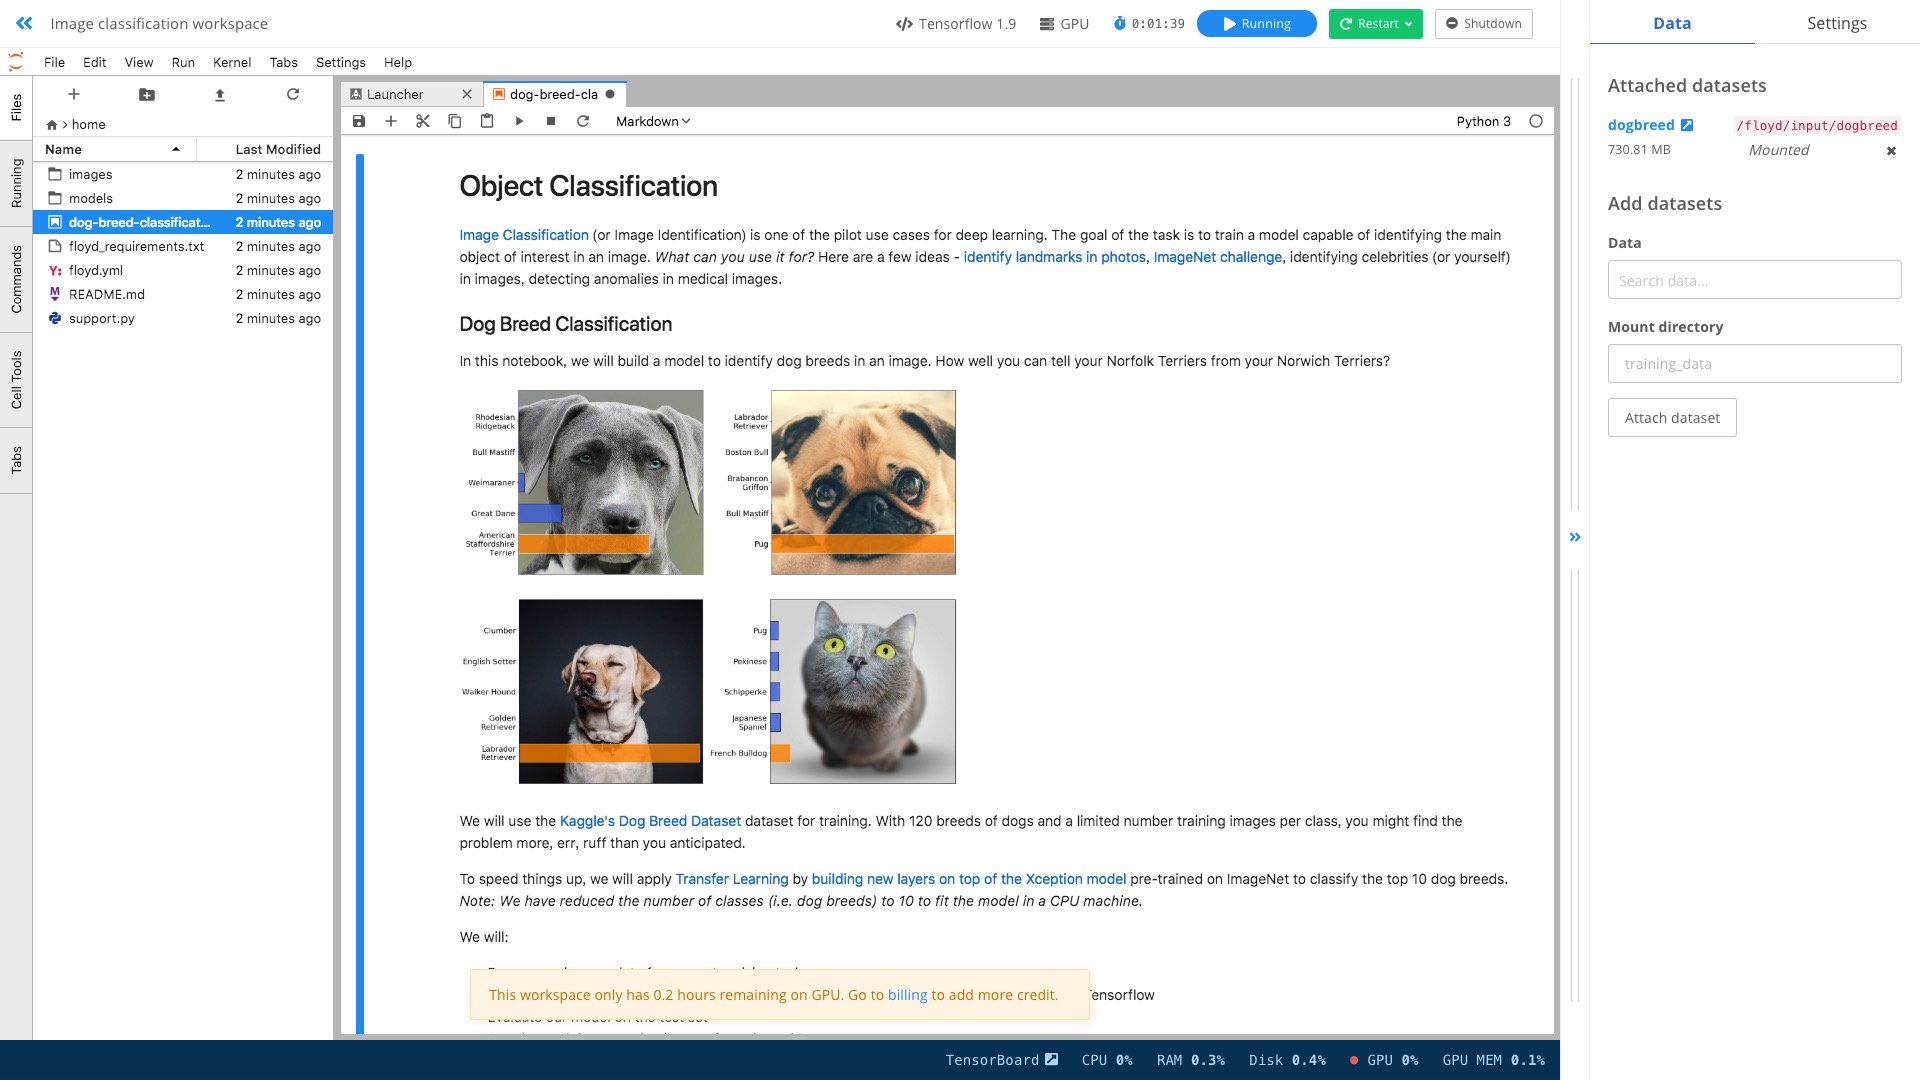
When it's done, you'll see the familiar Jupyter lab interface.
Open the dog-breed-classification.ipynb from the left side file list.
It's a complete example to separate different dog breeds.
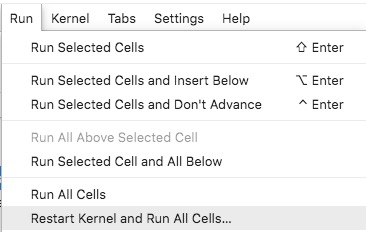
Hit Run -> Restart Kernel and Run All Cells from the menu.
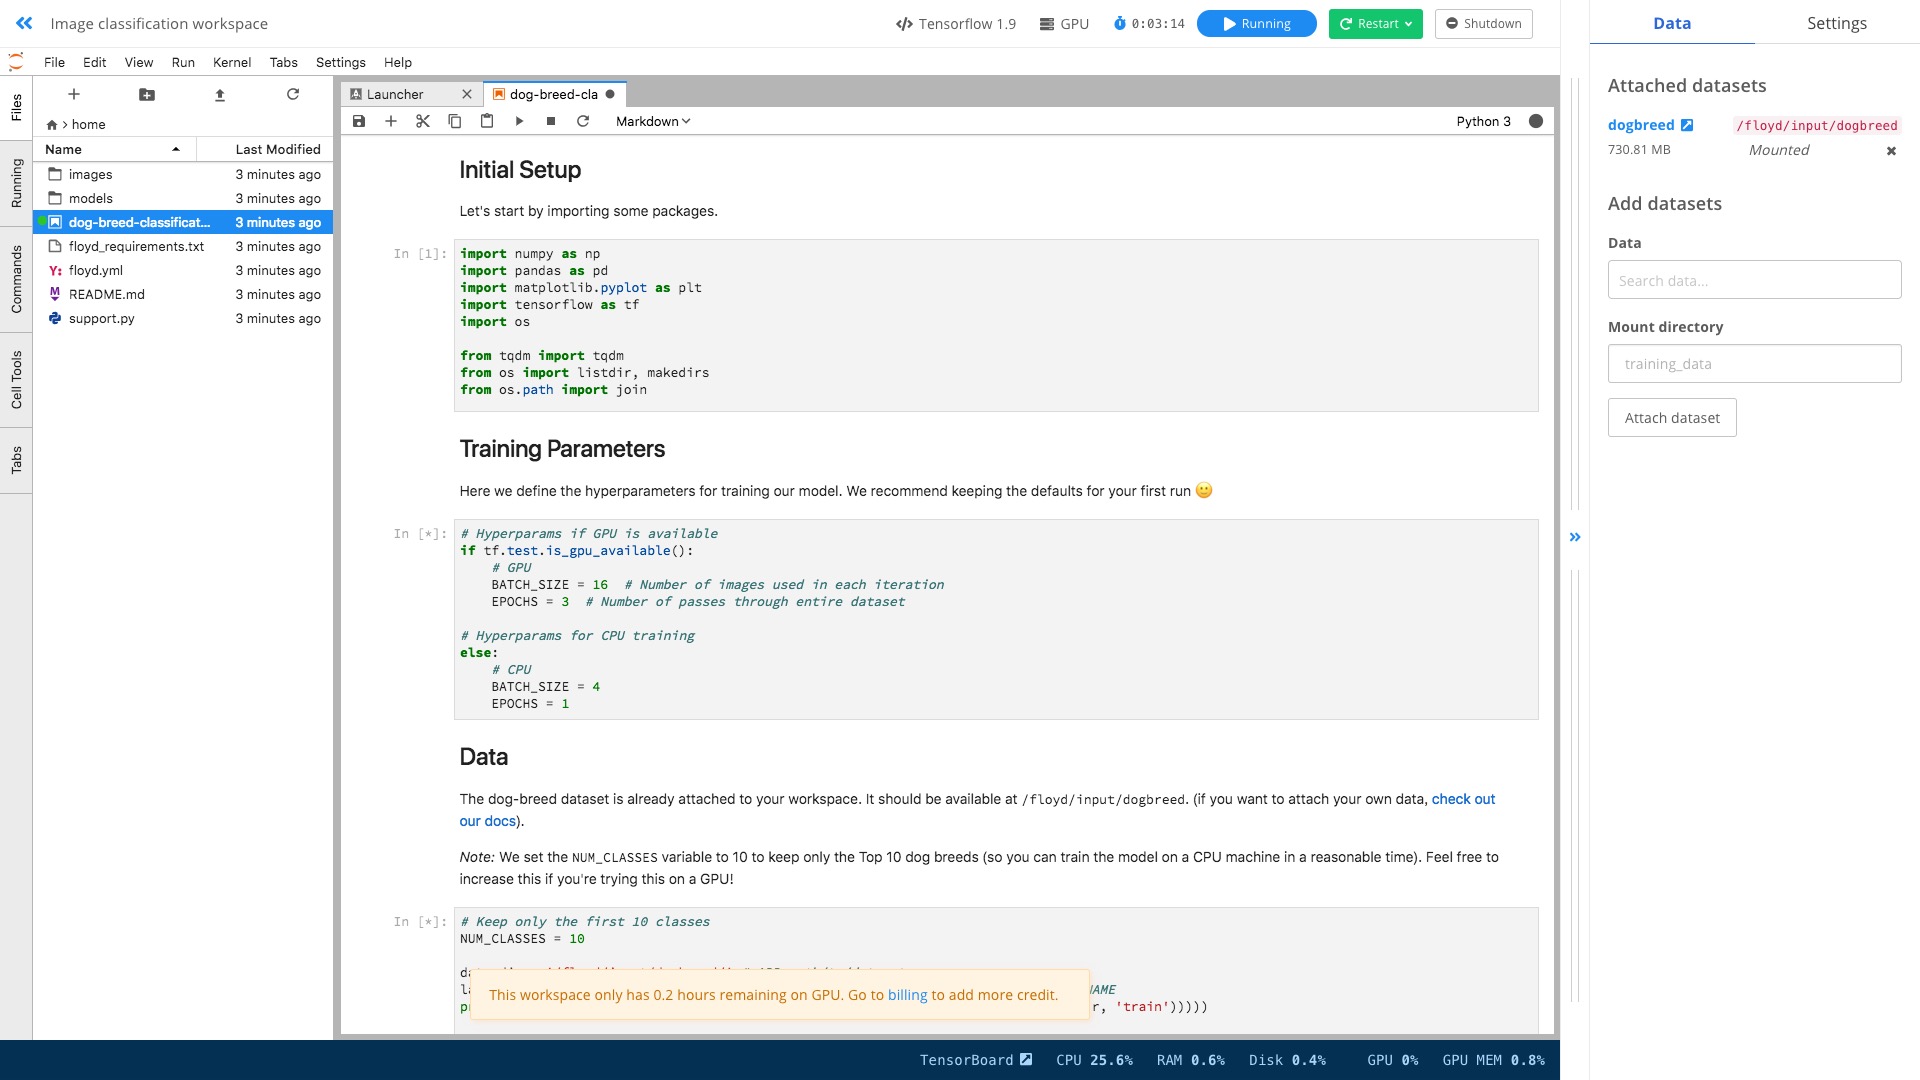
You'll figure out there is no significant difference with running the code locally.
However, this time, you are using GPU!
What if you want to set up a new workspace yourself?
You can go back to the Project page .
For each project, you can create new workspace with the Create Workspace button.
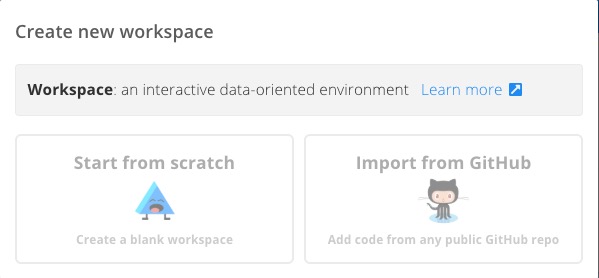
Floydhub will ask you how to create the new workspace.
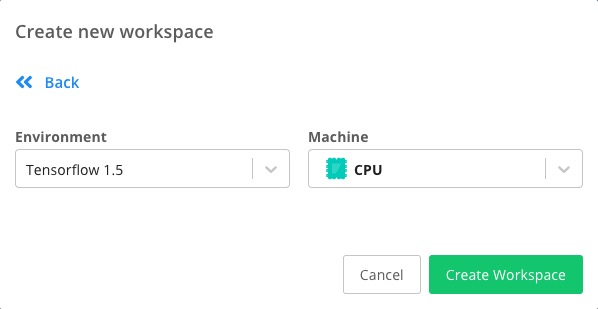
Let's select Start from scratch on the left side and choose the environment.
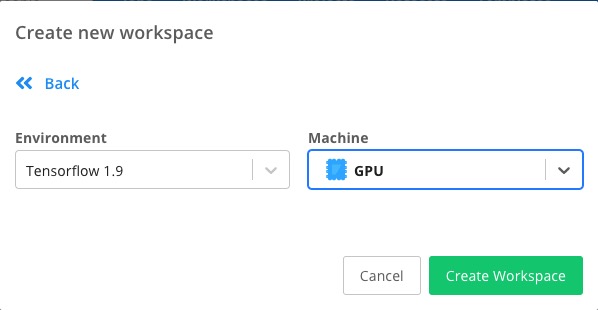
Let's change the default one into Tensorflow 1.9 and GPU.
Hit the Create Workspace.
Then click on the link try-keras-boston-house-regression workspace.
A Jupyter Lab interface is ready.
You don't need to install Tensorflow or configure the GPU yourself.
Even better, you don't need to run bash commands this time. Just input the Python code, and use Keras and Tensorflow freely.
That's cool!
Start your own Deep Learning Journey with Floydhub.
Summary
You don't need to buy your own expensive deep learning device if you just need GPU computing power occasionally. It will be a waste, and you'll not get a good price when you want to sell it to make an upgrade. In this case, Cloud GPU is a better choice.
Have you ever used any other Cloud GPUs? What are the pros and cons comparing with Floydhub?
I would like to have your feedbacks.