centos安装与配置gerrit
参考链接:https://www.rosehosting.com/blog/how-to-install-gerrit2-on-a-centos-7-linux-vps/
1. 安装java
    下载jdk:
    yum install ./jdk-8u201-linux-x64.rpm
    执行:
    JDK_DIRS=($(ls -d /usr/java/jdk*))
    JDK_VER=${JDK_DIRS[@]:(-1)}

    alternatives --install /usr/bin/java java /usr/java/"${JDK_VER##*/}"/jre/bin/java 20000
    alternatives --install /usr/bin/jar jar /usr/java/"${JDK_VER##*/}"/bin/jar 20000
    alternatives --install /usr/bin/javac javac /usr/java/"${JDK_VER##*/}"/bin/javac 20000
    alternatives --install /usr/bin/javaws javaws /usr/java/"${JDK_VER##*/}"/jre/bin/javaws 20000
    alternatives --set java /usr/java/"${JDK_VER##*/}"/jre/bin/java
    alternatives --set javaws /usr/java/"${JDK_VER##*/}"/jre/bin/javaws
    alternatives --set javac /usr/java/"${JDK_VER##*/}"/bin/javac
    alternatives --set jar /usr/java/"${JDK_VER##*/}"/bin/jar

    测试:
    java -version
2. 安装git
yum install git
3. 安装mariadb
    yum install mariadb mariadb-server

    # 修改配置文件
    vim /etc/my.cnf.d/server.cnf
        # 添加如下内容:
        [mysqld]
        #log-bin=mysql-bin
        #binlog_format=mixed
        bind-address = 127.0.0.1

    # 重启mariadb
    systemctl restart mariadb

    # 配置数据库
    命令:
        mysql_secure_installation
        执行过程:
        Enter current password for root (enter for none): ENTER
        Set root password? [Y/n] Y
        Remove anonymous users? [Y/n] Y
        Disallow root login remotely? [Y/n] Y
        Remove test database and access to it? [Y/n] Y
        Reload privilege tables now? [Y/n] Y

    # 创建数据库
    命令:
        mysql -u root -p
        CREATE USER 'gerrit2'@'localhost' IDENTIFIED BY '123456';
        CREATE DATABASE reviewdb DEFAULT CHARACTER SET 'utf8';
        GRANT ALL ON reviewdb.* TO 'gerrit2'@'localhost';
        FLUSH PRIVILEGES;

    # 执行如下命令(重启,查看状态,设置为开机启动)
    systemctl restart mariadb
    systemctl status mariadb
    systemctl enable mariadb
4. 安装httpd
yum install httpd httpd-tools openssl mod_ssl
4.1 配置反向代理
    vim /etc/httpd/conf.d/options.conf

    # 内容如下:
    TraceEnable off

    ## Disable Signature
    ServerSignature Off

    ## Disable Banner
    ServerTokens Prod
    vim /etc/httpd/conf.d/vhosts.conf

    # 内容如下:
    # Load my vhosts
    IncludeOptional vhosts.d/*.conf
    # 创建目录
    mkdir /etc/httpd/vhosts.d
    # 写配置文件
    vim /etc/httpd/vhosts.d/gerrit.conf

    # 写入以下内容:
    <VirtualHost *:80>
        ServerName 192.168.112.100

        ProxyRequests Off
        ProxyVia Off
        ProxyPreserveHost On

        <Proxy *>
              Order deny,allow
              Allow from all
        </Proxy>

        <Location /gerrit/login/>
          AuthType Basic
          AuthName "Gerrit Code Review"
          AuthBasicProvider file
          AuthUserFile /etc/httpd/gerrit.passwd
          Require valid-user
        </Location>

        AllowEncodedSlashes On
        ProxyPass /gerrit/ http://192.168.112.100:8081/gerrit/ nocanon
    </VirtualHost>
4.2 添加httpd用户
    # 此处添加http用户,用于访问页面时登陆
    # 用户在首次登陆web页面时,会在gerrit中创建同名用户
    htpasswd -c /etc/httpd/gerrit.passwd admin
    # 启动httpd
    systemctl start httpd
    systemctl status httpd
    systemctl enable httpd
5. 安装gerrit
5.1 添加用户gerrit2
    # gerrit2用户用于安装gerrit
    useradd -m gerrit2
    su - gerrit2
5.2 使用用户gerrit2安装gerrit
    # 切换为gerrit2用户,在/home/gerrit2路径下安装
    # 安装路径为:/home/gerrit2/gerrit-review/
    mv gerrit*.war gerrit.war
    java -jar gerrit.war init -d /home/gerrit2/gerrit-review/

    # 执行过程如下:
        [gerrit2@vcentos ~]$ java -jar gerrit.war init -d /home/gerrit2/gerrit-review/
        Using secure store: com.google.gerrit.server.securestore.DefaultSecureStore
        [2019-02-21 07:56:31,323] [main] INFO  com.google.gerrit.server.config.GerritServerConfigProvider : No /home/gerrit2/gerrit-review/etc/gerrit.config; assuming defaults

        *** Gerrit Code Review 2.16.5
        ***


        *** Git Repositories
        ***

        Location of Git repositories   [git]: # git仓库路径,默认即可

        *** SQL Database
        ***

        Database server type           [h2]: mariadb

        Gerrit Code Review is not shipped with MariaDB Connector/J 2.3.0
        **  This library is required for your configuration. **
        Download and install it now [Y/n]? y
        Downloading https://repo1.maven.org/maven2/org/mariadb/jdbc/mariadb-java-client/2.3.0/mariadb-java-client-2.3.0.jar ... OK
        Checksum mariadb-java-client-2.3.0.jar OK
        Server hostname                [localhost]: # 默认
        Server port                    [(mariadb default)]: # 默认
        Database name                  [reviewdb]: # 默认
        Database username              [gerrit2]: # 默认
        gerrit2's password             : 123456
                      confirm password : 123456

        *** Index
        ***

        Type                           [lucene/?]: # 默认

        *** User Authentication
        ***

        Authentication method          [openid/?]: http
        Get username from custom HTTP header [y/N]? # 默认
        SSO logout URL                 :# 默认
        Enable signed push support     [y/N]? # 默认

        *** Review Labels
        ***

        Install Verified label         [y/N]? # 默认

        *** Email Delivery
        ***

        SMTP server hostname           [localhost]: # 默认
        SMTP server port               [(default)]: # 默认
        SMTP encryption                [none/?]: # 默认
        SMTP username                  : 邮箱
        wuyq5217@foxmail.com's password : #密码:123456
                      confirm password : # 密码:123456

        *** Container Process
        ***

        Run as                         [gerrit2]: # 默认
        Java runtime                   [/usr/java/jdk1.8.0_201-amd64/jre]: # 默认
        Copy gerrit.war to /home/gerrit2/gerrit-review/bin/gerrit.war [Y/n]? # 默认
        Copying gerrit.war to /home/gerrit2/gerrit-review/bin/gerrit.war

        *** SSH Daemon
        ***

        Listen on address              [*]: # 默认
        Listen on port                 [29418]: # 默认
        Generating SSH host key ... rsa... ed25519... ecdsa 256... ecdsa 384... ecdsa 521... done

        *** HTTP Daemon
        ***

        Behind reverse proxy           [y/N]? y
        Proxy uses SSL (https://)      [y/N]? # 默认
        Subdirectory on proxy server   [/]: /gerrit/
        Listen on address              [*]:# 默认
        Listen on port                 [8081]: # 默认
        Canonical URL                  [http://127.0.0.1/gerrit/]: http://192.168.112.100/gerrit/ # 此处为登陆web所有地址

        *** Cache
        ***


        *** Plugins
        ***

        Installing plugins.
        Install plugin codemirror-editor version v2.16.5 [y/N]? y
        Installed codemirror-editor v2.16.5
        Install plugin commit-message-length-validator version v2.16.5 [y/N]? y
        Installed commit-message-length-validator v2.16.5
        Install plugin download-commands version v2.16.5 [y/N]? y
        Installed download-commands v2.16.5
        Install plugin hooks version v2.16.5 [y/N]? y
        Installed hooks v2.16.5
        Install plugin replication version v2.16.5 [y/N]? y
        Installed replication v2.16.5
        Install plugin reviewnotes version v2.16.5 [y/N]? y
        Installed reviewnotes v2.16.5
        Install plugin singleusergroup version v2.16.5 [y/N]? y
        Installed singleusergroup v2.16.5
        Initializing plugins.

        Initialized /home/gerrit2/gerrit-review
        Init complete, reindexing projects with: reindex --site-path /home/gerrit2/gerrit-review --threads 1 --Reindexing projects:    100% (2/2)
        Reindexed 2 documents in projects index in 0.1s (29.0/s)

    # 执行命令
    java -jar gerrit.war reindex -d /home/gerrit2/gerrit-review
    /home/gerrit2/gerrit-review/bin/gerrit.sh start

    # gerrit开机启动
    vim /home/gerrit2/gerrit-review/bin/gerrit.sh
    # 添加内容:
        GERRIT_SITE=/home/gerrit2/gerrit-review
        NO_START=0
    ln -snf /home/gerrit2/gerrit-review/bin/gerrit.sh /etc/init.d/gerrit
    vim /etc/rc.local
    # 添加内容:
        service gerrit start
6. 安装gitweb
    yum install gitweb
    vim /home/gerrit2/gerrit-review/etc/gerrit.config
    # 添加如下内容
    [gitweb]
        type = gitweb
        cgi = /var/www/git/gitweb.cgi
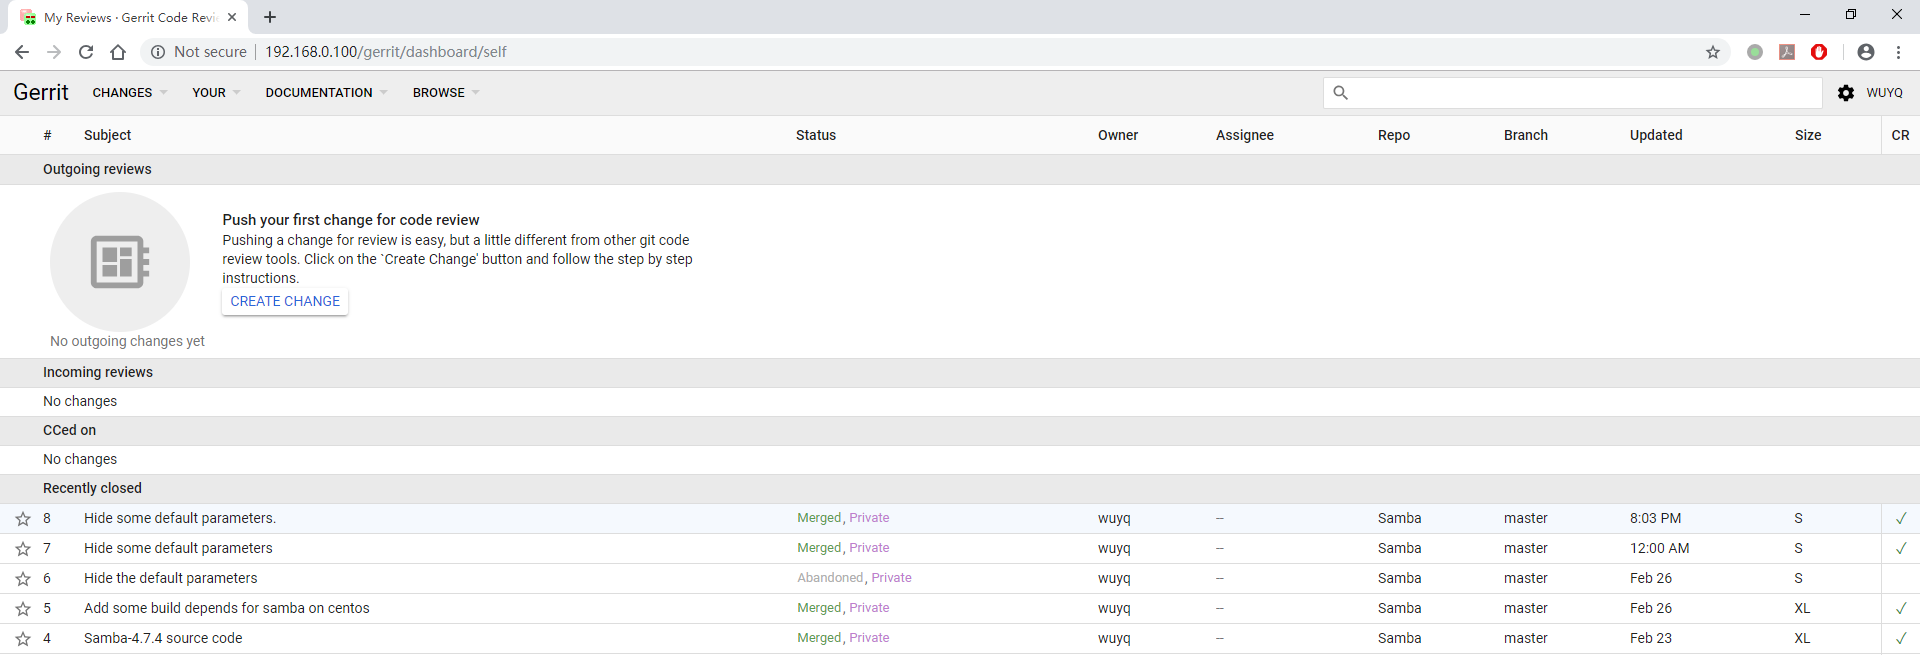
7. 浏览器访问gerrit
![image image]()


