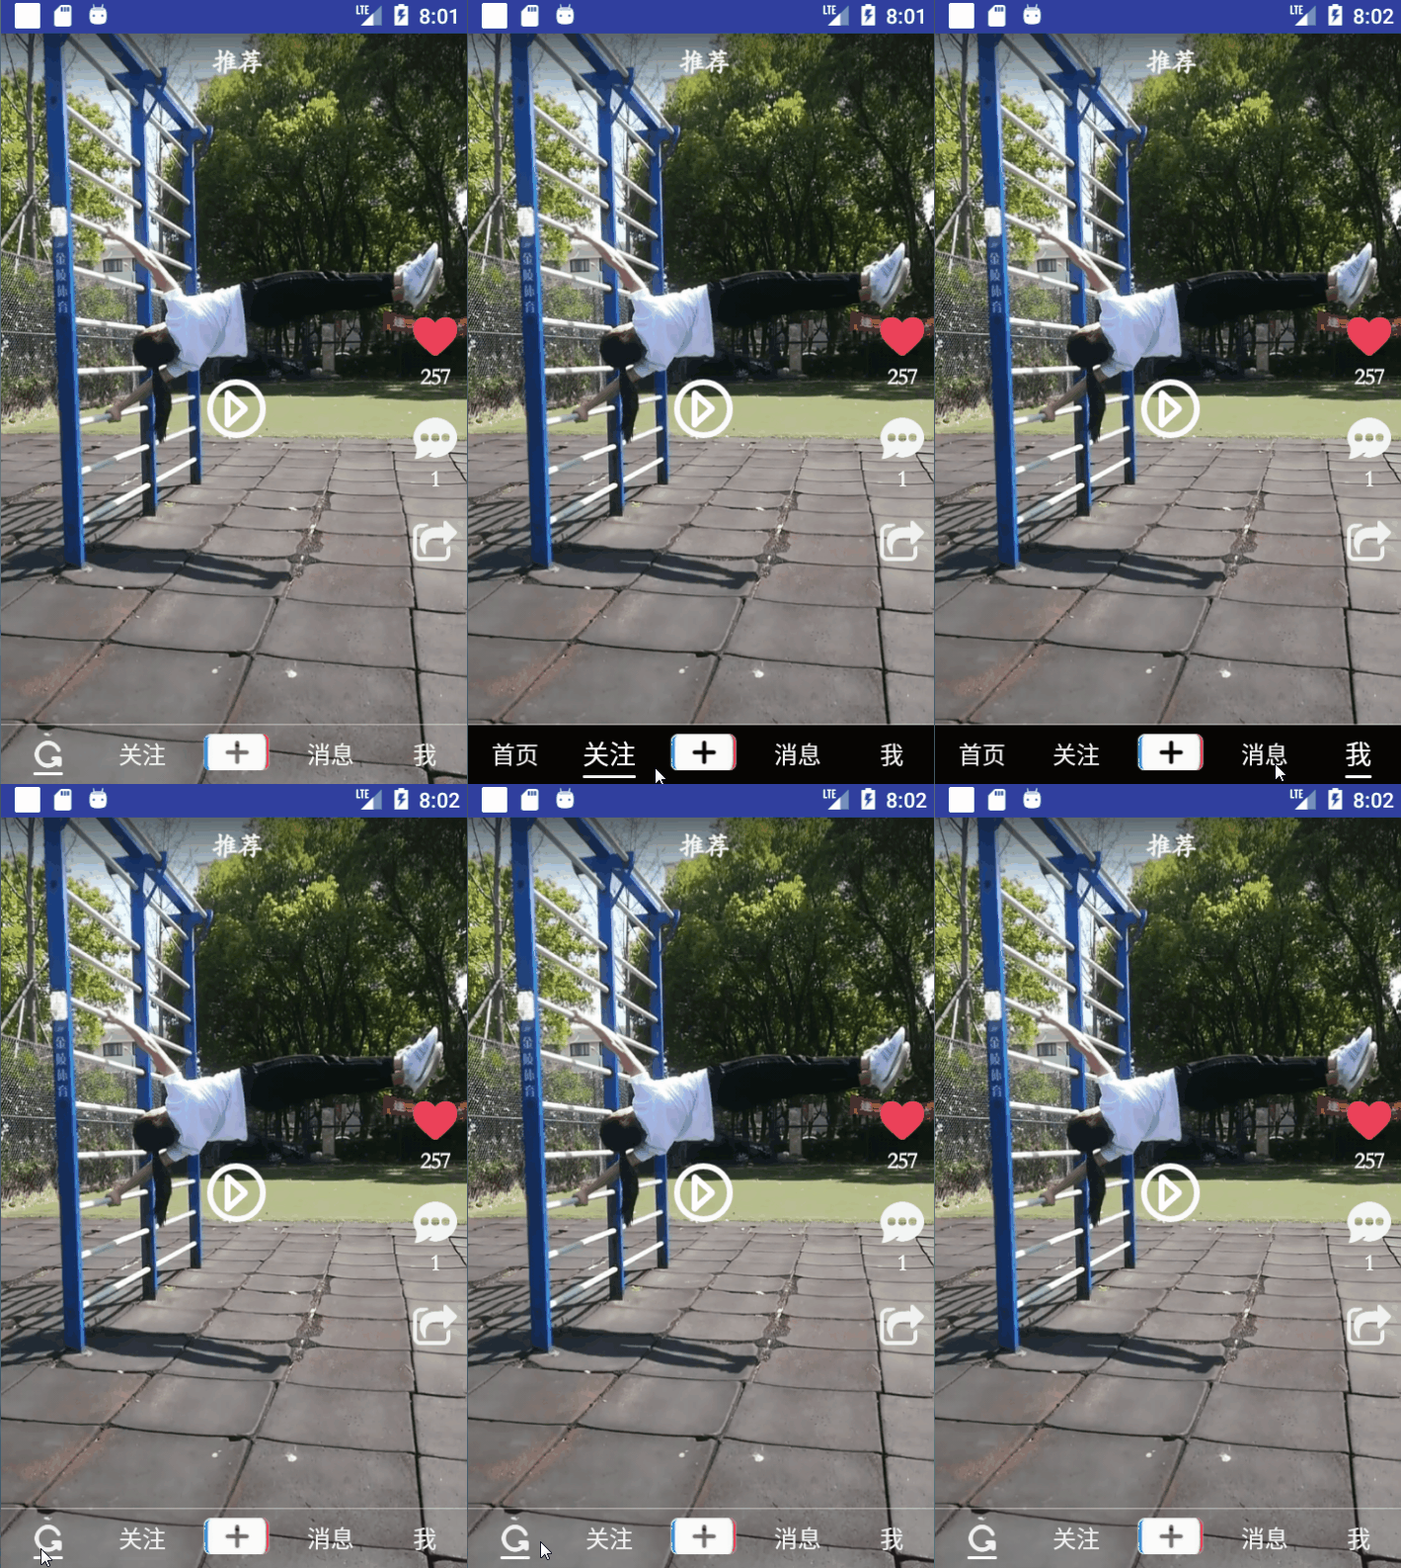
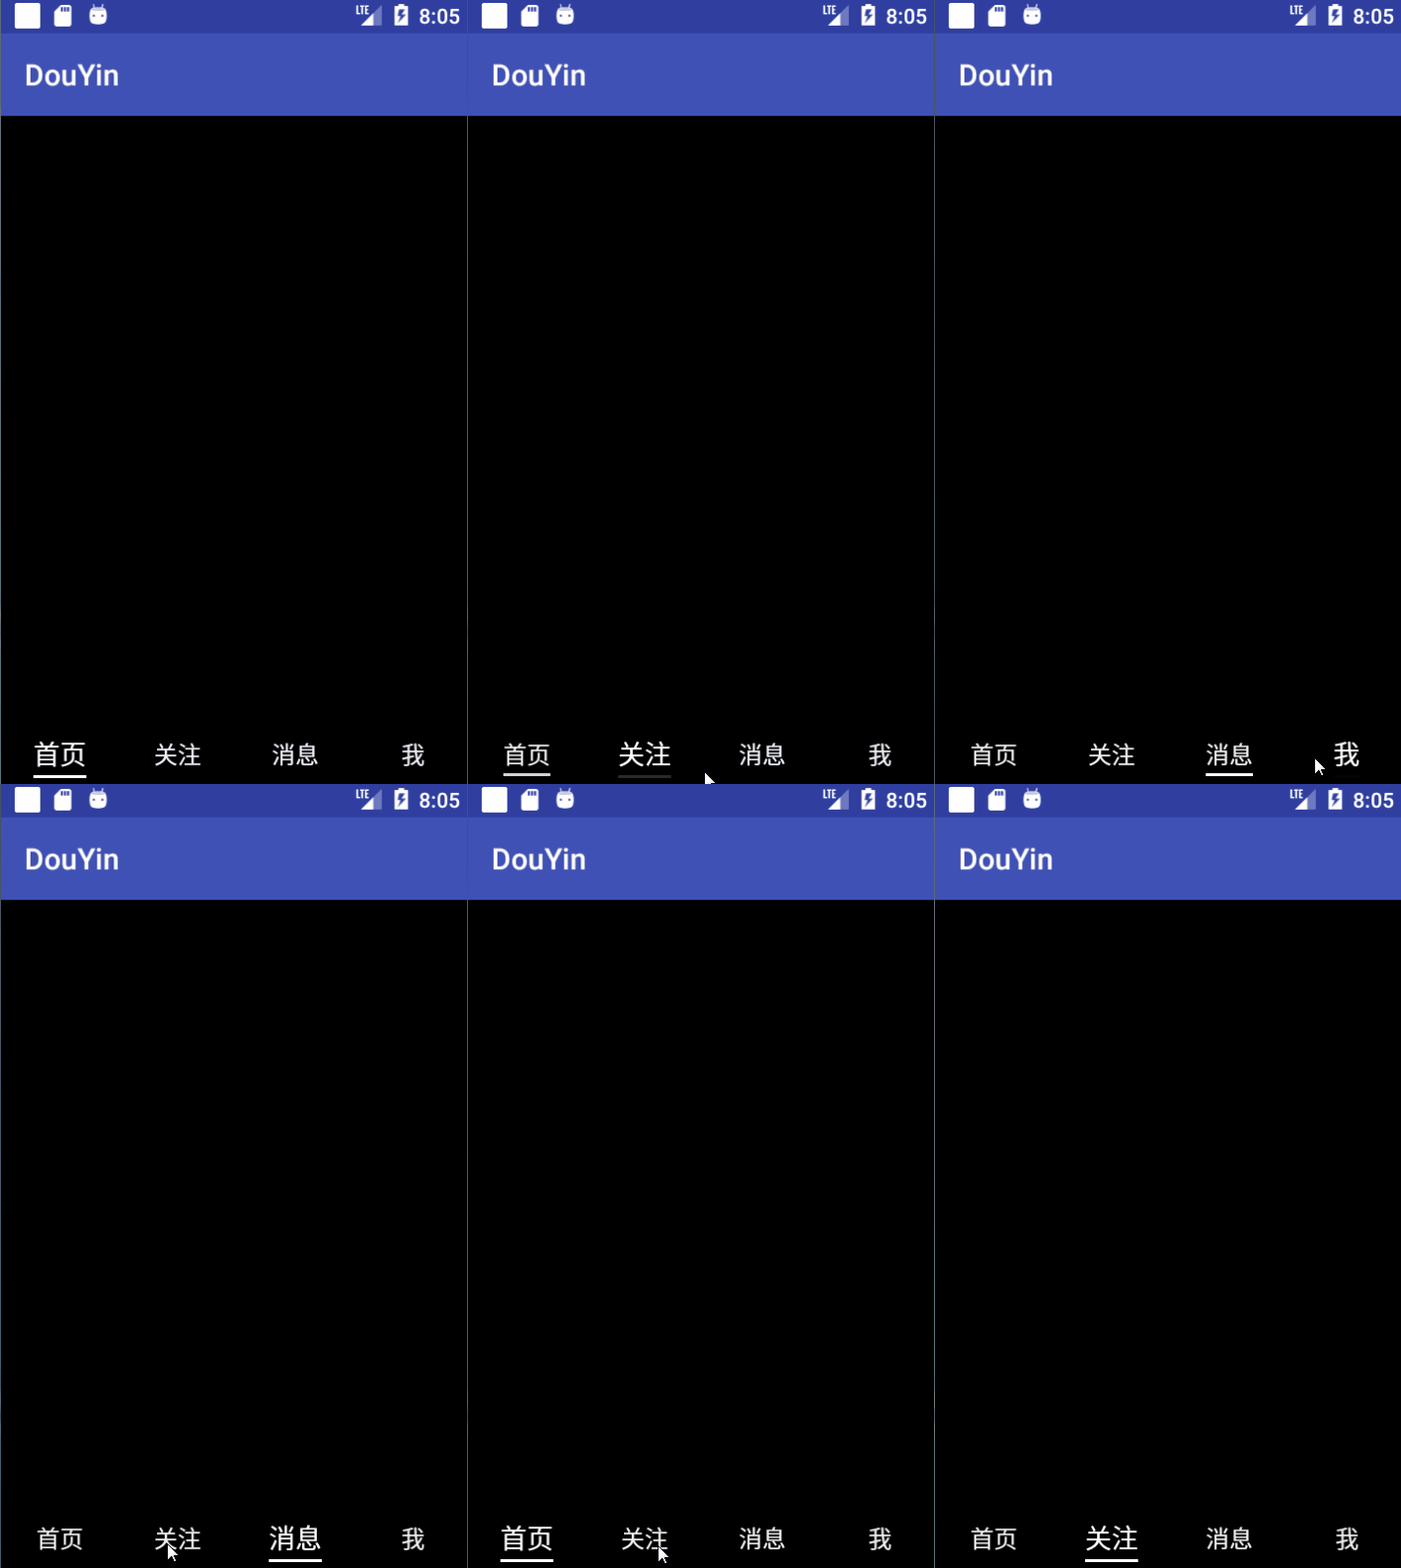
最终效果预览
这次实现的是第一步效果
<h3 style="color:blue">原理解析:通过对控件添加动画来实现仿抖音底部导航的效果</h3>
一.首先编写布局文件(这里是用TextView作为底部的指示横线)
<?xml version="1.0" encoding="utf-8"?>
<RelativeLayout
    xmlns:android="http://schemas.android.com/apk/res/android"
    android:layout_width="match_parent"
    android:layout_height="match_parent">
    <LinearLayout
        android:layout_width="wrap_content"
        android:orientation="vertical"
        android:id="@+id/nav_top"
        android:layout_centerInParent="true"
        android:layout_height="wrap_content">
        <TextView
            android:layout_width="wrap_content"
            android:text="标题"
            android:id="@+id/nav_item_tv_title"
            android:textColor="#F1F1F1"
            android:textSize="16sp"
            android:layout_height="wrap_content" />
    </LinearLayout>
    <TextView
        android:layout_width="wrap_content"
        android:id="@+id/nav_item_tv_line"
        android:layout_below="@id/nav_top"
        android:layout_marginTop="2dp"
        android:layout_alignRight="@id/nav_top"
        android:layout_alignLeft="@id/nav_top"
        android:background="#fff"
        android:alpha="0"
        android:layout_centerInParent="true"
        android:layout_height="2dp" />
</RelativeLayout>
二.创建NavItemView类继承RelativeLayout(这是最终代码展示,接下来讲解各种方法的效果【除了自定义属性】)
public class NavItemView extends RelativeLayout {
    TextView textView_title;
    TextView textView_line;
    private View mView;
    public NavItemView(Context context) {
        this(context,null);
    }
    public NavItemView(Context context, AttributeSet attrs) {
        this(context, attrs,0);
    }
    @SuppressLint("ResourceType")
    public NavItemView(Context context, AttributeSet attrs, int defStyleAttr) {
        super(context, attrs, defStyleAttr);
        mView = View.inflate(context, R.layout.view_navitem, this);
        textView_line=mView.findViewById(R.id.nav_item_tv_line);
        textView_title=mView.findViewById(R.id.nav_item_tv_title);
//        获取自定义属性
        TypedArray ta = getContext().obtainStyledAttributes(attrs, R.styleable.NavItem);
        if(ta!=null){
            String navtext = ta.getString(R.styleable.NavItem_navtext);
            textView_title.setText(navtext);
        }
    }
//    选中状态
    public void startActive(){
        textView_title.setTextColor(Color.WHITE);
        textView_title.setTextSize(18);
        textView_line.animate().alpha(1).setDuration(200).start();
    }
//    取消选中
    public void cancelActive(){
        textView_title.setTextColor(Color.parseColor("#F1F1F1"));
        textView_title.setTextSize(16);
        textView_line.animate().alpha(0).setDuration(200).start();
    }
}
三.startActive()方法作用:设置TextView的颜色为白色,并通过动画的方式显示底部指示线,达到选中状态。
四.cancelActive()方法作用:与startActive()方法的作用相反。
五.Activity调用
public class MainActivity extends AppCompatActivity implements View.OnClickListener{
    NavItemView navItemView1,navItemView2,navItemView3,navItemView4,navItemView_Temp;
    @Override
    protected void onCreate(Bundle savedInstanceState) {
        super.onCreate(savedInstanceState);
        setContentView(R.layout.activity_main);
        navItemView1=findViewById(R.id.one);
        navItemView2=findViewById(R.id.two);
        navItemView3=findViewById(R.id.three);
        navItemView4=findViewById(R.id.four);
        navItemView1.setOnClickListener(this);
        navItemView2.setOnClickListener(this);
        navItemView3.setOnClickListener(this);
        navItemView4.setOnClickListener(this);
    }
    @Override
    public void onClick(View v) {
        if(navItemView_Temp!=null){
            navItemView_Temp.cancelActive();
        }
        switch (v.getId()){
            case R.id.one:
                navItemView1.startActive();
                navItemView_Temp=navItemView1;
                break;
            case R.id.two:
                navItemView2.startActive();
                navItemView_Temp=navItemView2;
                break;
            case R.id.three:
                navItemView3.startActive();
                navItemView_Temp=navItemView3;
                break;
            case R.id.four:
                navItemView4.startActive();
                navItemView_Temp=navItemView4;
                break;
        }
    }
}
六.自定义属性文件展示
<?xml version="1.0" encoding="utf-8"?>
<resources>
    <declare-styleable name="NavItem">
        <attr name="navtext" format="string"/>
    </declare-styleable>
</resources>
七.Activity布局文件展示
<?xml version="1.0" encoding="utf-8"?>
<RelativeLayout xmlns:android="http://schemas.android.com/apk/res/android"
xmlns:app="http://schemas.android.com/apk/res-auto"
xmlns:tools="http://schemas.android.com/tools"
android:layout_width="match_parent"
android:layout_height="match_parent"
android:background="#000"
tools:context="com.example.douyin.MainActivity">

    <LinearLayout
        android:layout_width="match_parent"
        android:orientation="horizontal"
        android:layout_alignParentBottom="true"
        android:layout_height="40dp">
        <com.example.douyin.NavItemView
            android:layout_width="0dp"
            android:id="@+id/one"
            app:navtext="首页"
            android:layout_weight="1"
            android:layout_height="wrap_content">
        </com.example.douyin.NavItemView>
        <com.example.douyin.NavItemView
            android:layout_width="0dp"
            android:id="@+id/two"
            app:navtext="关注"
            android:layout_weight="1"
            android:layout_height="wrap_content">
        </com.example.douyin.NavItemView>
        <com.example.douyin.NavItemView
            android:layout_width="0dp"
            android:layout_weight="1"
            android:id="@+id/three"
            app:navtext="消息"
            android:layout_height="wrap_content">
        </com.example.douyin.NavItemView>
        <com.example.douyin.NavItemView
            android:layout_width="0dp"
            android:layout_weight="1"
            android:id="@+id/four"
            app:navtext="我"
            android:layout_height="wrap_content">
        </com.example.douyin.NavItemView>
    </LinearLayout>

</RelativeLayout>


