相信有很多同学都有使用过Hibernate框架的开发经验,尽管现在开发人员对Hibernate的褒贬不一,我们暂且不谈这个话题。
图中的三个注解,正好解析了表与表之间的关联关系。我也就不这这方面进行过多的赘述了。所以...
今天的主题是:我想在不涉及表与表之间的关联关系的情况下对表进行关联。
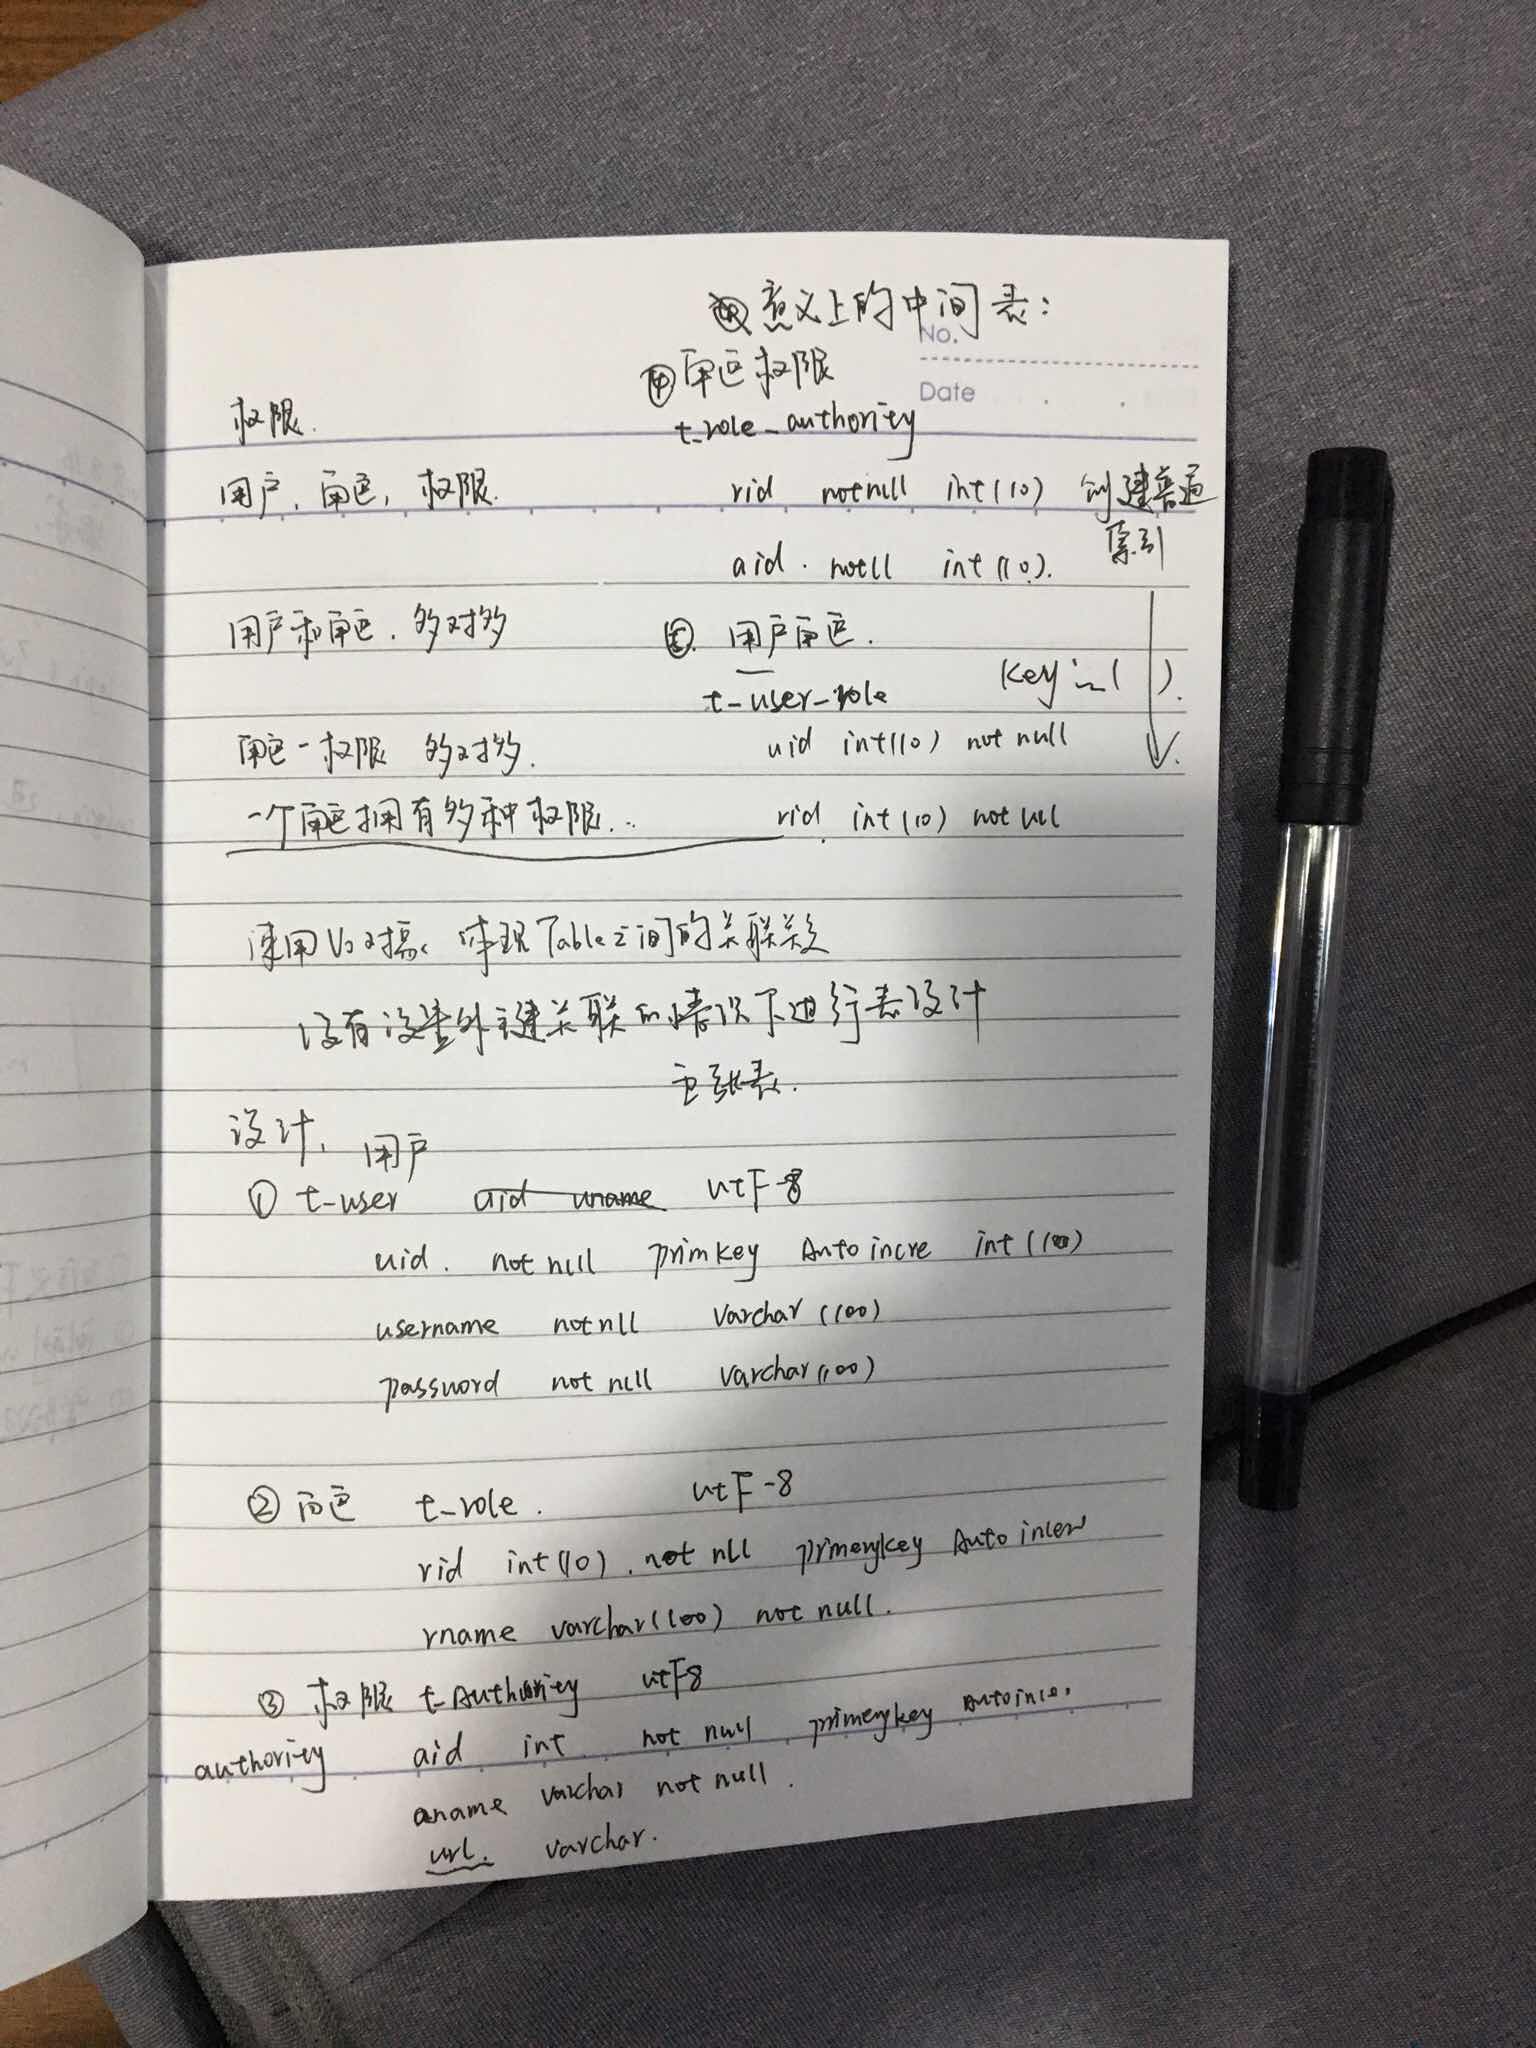
换成对应的表的意思就是,不设外键,实现多对多关联。话不多说 先上一张我自己的设计手稿:
数据库:(数据库的编码(utf8)与数据库引擎(InnonDB)已经设置好了)
CREATE table t_user(
uid int(10) NOT NULL PRIMARY KEY AUTO_INCREMENT,
username VARCHAR(100) not null,
password VARCHAR(100) not null,
createtime date not null
)default CHARSET=utf8;
-- 创建角色表
CREATE TABLE t_role(
rid int(10) not null PRIMARY KEY AUTO_INCREMENT,
rname VARCHAR(100) not null
)
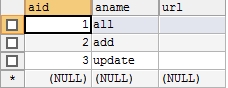
-- 权限表db_auth
CREATE TABLE t_authority(
aid int(10) not null PRIMARY KEY AUTO_INCREMENT,
aname VARCHAR(100) not NULL,
url VARCHAR(100) not NULL
)
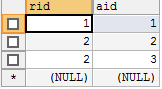
-- 意义上的中间表
CREATE TABLE t_role_authority(
rid int(10) not null,
aid int(10) not NULL,
KEY index_rid(rid),
KEY index_aid(aid)
)
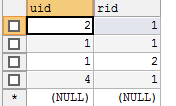
CREATE TABLE t_user_role(
uid int(10) not null,
rid int(10) not null,
KEY index_uid(uid),
KEY index_rid(rid)
)
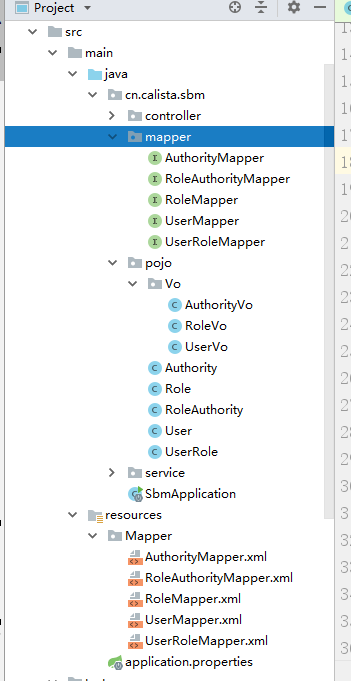
项目框架选型我用的是SpringBoot+MyBatis
Vo类:
package cn.calista.sbm.pojo.Vo;

import cn.calista.sbm.pojo.Authority;

import java.util.HashSet;

/**
 *  权限和角色也是多对多
 */
public class AuthorityVo extends Authority {
    private HashSet<RoleVo> roleVos = new HashSet<>();

    public HashSet<RoleVo> getRoleVos() {
        return roleVos;
    }

    public void setRoleVos(HashSet<RoleVo> roleVos) {
        this.roleVos = roleVos;
    }

}
package cn.calista.sbm.pojo.Vo;

import cn.calista.sbm.pojo.Role;

import java.util.HashSet;

/**
 * Role 和 User 多对对
 * Role 和 authority  多对多
 */
public class RoleVo extends Role {
    private HashSet<AuthorityVo> authorityVos = new HashSet<>();

    private HashSet<UserVo> userVos = new HashSet<>();

    public HashSet<AuthorityVo> getAuthorityVos() {
        return authorityVos;
    }

    public void setAuthorityVos(HashSet<AuthorityVo> authorityVos) {
        this.authorityVos = authorityVos;
    }

    public HashSet<UserVo> getUserVos() {
        return userVos;
    }

    public void setUserVos(HashSet<UserVo> userVos) {
        this.userVos = userVos;
    }

}
package cn.calista.sbm.pojo.Vo;

import cn.calista.sbm.pojo.User;

import java.util.HashSet;

/**
 * 用户和角色 多对多
 */
public class UserVo extends User {
    private HashSet<RoleVo> roleVos = new HashSet<>();

    public HashSet<RoleVo> getRoleVos() {
        return roleVos;
    }

    public void setRoleVos(HashSet<RoleVo> roleVos) {
        this.roleVos = roleVos;
    }
}
这里说一句,虽然用户和角色是多对多的关系,但是我们在实际开发中并不会去关注一个角色被多少用户所拥有,我们关心的更多的是一个用户拥有哪些角色然后拥有多少权限。所以我们实际理解就可以理解为 用户和角色是 一对多的关系就OK
至于XML Mapper 的代码我就不在粘了 直接上核心代码
package cn.calista.sbm;

import cn.calista.sbm.mapper.*;
import cn.calista.sbm.pojo.*;
import cn.calista.sbm.pojo.Vo.AuthorityVo;
import cn.calista.sbm.pojo.Vo.RoleVo;
import cn.calista.sbm.pojo.Vo.UserVo;
import org.junit.Test;
import org.junit.runner.RunWith;
import org.springframework.beans.BeanUtils;
import org.springframework.beans.factory.annotation.Autowired;
import org.springframework.boot.test.context.SpringBootTest;
import org.springframework.test.context.junit4.SpringRunner;

import java.util.HashSet;
import java.util.Iterator;
import java.util.List;

@RunWith(SpringRunner.class)
@SpringBootTest
public class SbmApplicationTests {

    @Autowired
    private UserMapper userMapper;

    @Autowired
    private UserRoleMapper userRoleMapper;

    @Autowired
    private RoleMapper roleMapper;

    @Autowired
    private RoleAuthorityMapper roleAuthorityMapper;

    @Autowired
    private AuthorityMapper authorityMapper;

    @Test
    public void testMethod() {
        UserVo userVo = new UserVo();
        RoleVo roleVo = null;
        AuthorityVo authorityVo = null;
        //根据uid 查询到 user
        User user = userMapper.getUser(1);
        //拿到User 装配给 UserVo
        BeanUtils.copyProperties(user, userVo);
        //根据user的uid  查询 user_role 用户角色表  得到该 user所拥有的角色集合
        List<UserRole> userRoleList = userRoleMapper.getUserRoleList(user.getUid());
        //遍历 操作每一个 用户角色对象
        for (UserRole userRole : userRoleList
        ) { // 拿到角色
            Role role = roleMapper.getRoleById(userRole.getRid());
            roleVo = new RoleVo();
            // 拿到role  装配给 roleVo
            BeanUtils.copyProperties(role, roleVo);
            //通过每一个role的rid 查询中间表roleAuthority 的到该角色的权限集合
            List<RoleAuthority> roleAuthorites = roleAuthorityMapper.getRoleAuthorites(role.getRid());
            //遍历权限集合
            for (RoleAuthority roleAuthority : roleAuthorites
            ) {
                //通过aid查询到权限
                Integer aid = roleAuthority.getAid();
                Authority authority = authorityMapper.getAuthorityById(aid);
                authorityVo = new AuthorityVo();
                BeanUtils.copyProperties(authority, authorityVo);
                authorityVo.getRoleVos().add(roleVo);
                //装配roleVo中的AuthorityVos
                roleVo.getAuthorityVos().add(authorityVo);
            }
            //装配userVo属性roleVos
            userVo.getRoleVos().add(roleVo);
        }

    }
}
最后测试一下:
我想知道id是 1 的用户拥有哪些权限?
HashSet<AuthorityVo> authorityVos = roleVo.getAuthorityVos();
        Iterator<AuthorityVo> it = authorityVos.iterator();
        while (it.hasNext()){
            AuthorityVo next = it.next();
            System.out.println(next.getAname());
        }
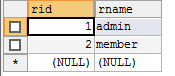
再查看一下数据库
最后,实现了关联。(并没有使用连接查询)